

my buttonhole sampler
After years of frustration, I can now make perfectly formed  and perfectly placed buttonholes. Thanks to Embroidery Library www.emblibrary.com one of my favorite sites, I no longer grow apprehensive when it comes time for the garment closure.
 Buttonholes have always caused me trouble. My quest for success with this necessary garment construction component began with the buttonhole attachment for my 1968 Kenmore machine and progressed to the 4-step program on my Bernina 930. I hated every one I made.
Next came the Elna 7000 electronic “eyeball,” and the improved version on my new Elna Diva. Still, I tensed up as soon as it was time for buttonholes. My Pfaff 7570 gave me no more peace of mind.
With my first Brother, my buttonholes were improved, but still a cause for dread. Buttonhole apprehension continued to plague me with each machine, the 8500, the ULT series and even to my beloved Brother Duetta 4500.
With each machine, I hoped  buttonholes would be easy for me. Ultimately, I had to admit that the fault was not with any of these fine machines. It was always operator error caused by anxiety.
Finally, victory is mine! Now, all my buttonholes are made on the embroidery side of my machine. I purchased a set of buttonholes from Embroidery Library www.emblibrary.com They offer several themed sets, from nature to sports, but each collection comes with unadorned buttonholes in 6 sizes, from 3/8″ to 1 1/2″.Â
Even though the size is identified, buttons vary in thickness and I was never certain that a given size would work perfectly.  After stitching out many sample buttonholes, I finally made up a color coded sampler. In my software, I changed the color of the design to match the color on my sampler. Now, I don’t even have to measure the button. It is an easy matter to pull out this sampler, pop my chosen button through whichever hole fits, select the matching color from my designs and embroider away.
Another practice I’ve taken up, is embroidering multiple buttonholes on one sheet of stabilizer.  After hooping a medium weight tearaway, I embroider as many buttonholes as I can fit in that hoop.   Almost always, I add a basting frame around the buttonhole. This holds it in place and allows me to place the next buttonhole nearby.
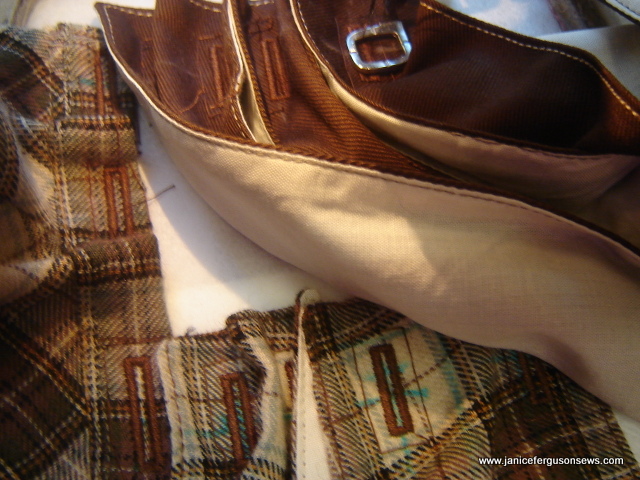
The above photo shows buttonholes made on my grandsons’ Christmas outfits last year. You can see that several have been made in a single hoop.
I doubt many of you are as challenged as I am.  But I hope these tips will be helpful and time saving for a few of you.

4 responses to “Buttonholes”