Category Archives: sewing room tips

Quick Tip ~ Thread Nest and Broken Needles

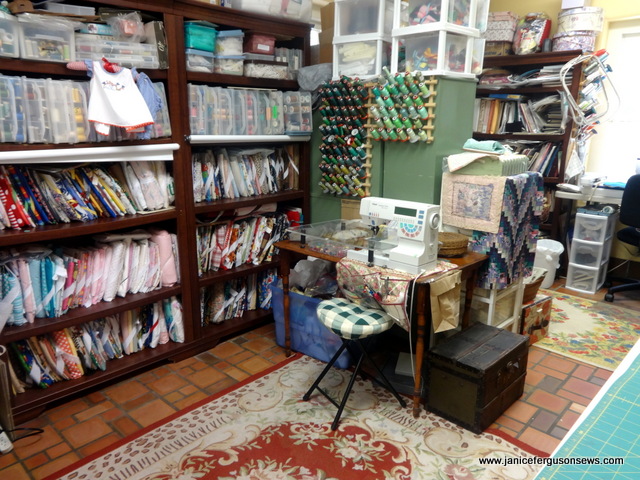
Do you keep a knife in your sewing room?  I do and it’s not for fear of bad guys bursting into my she-cave.  This is why.

Picture it, Glenwood, Florida, and me happily embroidering a sweet tee for Baby Girl.  The machine makes a horrible noise and the needle breaks.  The hoop cannot be moved and the shirt and its design are in jeopardy.  It doesn’t happen often, but when it does….groannnnn.  Though it is generally thought to be the result of operator error, I prefer to think it’s those pesky sewing gremlins.

The situation seems grim.  How can I save the shirt and release the hoop from the gremlins’ malice?


1-kife broken needle container


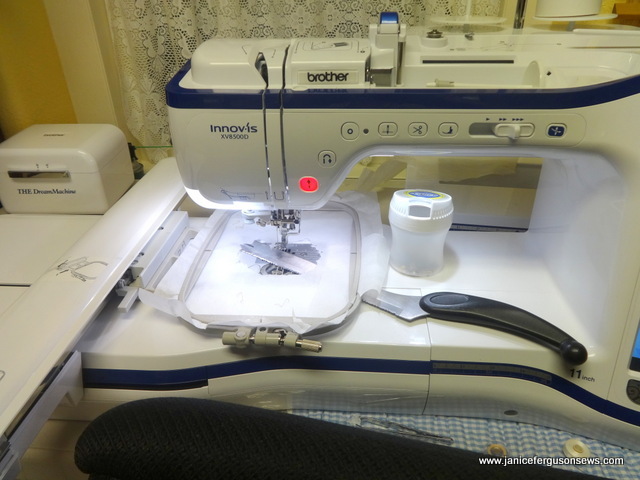
With that 12″ serrated knife I keep at the ready, that’s how.  The blade must be long enough to reach under the hoop all the way to the thread nest.  It can usually, with care, cut through the threads without damaging the shirt–or whatever is being embroidered.

After cutting through the thread mess, applying a stabilizer patch over the hole, the broken needle has to be dealt with.  It’s not a good idea to throw it into my wastebasket where it can stick me when I take out the trash.  So at each machine I keep a container like this empty sugar-free gum bin into which I discard broken, dull or bent needles.  Before my dear husband kept me supplied with these gum jars, I used empty pill bottles.  Any firm, small canister will do.

These are my tips for thread nests and broken needle storage.  And that’s all I’m going to say about that.

Quick Tip ~ Thread Spools

north end

These are a few of my thread racks. Can you imagine the mess if each spool had a loose tail?

Like most sewists, I love threads–never met a spool or color I didn’t like.  My sewing room is stocked with every thread weight from 12 to 80, some 2 ply and some 3 ply.  There are thread fibers from cotton to silk to rayon, poly, linen and monofilament.  That’s a lot of thread.

And while no one would ever accuse me of being a neat freak, I do like my threads to be in order.  With no loose tails.  So what are we to do with those mini king spools and others without a slot to secure the loose ends?


1-spool nick 2


My solution is an old Olfa art knife and a sharpie pen.  (In a future post, I will share the wonder and uses of my newer, sharp Olfa art knife.) When I get new thread, I carefully make a cut in the spool, noting the direction that it unwinds.  Then, to ease the strain on my “mature” eyes, I mark the slit with a sharpie pen.

It is so quick and easy to snap the thread tail into place and just as quick and easy to locate the cut because of the black mark.

If you have other solutions, please share. Inquiring minds want to know.

Quick Tip~Bobbins

1-reinforcement rings

Do those thread tails hanging off your bobbins annoy you? They drove me crazy.  Of course, there are those very nice plastic bobbin jails–bobbin buddies is one of their names.  But they are bulky and, for me, not convenient as my own solution.


bobbin buddy

The reinforcement rings for notebook paper meet my need perfectly.  In a serendipity moment I spotted the school supply package in my stationary drawer.  Hmmm…right shape, right size, sticky, quick and cheap.  AHA!

I keep a sheet of these at each machine.  As remove a bobbin from the case, I secure the thread with a ring, taking care to apply it to the up side of the bobbin as it sits in the case. Then the bobbins are put in one of several clear  plastic divided bins.

When I pull a bobbin from the box, I remove the ring and stick it on the side of my machine. They usually are reusable 3-5 times before they loose their adhesiveness.  They rarely leave any sticky residue on the bobbin.  Any that remains is easily removed.

These little rings have kept my bobbins in order for many years.  A very long time ago, I was teaching for Mildred Turner at one of her Sewing in the Mountains schools.  Another teacher got a worrisome call from her husband at about 9:30 p.m.  Their daughter had just remembered a useful “invention” was due the next day for science class.  As Jimmy Buffet once said, there was “panic in the green room.”

I suggested the ring reinforcers for the bobbins and slam bam! She had an invention.  And got an A.  Maybe I should feel guilty, but desperate times call for desperate measures.

Give these little rings a try.  You will have no more thread tails hanging out of your bobbin box and a more tidy sewing room.


Sewing Room tips -Fabric storage


Pfaff corner

After coming clean about the condition of my sewing room, I promised some tips for organization.  So let’s start with our fabric or our stash or resource center or just our yards and yards of raw material for the sewing projects we love to make.

When Terri Click told me about using comic book boards for wrapping fabric, I was intrigued.  Several years ago, my sewing room and the bedrooms above were all but destroyed when a huge oak fell on the house during a hurricane.  While the storm was still raging but before the water seeped down through the plaster ceiling, everything from my sewing room was quickly thrown into storage bins.  And there it remained until Terri clued me in about the comic book boards.

It took me forever sorting through those bins to find a particular piece of fabric.  So I ordered the comic book boards on eBay and I love them. Continue reading