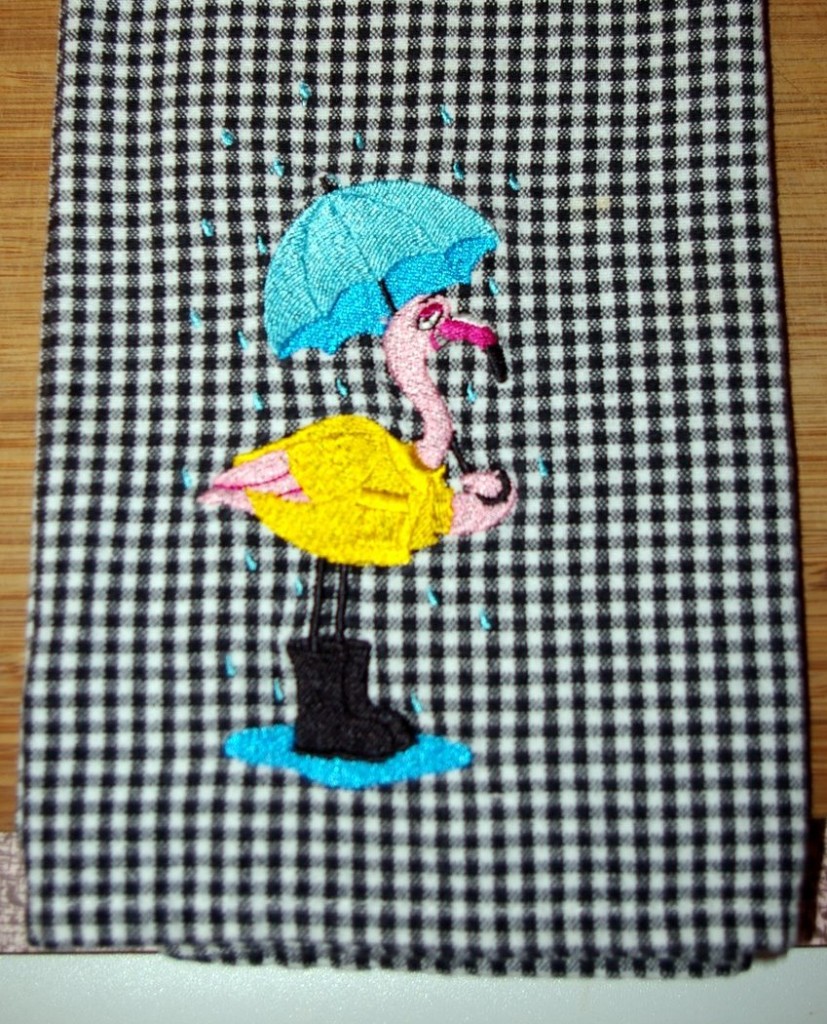
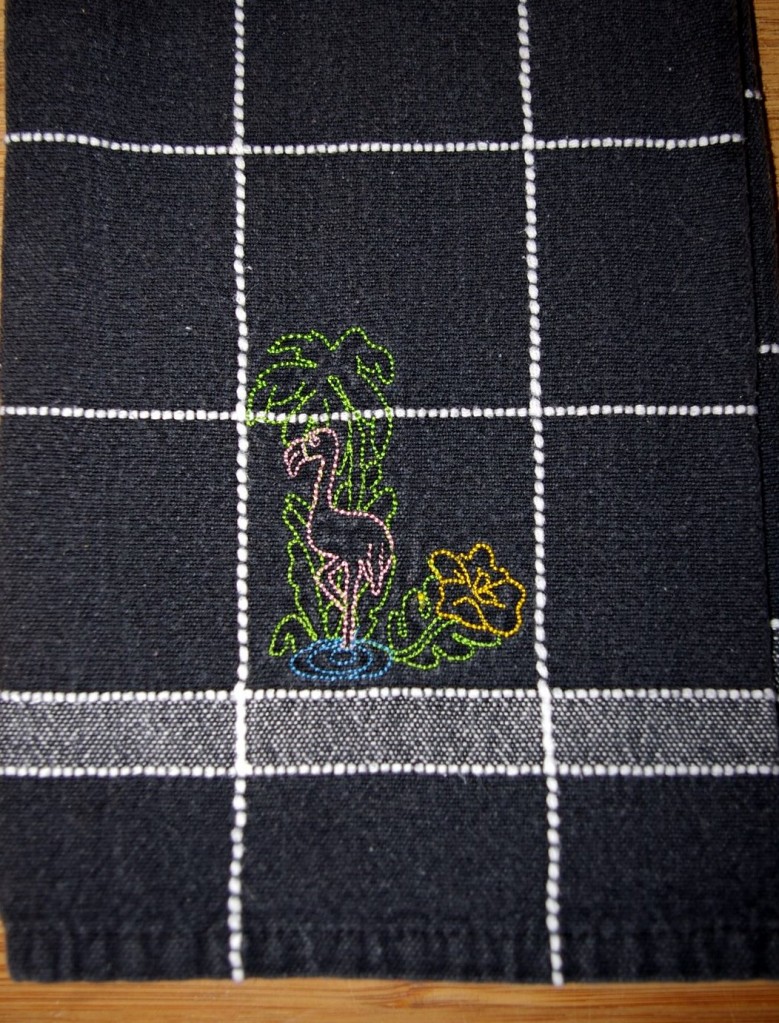
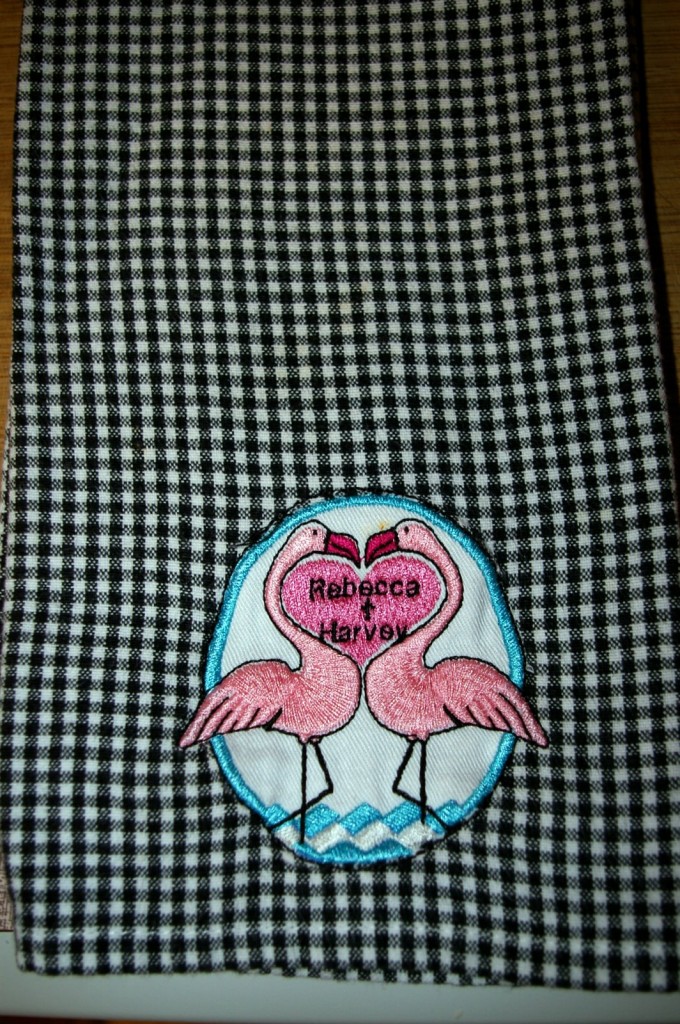
I love these “Flamingo Floyd” designs from Embroidery Library.
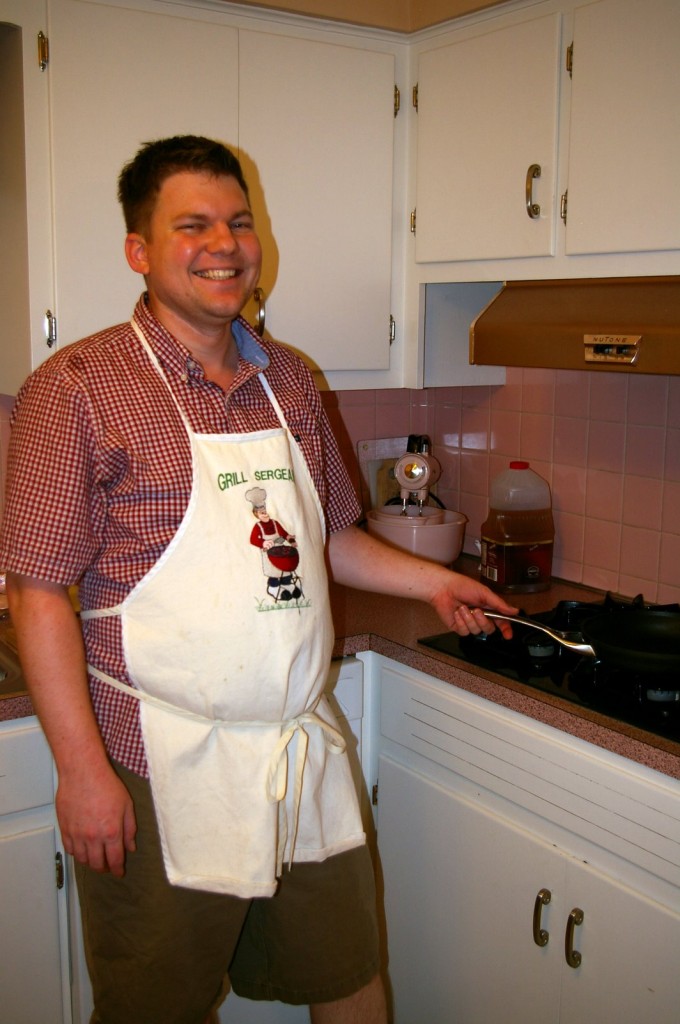
The folks there have digitized several designs with this goofy flamingo, all decked out for most seasons.   They are great on dishtowels for my daughter and son-in-law. Actually, they are for Harvey’s kitchen since he does all the cooking, but Rebecca does clean up so they both enjoy the towels.
Their charming 1950’s home on a quiet tree lined street looks just like the sort of house and neighborhood where Ward and June Cleaver raised their boys, Wally and The Beaver. My husband always says he feels like he has stepped back in time when we visit there.
Anyone who has lived very long in Florida will remember the pink flamingo “yard art” that graced so many lawns for several decades. None are on Rebecca and Harvey’s street, but their absence is noticeable.
For the kitchen in their first home, with its original pink counters, pink tiled wall, pink bar and oven door (they had to replace the pink refrigerator and pink stove top), Rebecca and Harvey chose a pink and black color scheme. Rebecca found a vintage, heavy chrome and black blender, a matching waffle iron and a big pink mixer with the matching pink mixing bowls. They all work perfectly and shine like only chrome of that era does. Naturally, the flamingo decorating theme followed.
 When you visit your children, what do you take along for a little gift? Of course, I had several things sewn for baby Alastair, but I don’t want them to think he is the only reason we visit. One of my favorite hostess gifts is a dishtowel or two.
So as I hurried to embroider the obviously ineffective Flamingo Floyd scarecrow dishtowel to take for our visit this weekend, I decided to reduce the 33,000 stitches in the 5×7 design. By replacing the ground and Floyd’s pants with appliquéd fabric, I reduced the stitch count to 26,000, saving time and reducing the stiffness of the design.
In Buzztools BuzzEdit, you can easily add stitches, either individually or as part of a shape. I simply selected the irregular shape option and plotted points around the ground portion of the design. At that point, you have to select 1. a color (choose one which is not in the design, such as bright turquoise or purple) and 2. a bean stitch, an outline or a zig zag to create the newly formed shape. I chose the outline stitch.
Next, I repeated the process, but chose a zig zag stitch. Now, I had an appliqué! It was as simple as that. And even on my Brother 4500D Duetta, which stitches 1,000 stitches per minute, it took much less time to create the applique’ than it would have to stitch the extra 7,000 stitches. Of course, I deleted stitches for the original ground and shorts, then changed the colors in my appliqué to suit the design.
The same basic process was followed for Floyd’s denim pants. But I wanted a rough look, keeping with the scarecrow look, so I simply outlined the pants one time and did not finish the applique’ with a zig zag stitch. The straight stitch outline was then trimmed fairly close, leaving the coarse denim threads to fray. I see now that I was in such a hurry that I missed clipping some of the jump threads.
I’ve stitched several other flamingo designs for daily use. But their favorites are the seasonal ones used mostly for decoration in their retro kitchen.


One response to “Flamingo Floyd~converting to applique’”