NOTE: This post is from an article I wrote for Creative Needle magazine some time ago. Made for my daughter Rebecca, this is one of my favorite projects.
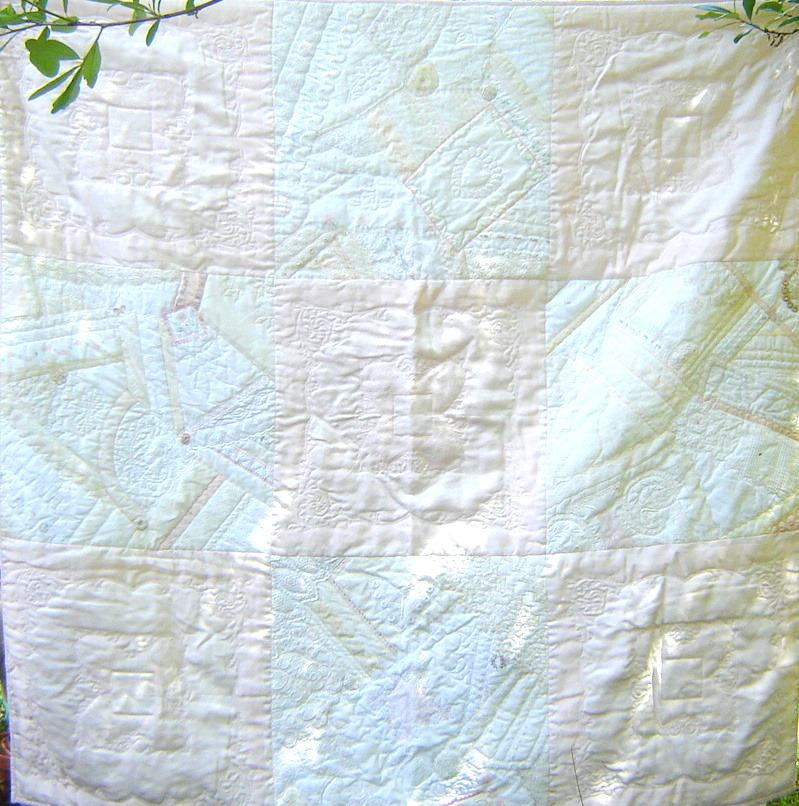
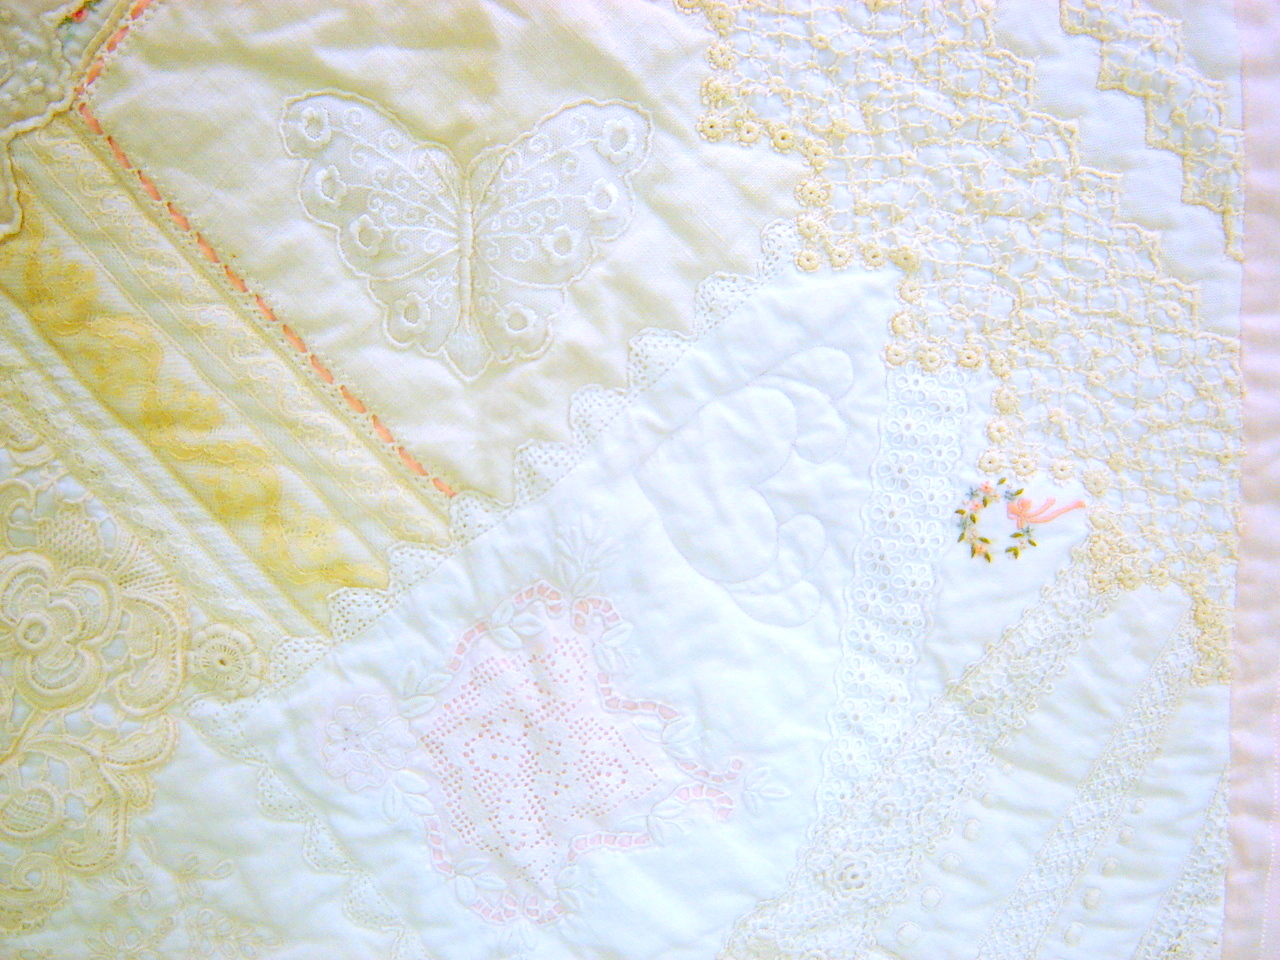
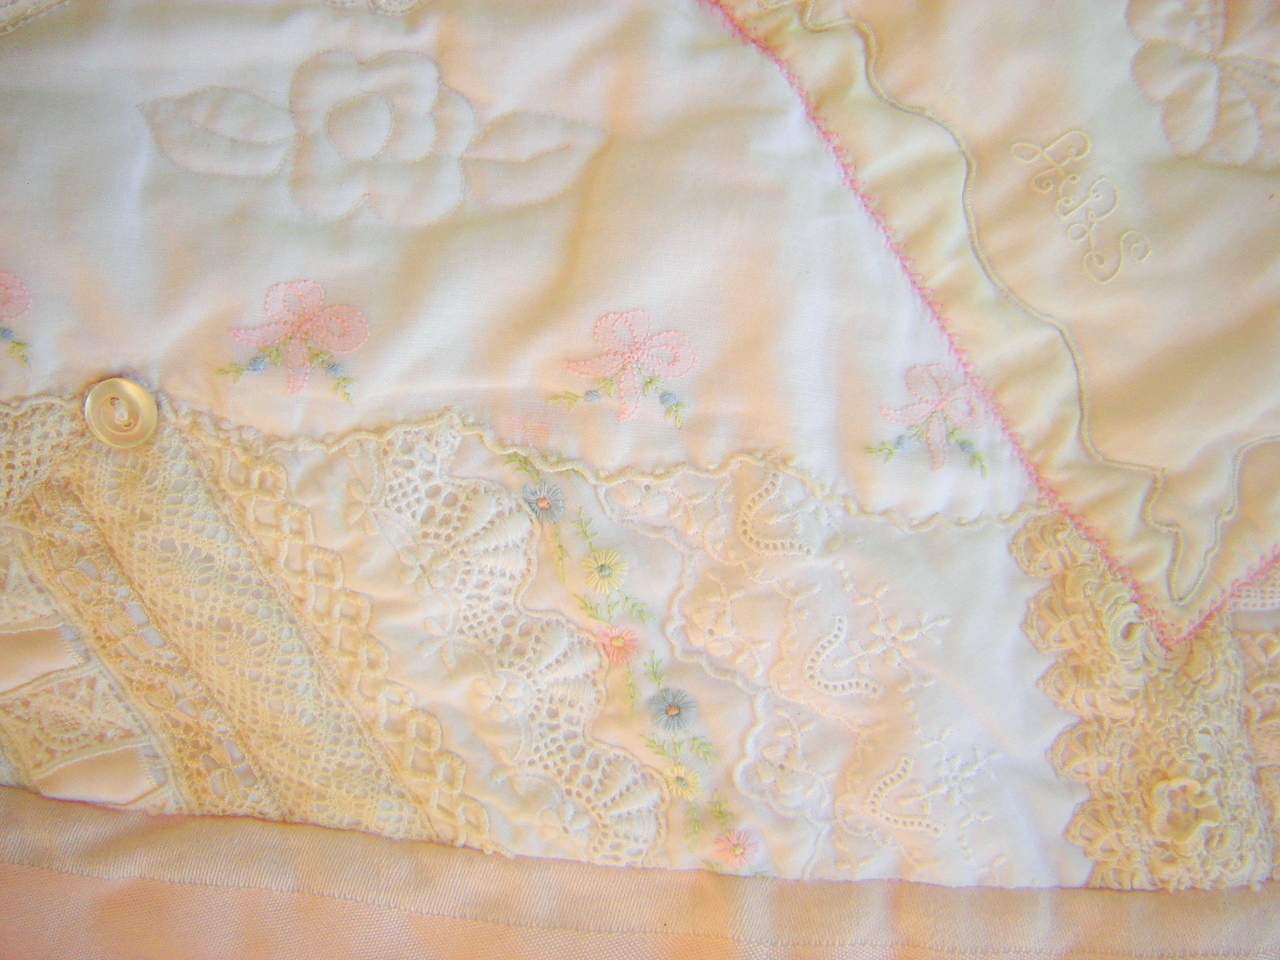
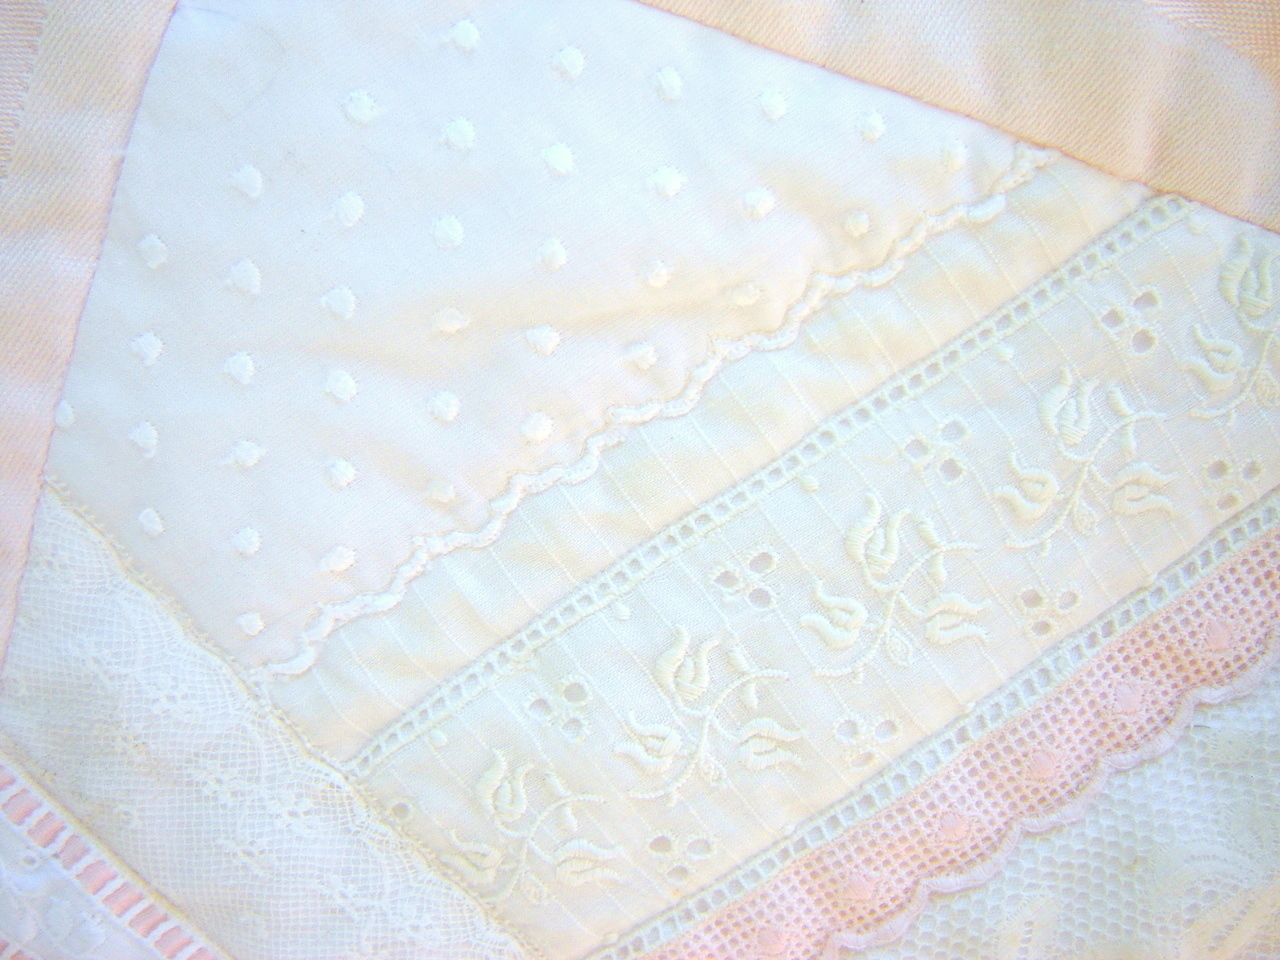
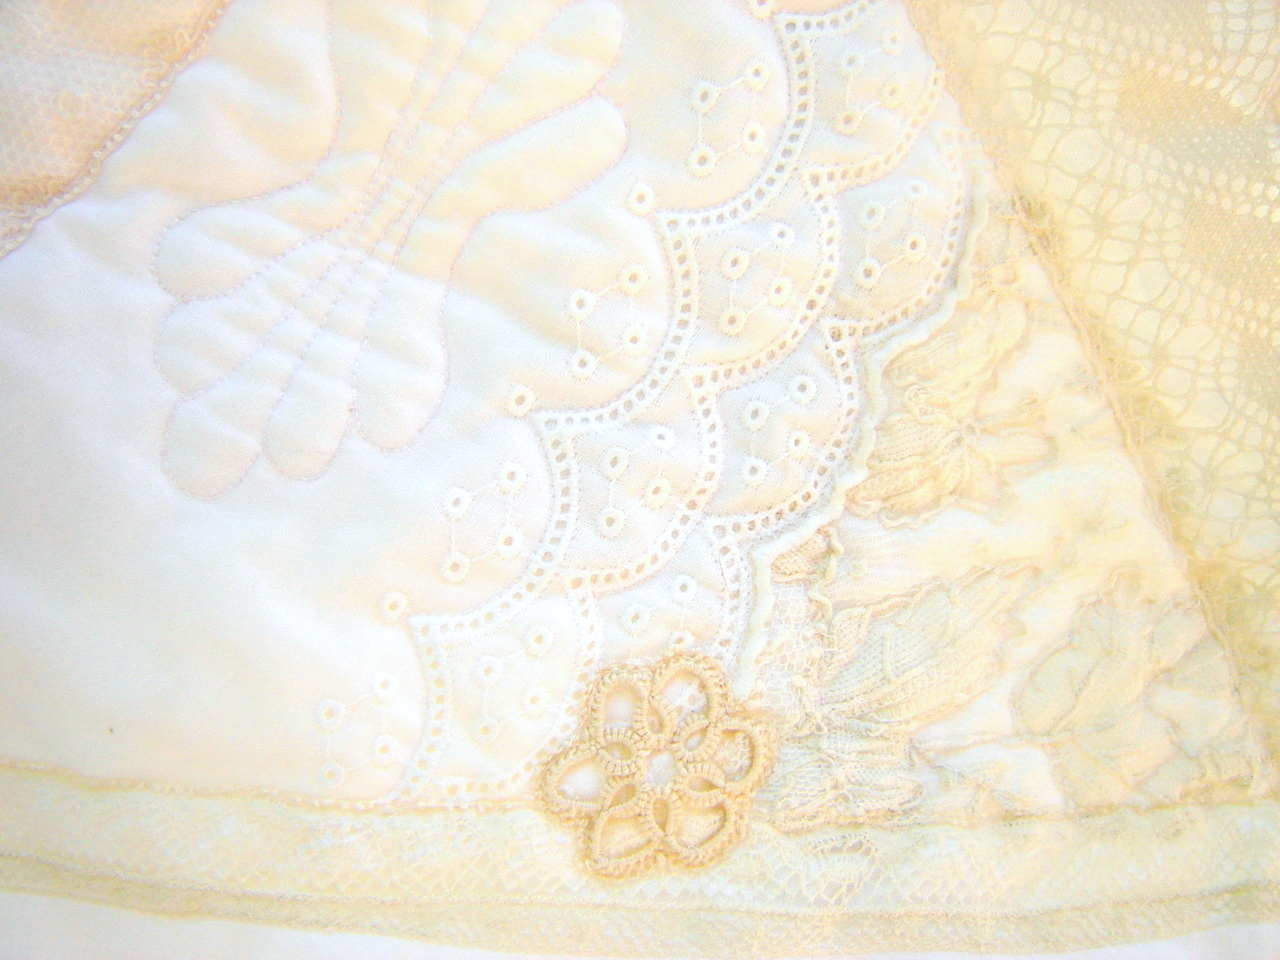
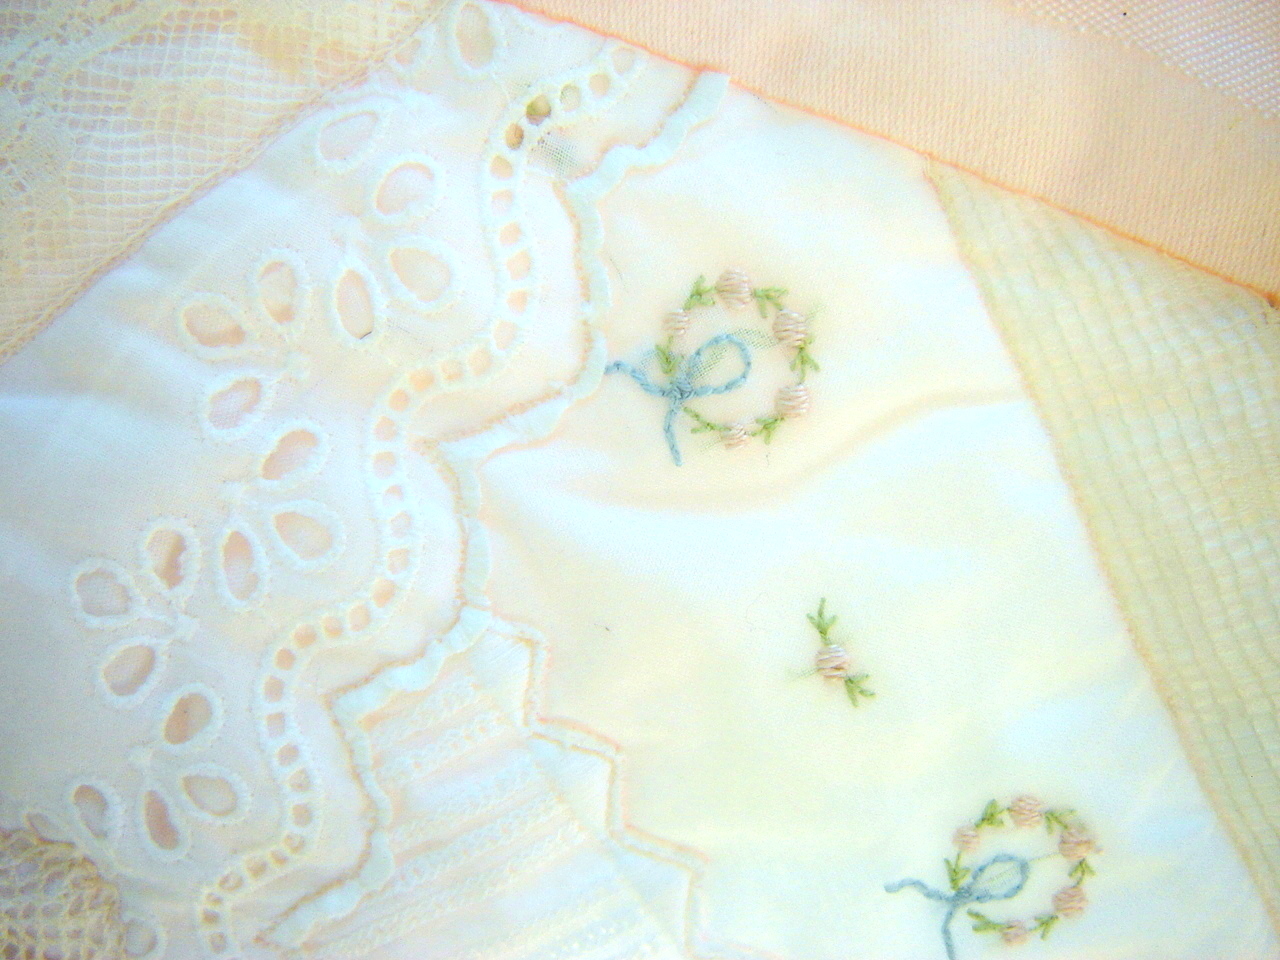
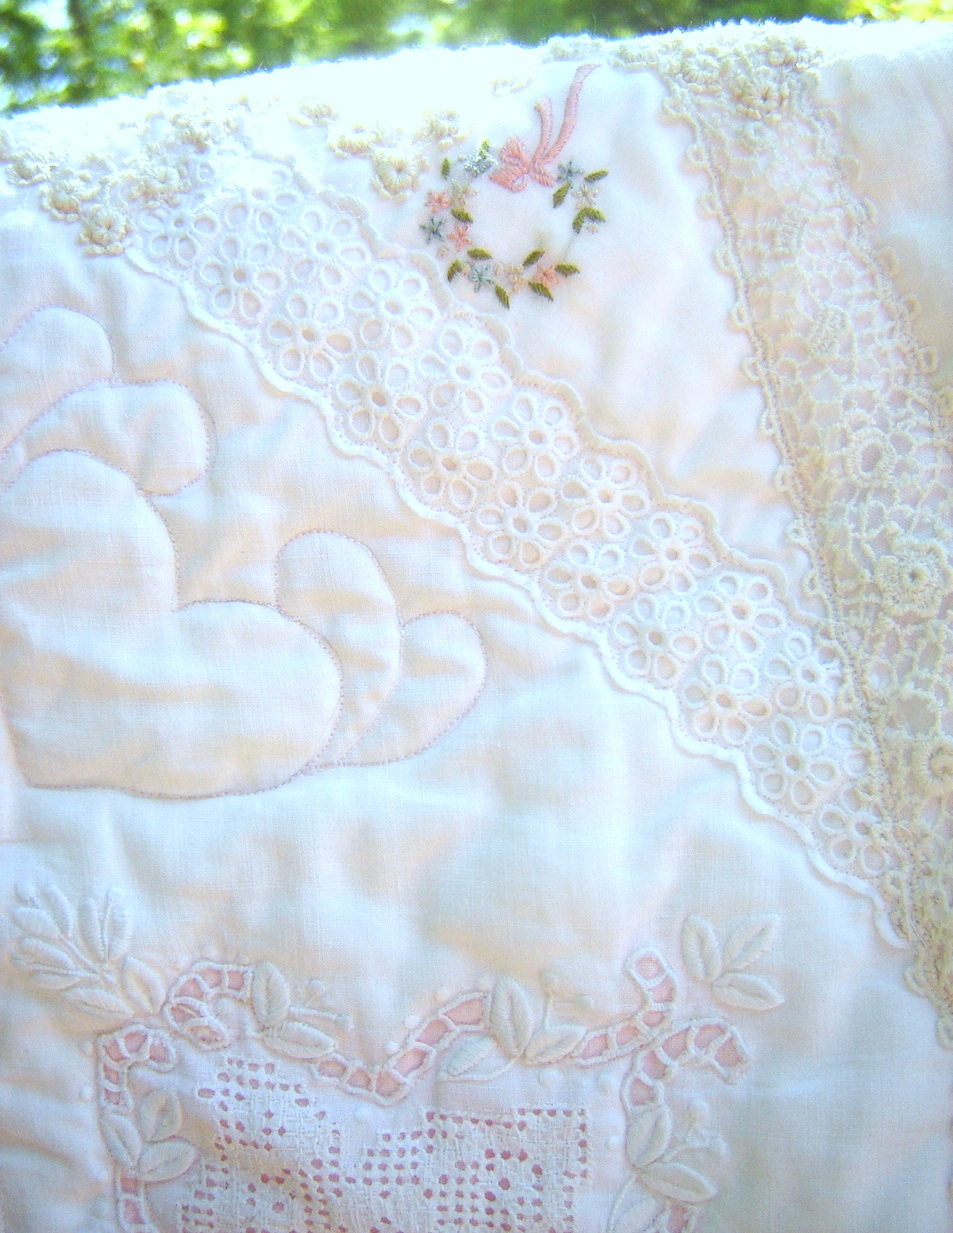
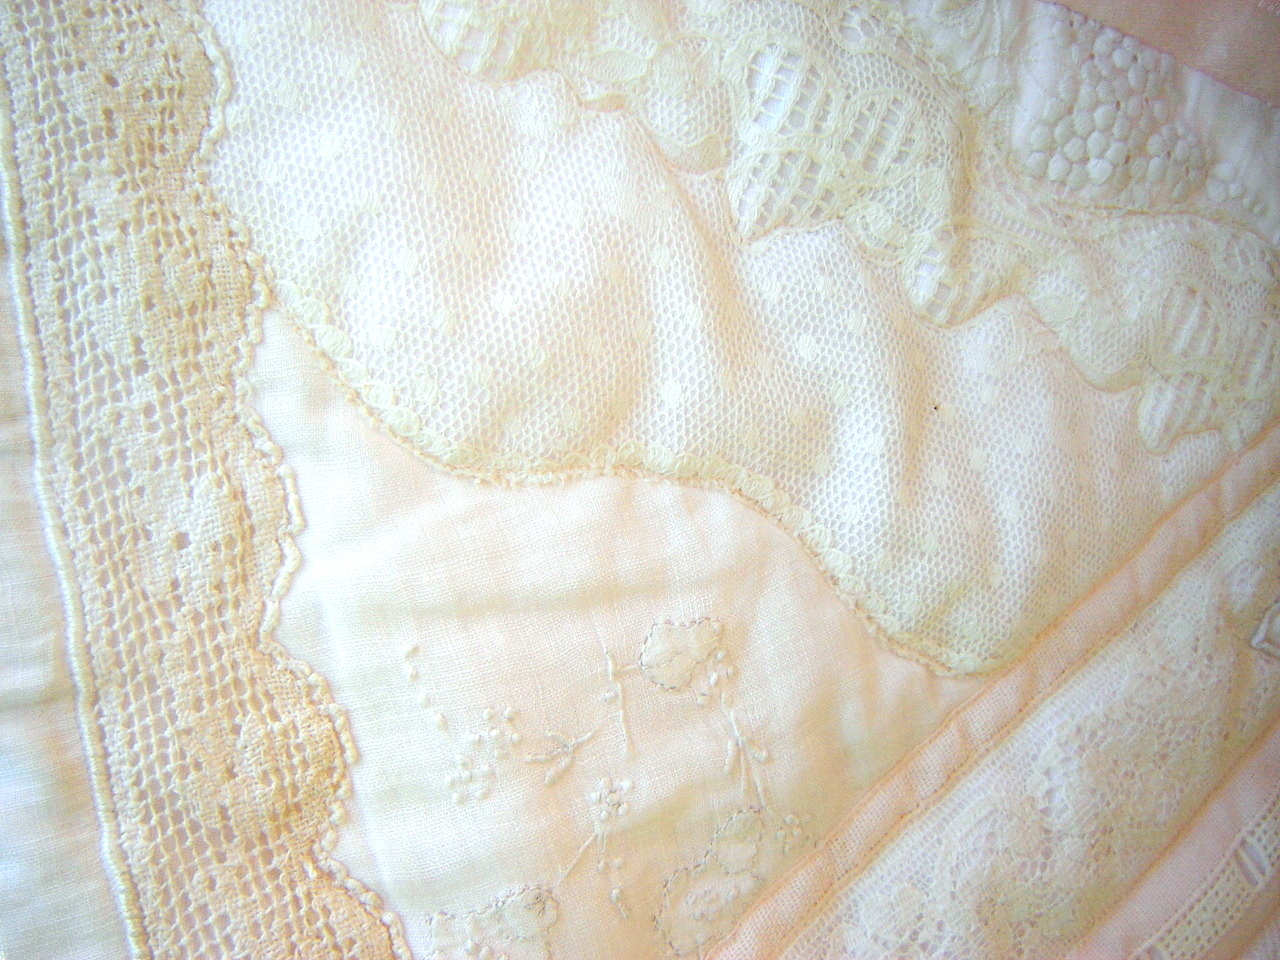
Heirloom Sewing Goods and Techniques~~~Long identified as the preeminent tone of femininity, pink is often the color of the daygown, embroidery, hair ribbons and other loving embellishments in a girl’s life. The pieces used for the crazy patch squares in this quilt include pink remembrances of my daughter, Rebecca, as well as other gourmet leftovers from earlier projects.
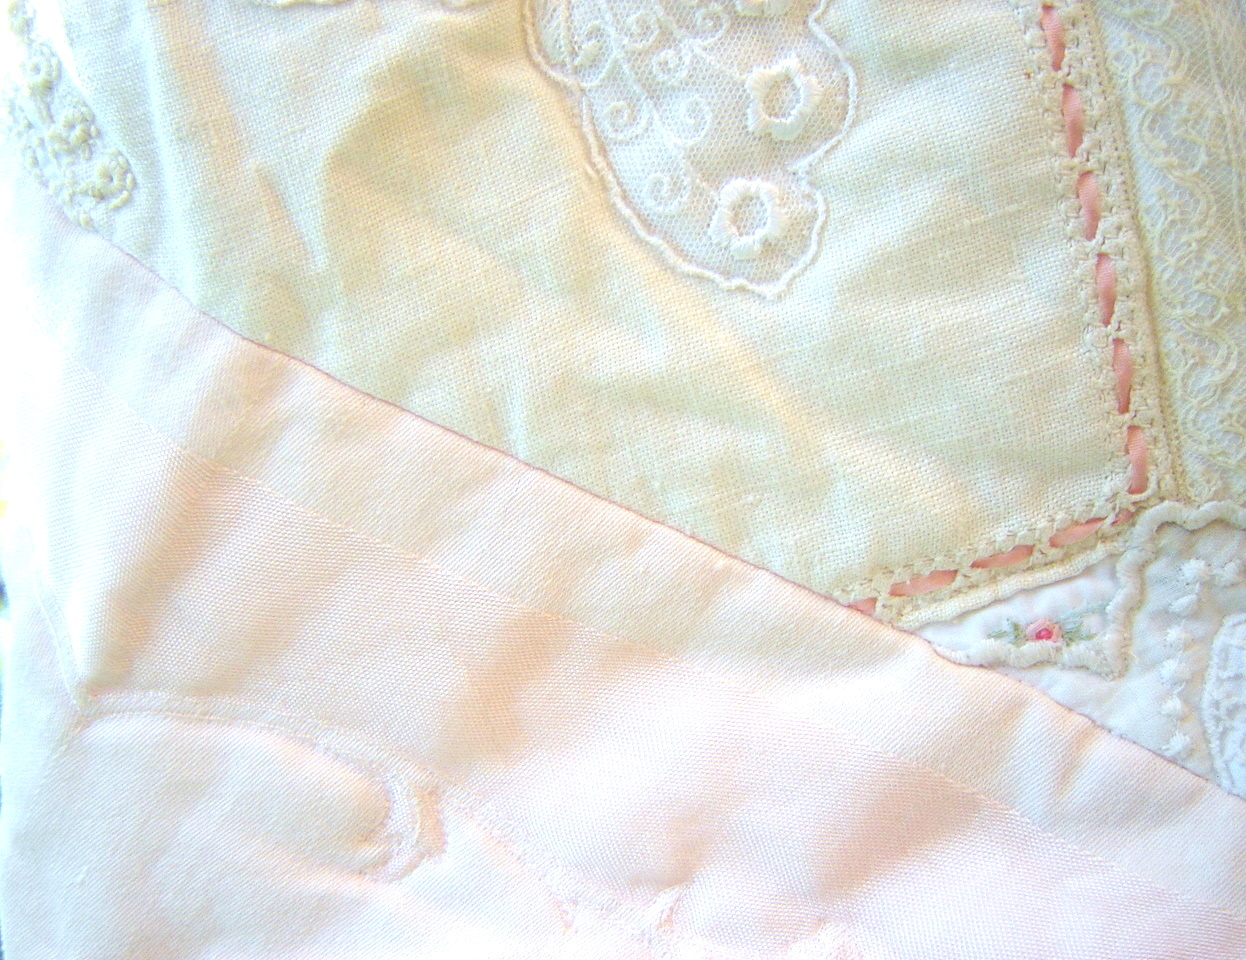
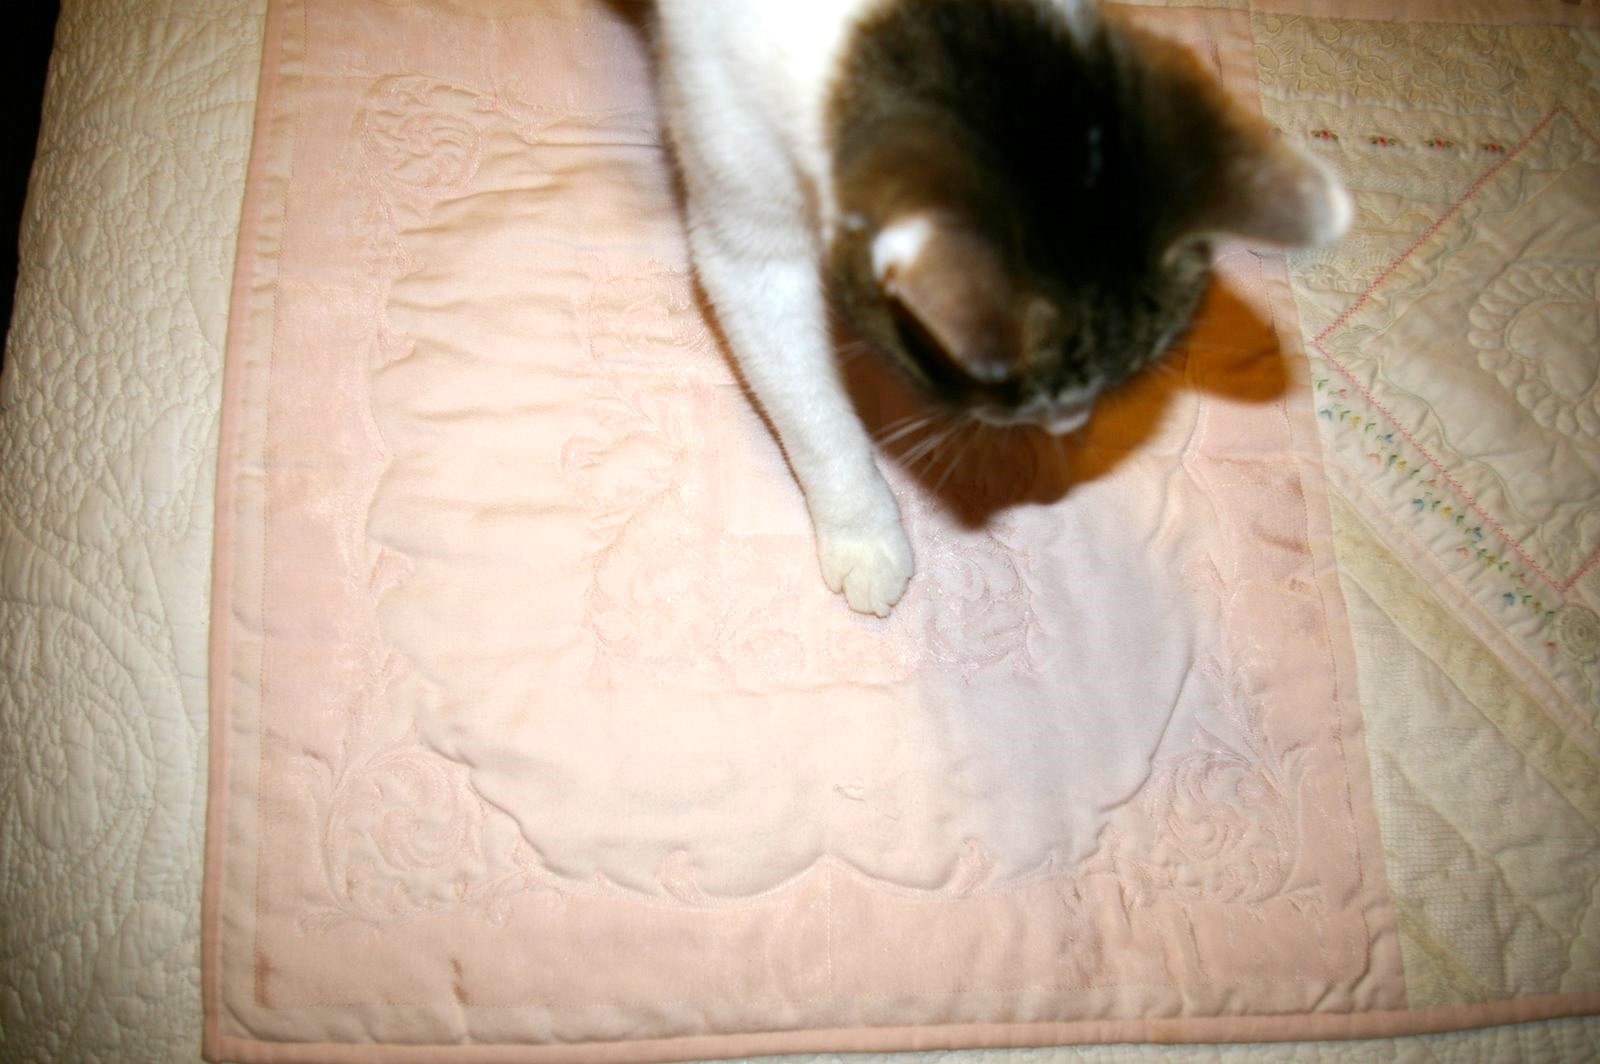
The pink damask napkins represent adulthood–the pleasures and responsibilities of hospitality, graciousness and family celebrations.
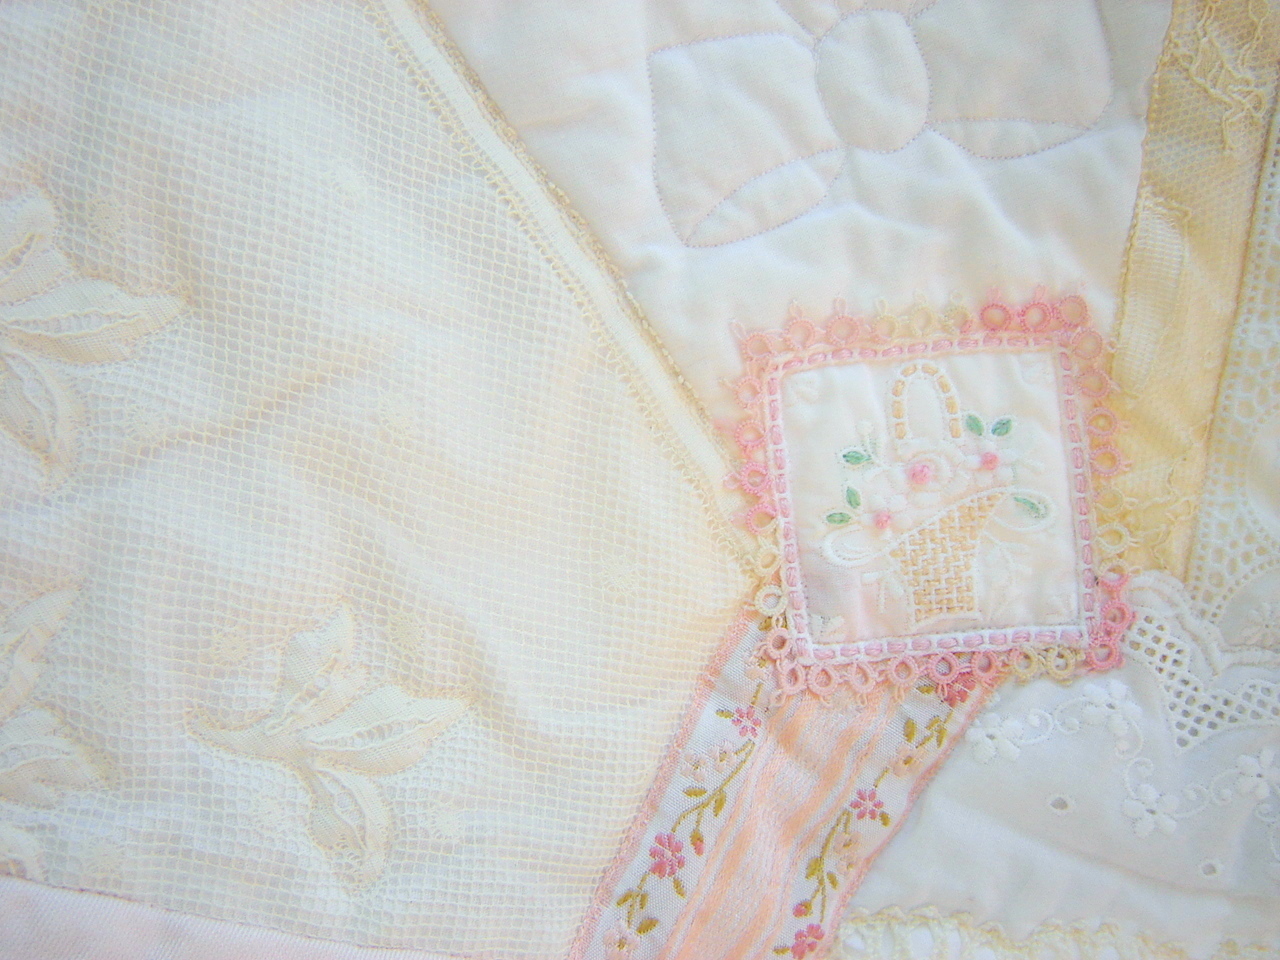
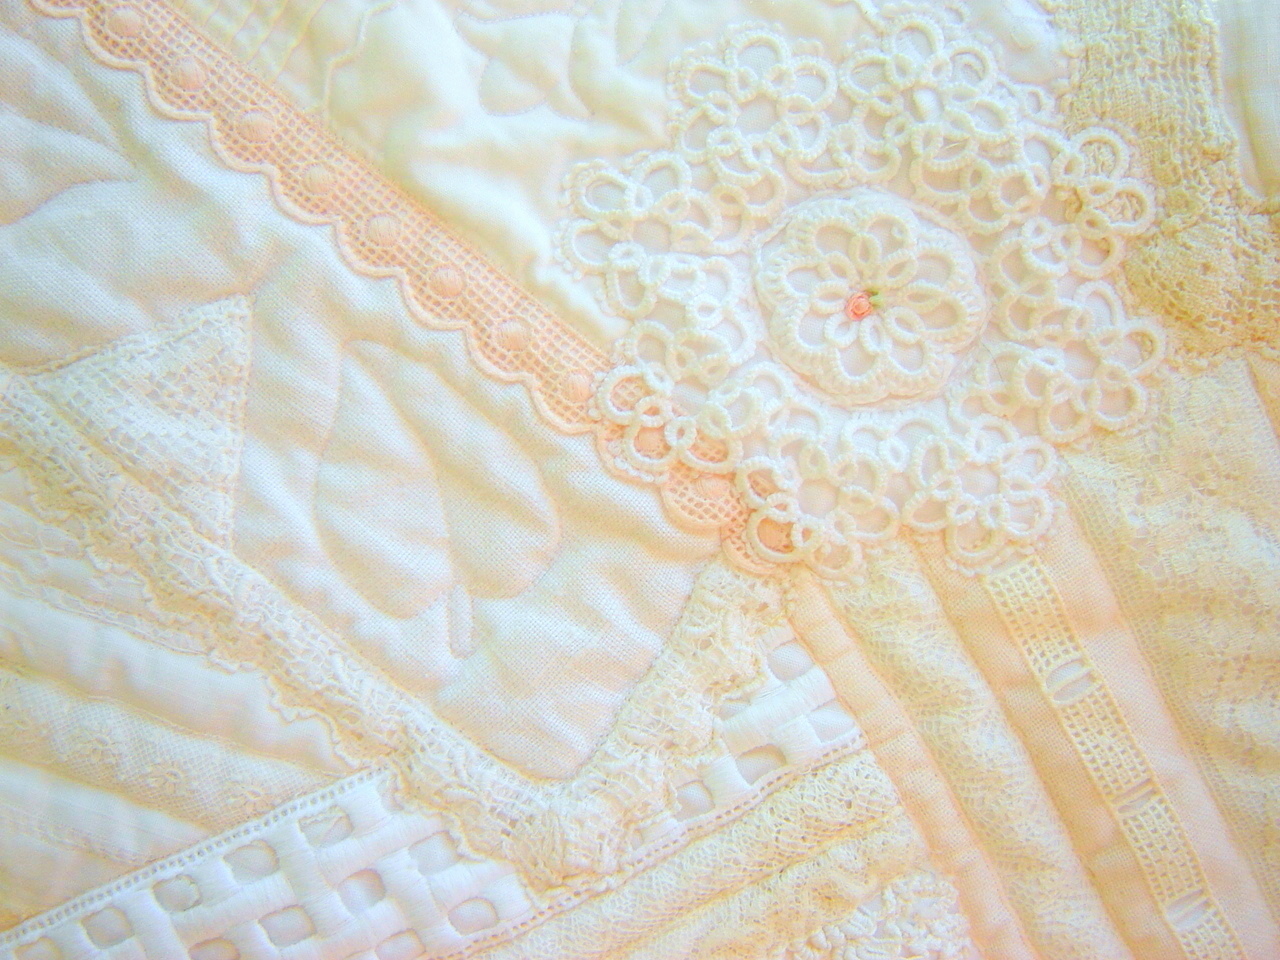
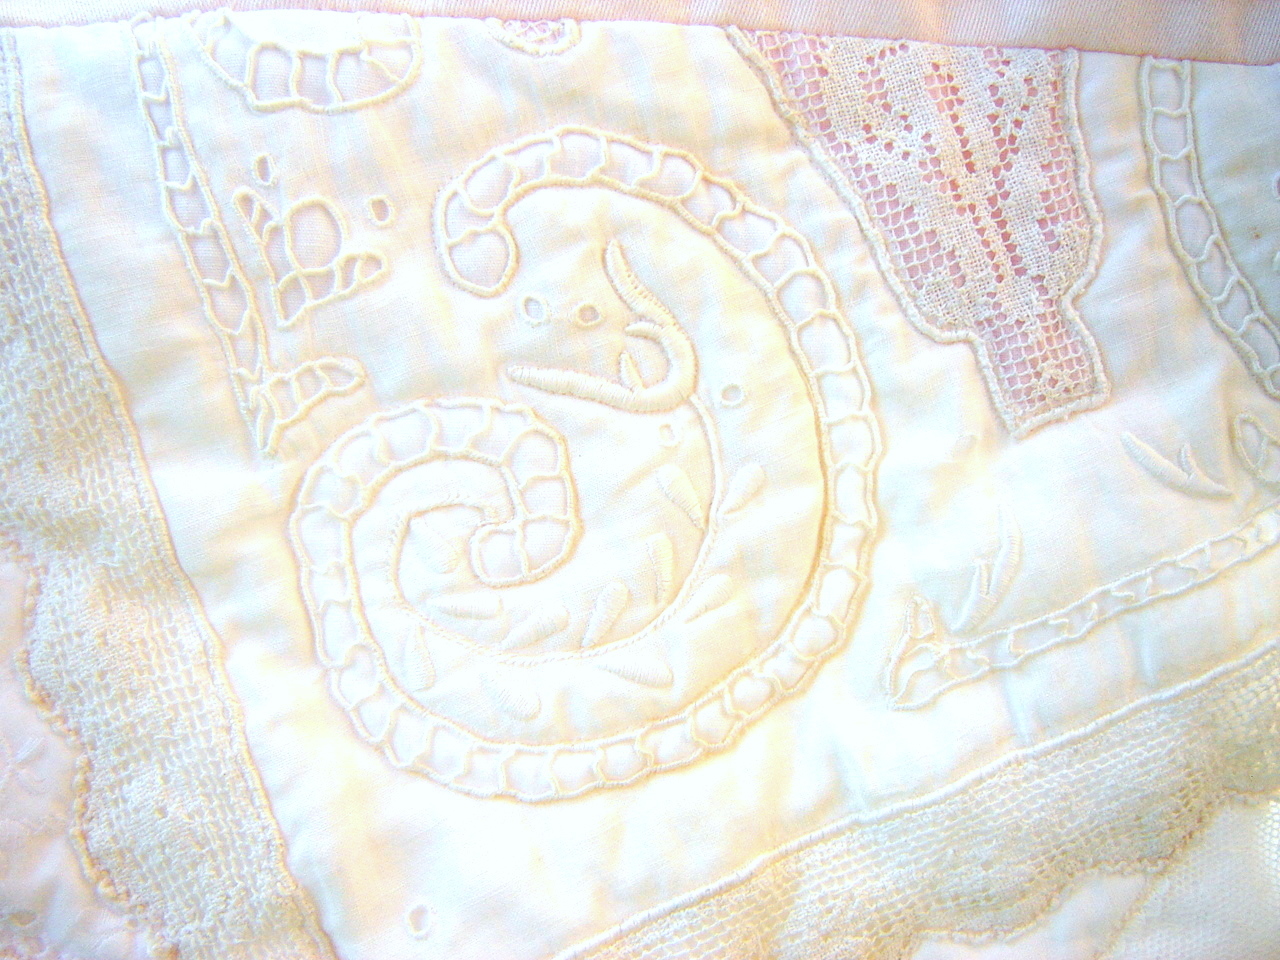
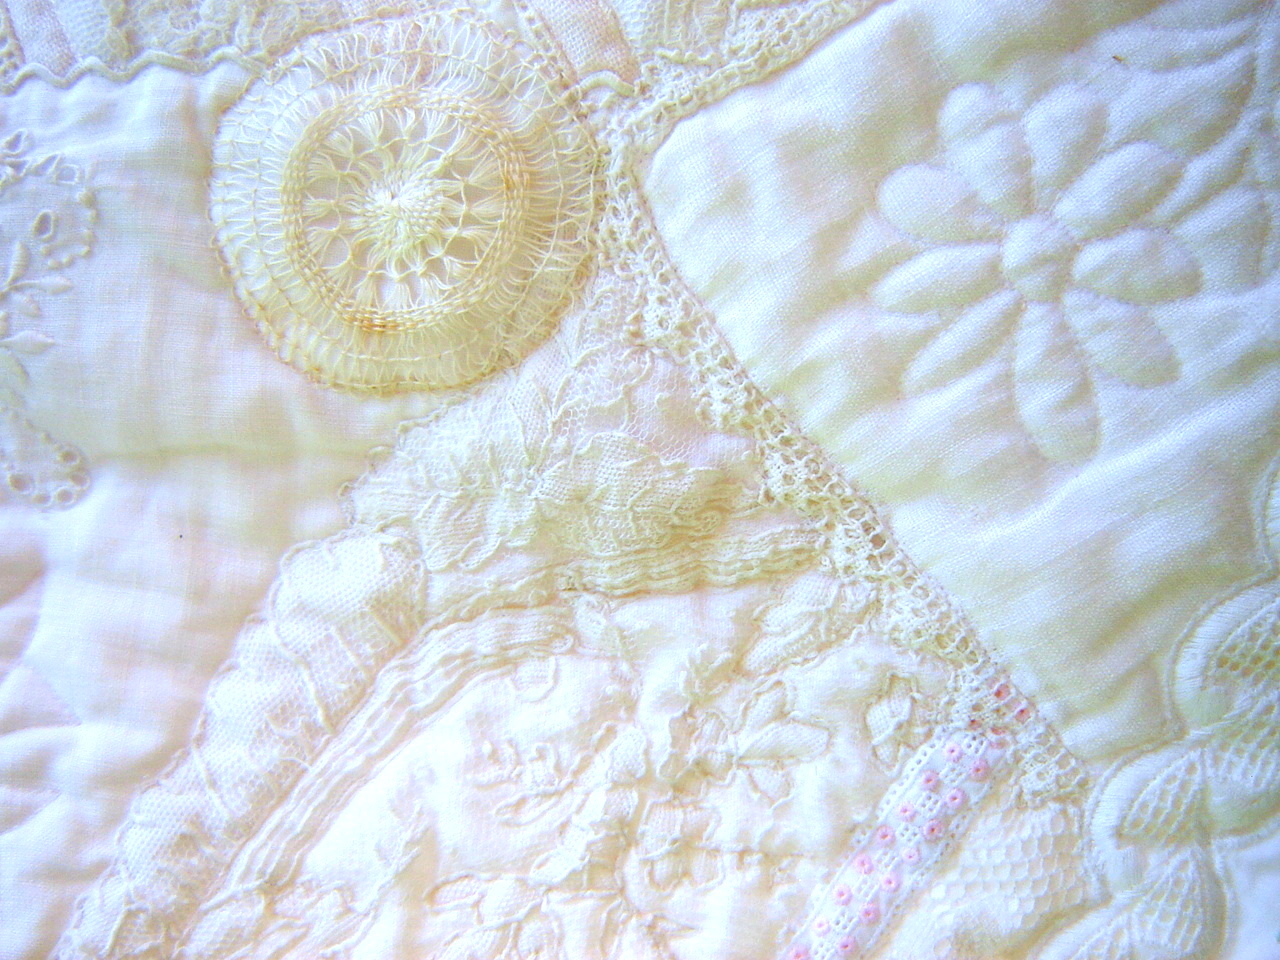
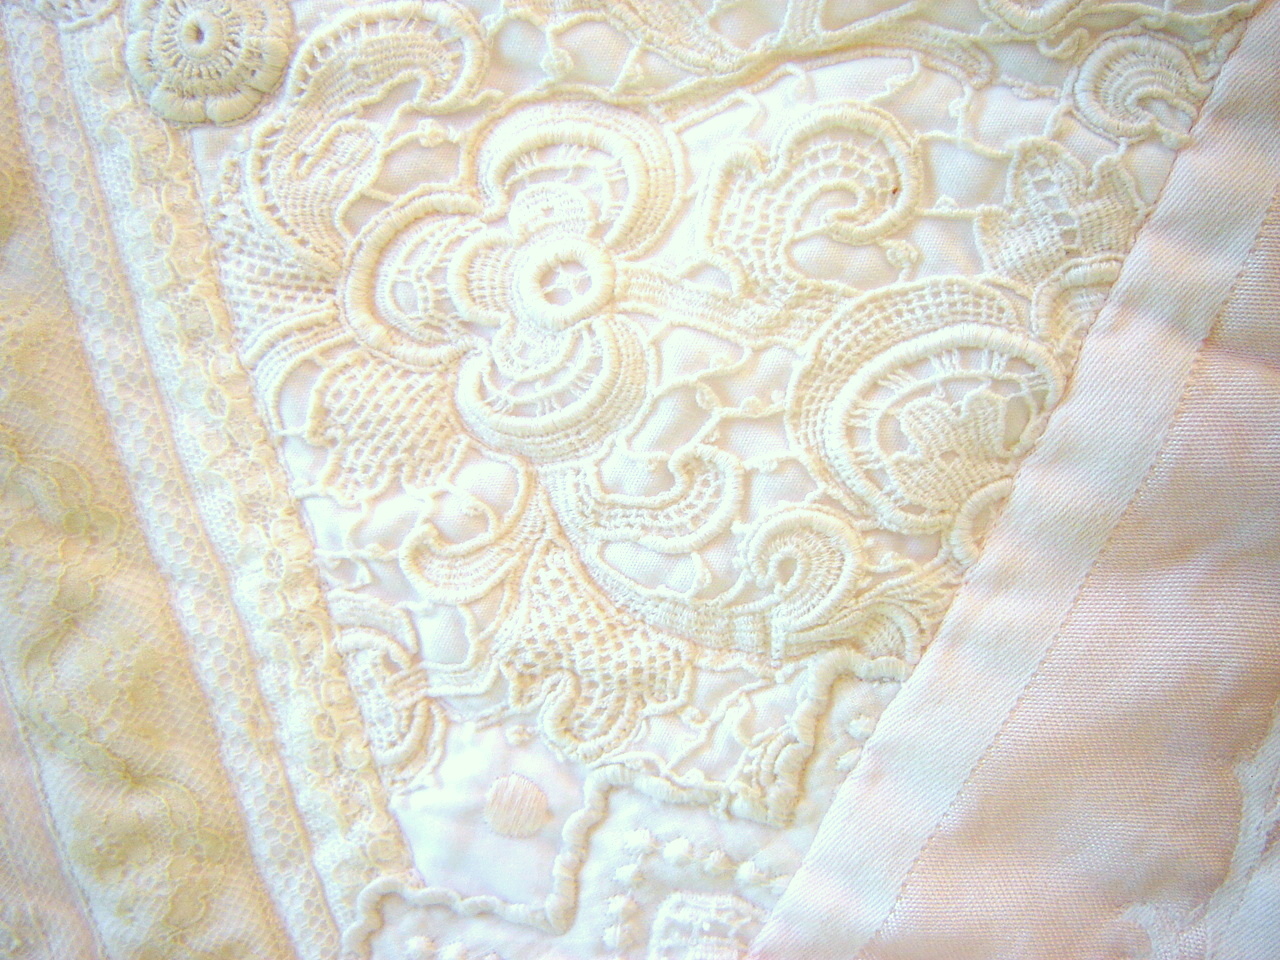
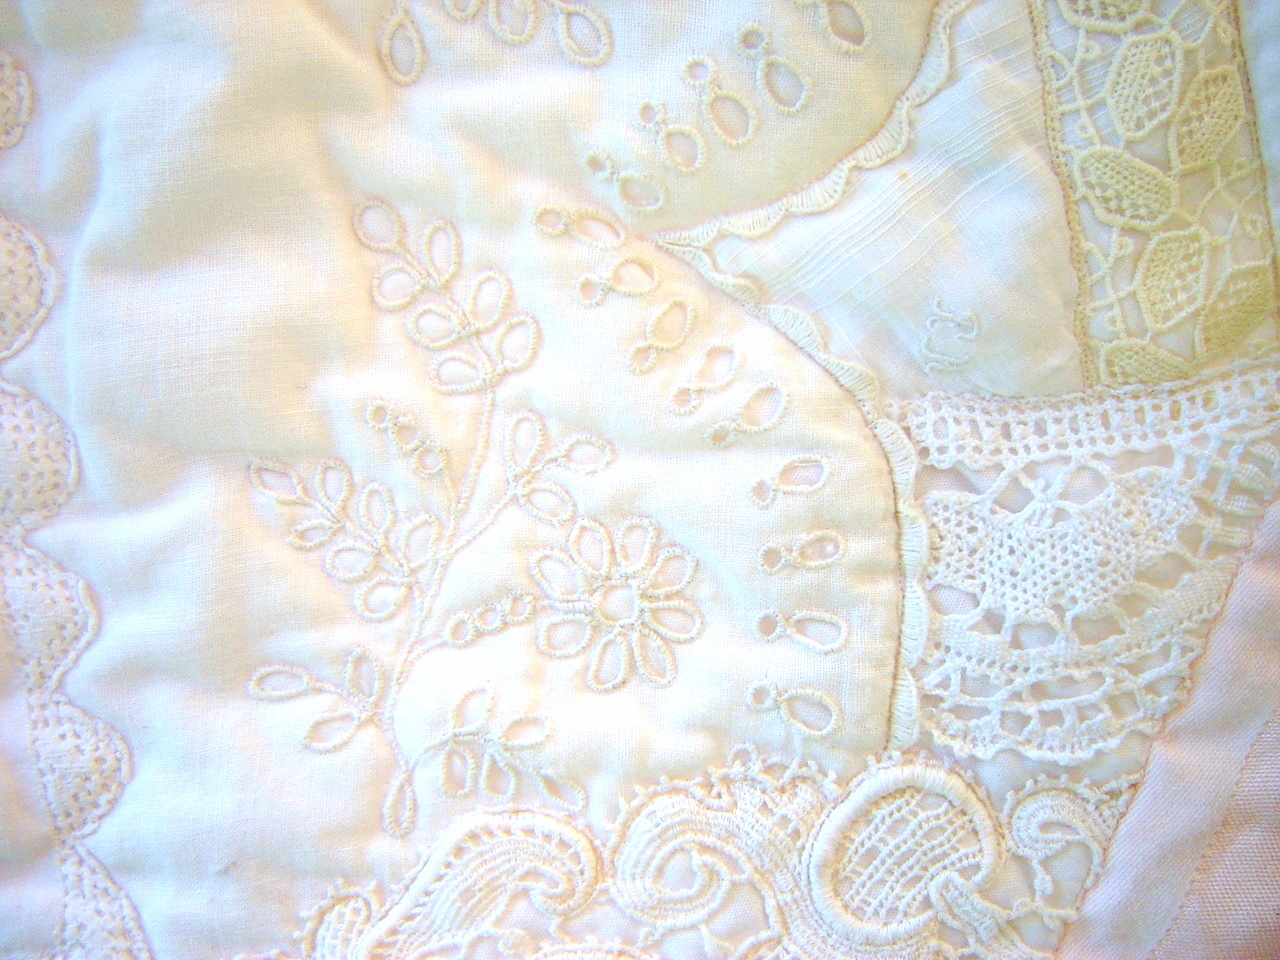
The quilt shows extensive lace-to-lace joining, tucks and other techniques long-practiced by heirloom stitchers. Bits of leftover handlooms and embroideries from baby dresses, lengths of tatting from Easter dresses, pieces of a fancyband of champagne laces and pink lace tape used in a pillow, and salvaged pieces from Grandmother’s cutwork tablecloth are joined in crazy patch harmony, much like crazy patches of memory. The resulting patchwork creation is of a very different genre than the countrified bed coverings shown in living color in quilt magazines.
Hemstitching, machine feather stitching, entredeux to fabric, and lace shaping are but a few of the heirloom techniques used on this quilt. Methods and monikers familiar to the makers of special occasion dresses are applied to this quilt.
Quilting Goods and Techniques~~~The only traditional quilting goods used for In the Pink of Life is the batting, Mountain Mist’s Quilt Light, a low-loft polyester batt. Only occasionally is damask used for quilts, though this writer’s rather extensive use of it results from the influence of Jody Stutchbury, an exceptional quilter and teacher, of Hendersonville, North Carolina. Her stunning quilt, Bronwyn’s Stars, was exhibited at the Appalachian Quilt Party in 1994. She had used her grandmother’s damask napkins as solid blocks alternating with pieced 8-pointed star blocks.
More standard quilting techniques are used in the project than standard quilting goods. If the three most important factors in real estate value are location, location, location, then the three most important factors in quilting are accuracy, accuracy and accuracy. In books, magazines and patterns, this theme is echoed. Accuracy, in combination with poor design or poor workmanship, does not result in a worthy quilt, but is rather a never-quiet mantra for those striving for excellence. Unlike heirloom sewing, where a quarter-inch here and there will not matter, quilting requires significant accuracy in order to make the pieces fit together.
The blocks (“quilterese” for the 18″ squares which are joined to make the quilt top) must all be exactly 18″ square, both the damask squares as well as the crazy patch pieced squares.
The crazy patch foundation squares of cotton sheeting, preferred over more delicate batiste for its stability) are cut 19″ square, one inch larger than the damask squares. This is to allow for any shrinkage or drawing up resulting from the dense stitching, much of it on the bias, that results from joining the laces and scraps to the foundation. All this is done in the interest of accuracy. Upon completion of the block, it is cut to exactly 18″.
Another standard quilting technique is that of machine quilting. Now accepted as a meritorious alternative to hand quilting, both free-motion and even-feed quilting stitches give textural relief to the crazy patch squares.
Heirloom Quilting Technique~~~The use of the damask’s pattern for a quilting design gives this quilt an innovative twist. Marking the quilt has always been a tedious and risky task, usually executed quietly as the quiltmaker silently prays that the lines will remain visible long enough to finish the quilting and yet disappear on cue with gentle laundering.
In-the-ditch (the little gully formed where the blocks are joined by a seam) quilting outlines the blocks. Selected pieces and laces are given relief with free-motion quilting (a technique often called barefoot sewing with feed dogs down, presser lifter bar down) [thus, tension engaged], and either a darning foot or no foot at all).
- MATERIALS
- (5 ) 18″ pink damask napkins
- (4) 19″ squares of firm cotton fabric, such as sheeting
- heirloom scraps–laces, handlooms, embroideries, ribbons, tea napkins, tatting, Swiss motifs and other medallions, pieces of antique clothing, handkerchiefs, etc. in pink, white and ecru
- Mountain Mist Quilt Light batting–twin size or 55″ square
- 1Â 2/3 yds. 60″ wide 100% cotton pink combed batiste
- notions: fine thread in pink, white and ecru such as Madeira Tanne’80 wt. or Madeira Cotona 80 wt. or  Mettler 60 wt. cotton machine embroidery thread article #248
- washaway basting thread from YLI
- silk and cotton machine embroidery thread for embellishment
- water soluble fabric marking pen or pencil
Directions: All seam allowances are 1/4″.
- 1. Measure napkins. Since they are often hand hemmed, the size may vary slightly. They must all be cut to exactly the same size. Rotary cut all to size of smallest, removing the hems.
- 2. Starch and press.
- Crazy patch squares
- 3. Cut 4 squares of cotton sheeting 1″ larger than the size of the trimmed napkins. The extra inch allows for drawing up as pieces are stitched to the foundation.
- 4. Starch and press.
- 5. Arrange heirloom pieces on the foundation square, covering raw edges with finished edges. Take care to distribute color and texture.
Design note: make curved lines a part of every square. Be sure to include arcs and round shapes, such as doilies, even if they are quartered. The straight lines of lace-to-lace piecing and the straight seams of a tea napkin joined to a handloom can give an angular, choppy look. Interest and softness are added by the inclusion of arcs. Lace shaping by pulling the gathering thread in the header of imported laces or lace tape quickly renders curves.
- 5. Pin carefully in place.
- 6. With fine white or ecru thread to match the lace or embroidery, sew to foundation piece.
- 7. Complete four squares. In large, unembellished areas, mark small quilting designs with template or by tracing a motif.
- 8. Trim and square up crazy patch squares to size of napkins.
NOTE: The term “squaring up” refers to the process of creating a perfect square from fabric or pieced fabric. Each corner must have a 90 degree angle, each side must be the same size as the others. This is most quickly and accurately accomplished with a rotary mat and cutter.
- 9. Using 60 wt. sewing thread, join squares with 1/4″ seams into rows of three, alternating pink damask with crazy patch blocks.
- 10. Press seams of first and third rows to right. Press seams of middle row to left. This arranges the seams in “opposition”, facing different directions, when the rows are joined. This helps to make accurate intersections of the seam lines.
- 11. Join three rows, taking care to match the intersecting corners of the blocks. Press the two long seams, joining the rows together, in one direction.
Making the quilt sandwich~~~ The “quilt sandwich” is a term referring the three layers of a quilt, the backing, batting and quilt top.
- 12. Cut combed batiste to 55″ square.This is larger than will be needed. The extra is just in case the quilt top is slightly larger than planned. Starch and press. Tape tautly to ping pong table or to floor.
- 13. Center square of Quilt Light batting on backing.
- 14. Center quilt top on batting. Smooth with hands so top lays flat.
- 15. Hand baste (big 1-2″ stitches are fine) with quilting thread no less than every 4″, first forming a square grid and then adding diagonal lines.
- 16. Remove tape from backing.
- 17. Machine quilt by stitching in the ditch of the seams joining the blocks and along some of the lines of crazy patch. Leave no area greater than 4″ unquilted. Use thread to match the color of the piece being quilted.
- 18. With pink thread in the needle, quilt the pink napkins along the lines of the pattern. Before beginning, determine which parts of the damask pattern will be quilted and where the pattern will begin and end.
- 19. Pull all threads tails into the batting with a handsewing needle. Unsightly thread tails should not be visible on the front or the back.
- 20. Trim excess batting and backing to size of quilt top.
- Binding~~~21. Cut 4 strips 1 7/8″ x 60″ (width of the batiste).
- 22. Press in a fold, making a double binding 7/16″ x 60″.
- 23. Measure the length of the quilt, from the top to the bottom through the center of the quilt. Measure the width of the quilt from side to side through the center. These two measurements should be the same. If not, trim away equal amounts from each side so that the top is square.
- 24. Mark two pieces of binding to the length of the vertical center.
- 25. With raw edges even and binding on top of quilt, stitch with 1/4″ seam allowance using 60 wt. Mettler thread. Take care to ease in any excess top or binding. The goal is to make the finished length of the bound edge the same as that of the center. Otherwise, the quilt will not lie flat. Cut off excess binding.
- 26. Fold the binding over the seam allowance, the batting and backing and hand whip the folded edge to the stitching line on the back of the quilt.
- 27. Measure horizontal center of quilt, from the outside of the binding on one side to the outside edge of the binding on the other side. Add 1/2″ to that measurement, for a 1/4″ fold over at the beginning and end of the binding.
- 28. Mark that length. Join binding to the top and bottom of quilt in like manner, evenly distributing any excess fullness so that the finished length of the binding matches the horizontal center.
- 29. Clip the corners and wrap the folded binding around to the back, as on the front. Hand whip to stitching line.
- 30. Make a label to identify the quiltmaker, the date and location of completion, and any pertinent information such as the name of the quilt and the recipient. Labelling all quilts is very important.
- 1. Use washaway thread in needle for pieces you know will be quilted. This will eliminate the two rows of stitching, one on top of the other, that will result if the piece is first stitched to the foundation and then stitched again when quilted.
- 2. Select damask with a fairly simple pattern, or with lines which don’t become part of an endless maze.
- 3. Trying sewing barefoot on damask. The tone-one-tone pattern is difficult to see at best, but with the darning foot it is often hard to see where the stitching belongs. A naked needle gives an unobstructed view of the damask pattern.
When stitching barefoot, the fabric tends to lift up with the needle. It is helpful to use a needle trolley or seam ripper to hold the fabric in place. Engaging a needle-down function key on the sewing machine, if available, is also helpful.
4. Make the numbers work for you. If you have only 4 napkins, make 5 blocks of crazy patch. If you have 15″ square napkins, reduce the size of the foundation block to match. If you would like a larger quilt than that allows, make more blocks or add a border.
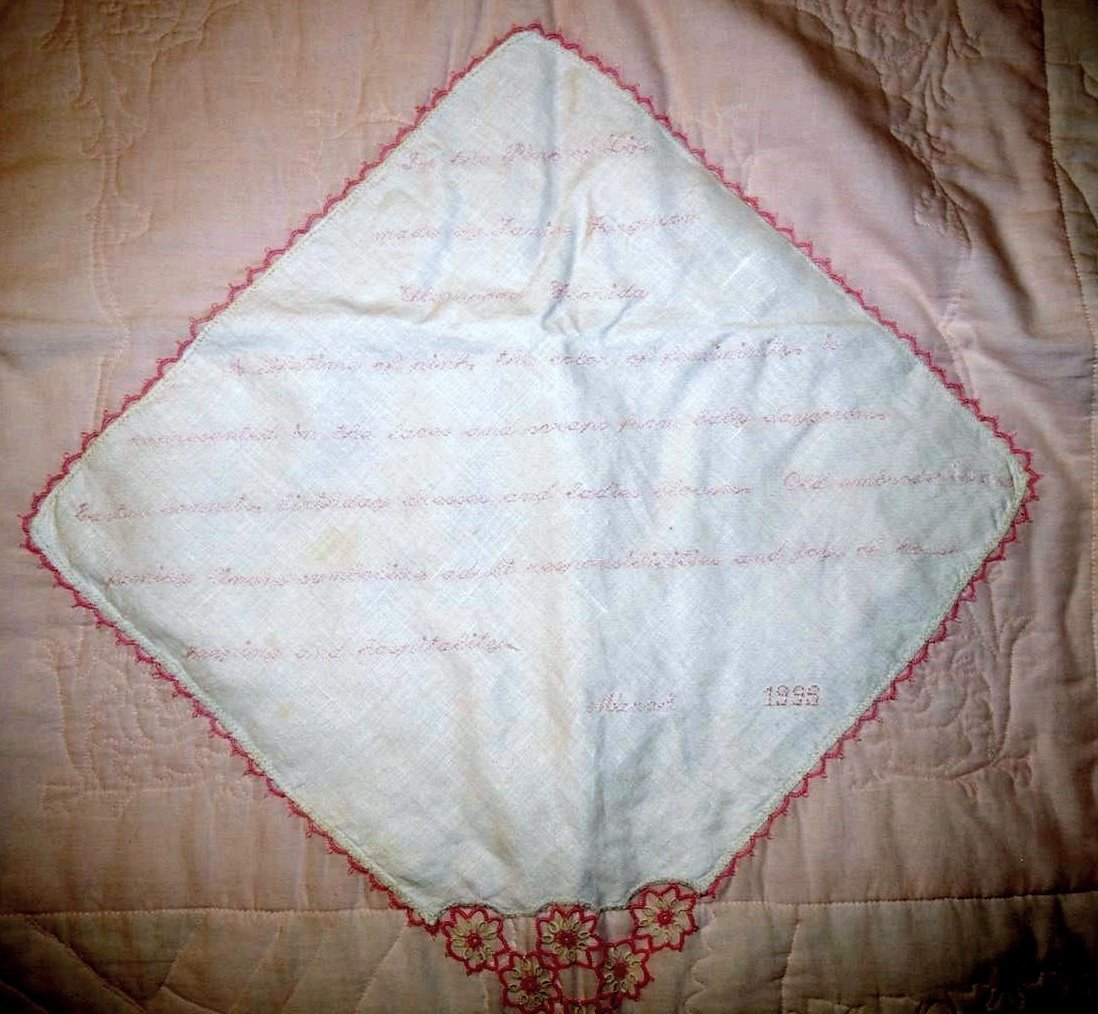 Label~~~The quilt label is a plain, antique linen handkerchief with pink tatting. Machine embroidered, along with my name, date and location, the quilt label reads:
“A lifetime of pink, the color of femininity, is represented in the laces and scraps from baby daygowns, Easter bonnets, birthday dressess and lady’s blouses. Old embroideries and family linens symbolize adult responsibilities and the joys of housekeeping and hospitality.”


12 responses to ““In the Pink of Life” Quilt”