
Lately, there have been considerable discussions and questions about lace tape, its origin and uses. The history is quite interesting, as its development involved a salvage warehouse and an unraveled sweater for my Rebecca and midnight transatlantic phone calls. That was in 1987 when I first brought this product to the heirloom sewing public.
Most of this history is detailed in this post. Because lace tape is one of my favorite sewing products, I’d like to share some applications and techniques. For many years I taught a 6-hour class around the country. So there is a lot of material on the subject, too much for one post. Lace tape can be used for shadow applique’, colored entredeux, colored shark’s teeth, tiny piping and so much more. So stay turned for details. A few future posts will feature projects with detailed directions.
ABOUT LACE TAPE
Approximately 3/8″ wide and available in a rainbow of colors, lace tape is a loosely woven 100% cotton trim. It has a gathering thread on each side and is wonderful for lace shaping. It also can add a bit of color to an heirloom project.
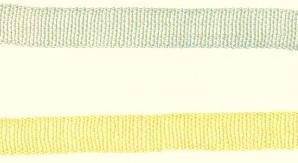
Now there are two varieties of lace tape: Japanese and Swiss. The lace tape shown above and used on each of the items pictured below is Japanese.
USES
1. for lace insertion substitute joined to lace edging or other insertion
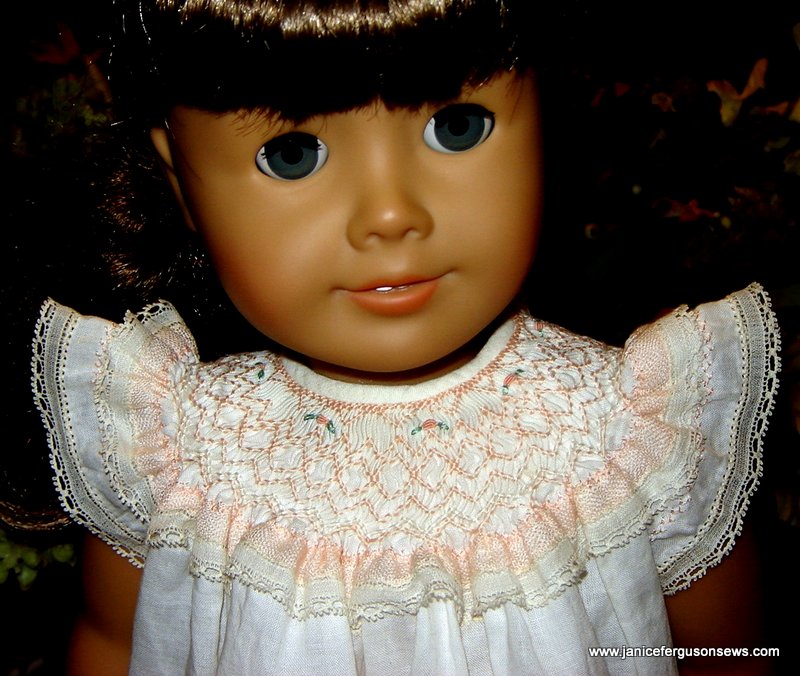
Peach lace tape was joined to lace edging and then stitched to flat bishop before smocking. See Molly’s Lace Tape Nightie for more pictures and information.
preparation: Like heirloom trims, lace tape is easier to work with after being starched and pressed, unless it is being shaped. Use the finest thread, preferably 80/2 Madeira Cotona,and the smallest needle appropriate to the thread size.
technique:Butt lace tape to lace. Zig zag the two pieces together with an approximate stitch setting of W 1.5-2.0, depending on width of lace header, L .8-1.0 edging. NOTE: An edge joining foot makes this much easier.
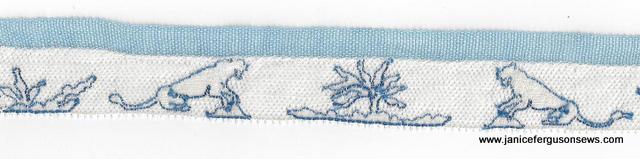
Lace tape joined to Aesop’s Fables Binche lace.
2. for trim applied on top of fabric
This would be a good use for the heavier Swiss lace tape.
preparation: If it is positioned in a straight line, starching and pressing both the fabric and the lace tape before placement will make handling easier. Thread the machine needle with a color matching the lace tape and the bobbin with thread to match the foundation fabric.
first pass: Place the starched lace tape on the fabric as desired and straight stitch as closely as possible to each edge. Pin or use a glue stick if necessary. Press.
second pass: For a more finished look, work a decoative stitch such as feather, pin, or tiny zig zag over the edges of the lace tape. This can be done in matching or contrasting thread, depending on the desired look. Press once more. When applied on top of fabric, there is no need to cut away the fabric behind the lace tape.This makes the article a little more sturdy.
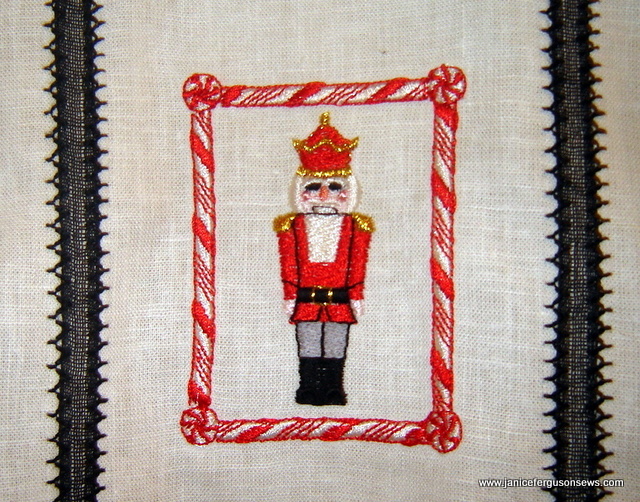
Black lace tape runs parallel to the Nutcracker on my grandson’s Christmas shirt. More photos and details are posted here.
The background linen would not have shadowed through with the heavier Swiss lace tape. But it only comes in three colors, white, pink and ivory.
3.for unshaped shadow applique’
Lace tape has many qualities to recommend it for shadow applique’.Since the edges are finished, there is no fraying and less danger of pulling away from the outline of the shadow design. Depending on the color of the fabric under which it is placed, a variety of hues can result from the same color of lace tape. The denser Swiss lace tape would be a good choice if a stronger shadow is desired.
preparation: Press and starch both lace tape and foundation fabric.Thread both the needle and bobbin with thread to match the foundation fabric. Adhere lace tape to wrong side of fabric with pins or glue stick.
first pass: Straight stitch from the wrong side as closely as possible to each edge. Press.
second pass: On right side of fabric work a decorative stitch to cover the straight stitches and the edges of the lace tape.
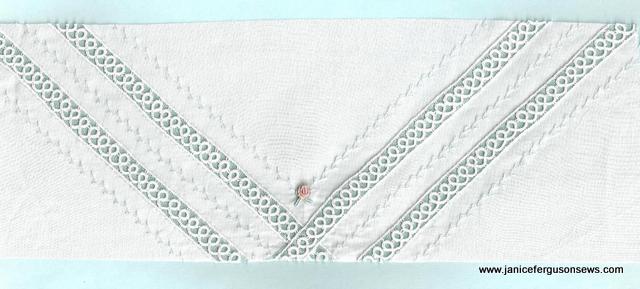
This is the fancyband on a christening dress. White lace tape is placed behind white fabric to create the shadow effect. More pictures and info about this project are posted here.
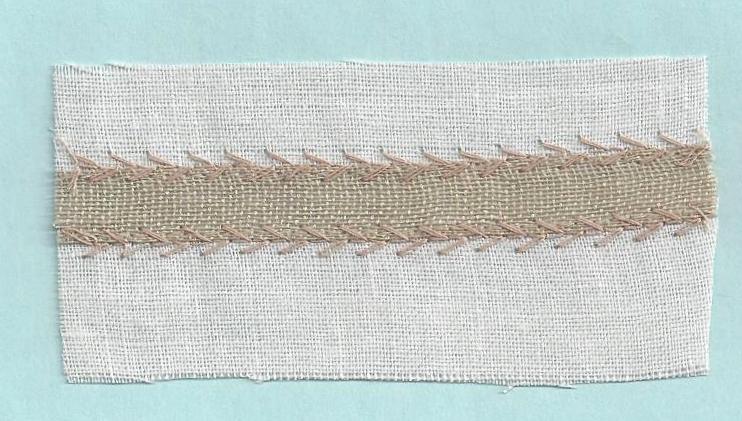
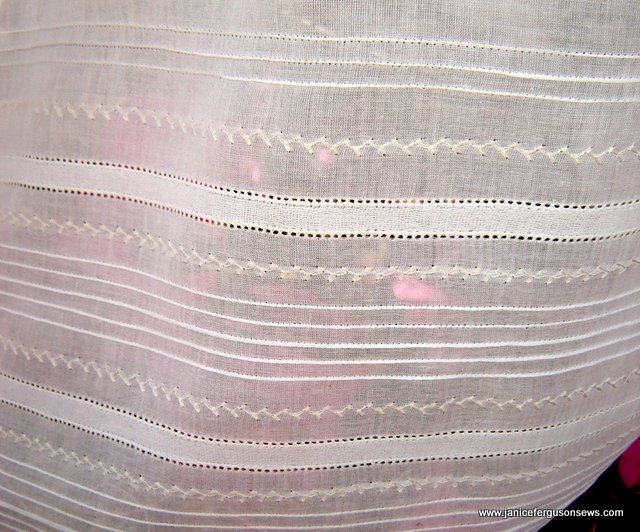
This is another example of lace tape used for shadow applique’, though at the hemline it is shaped.
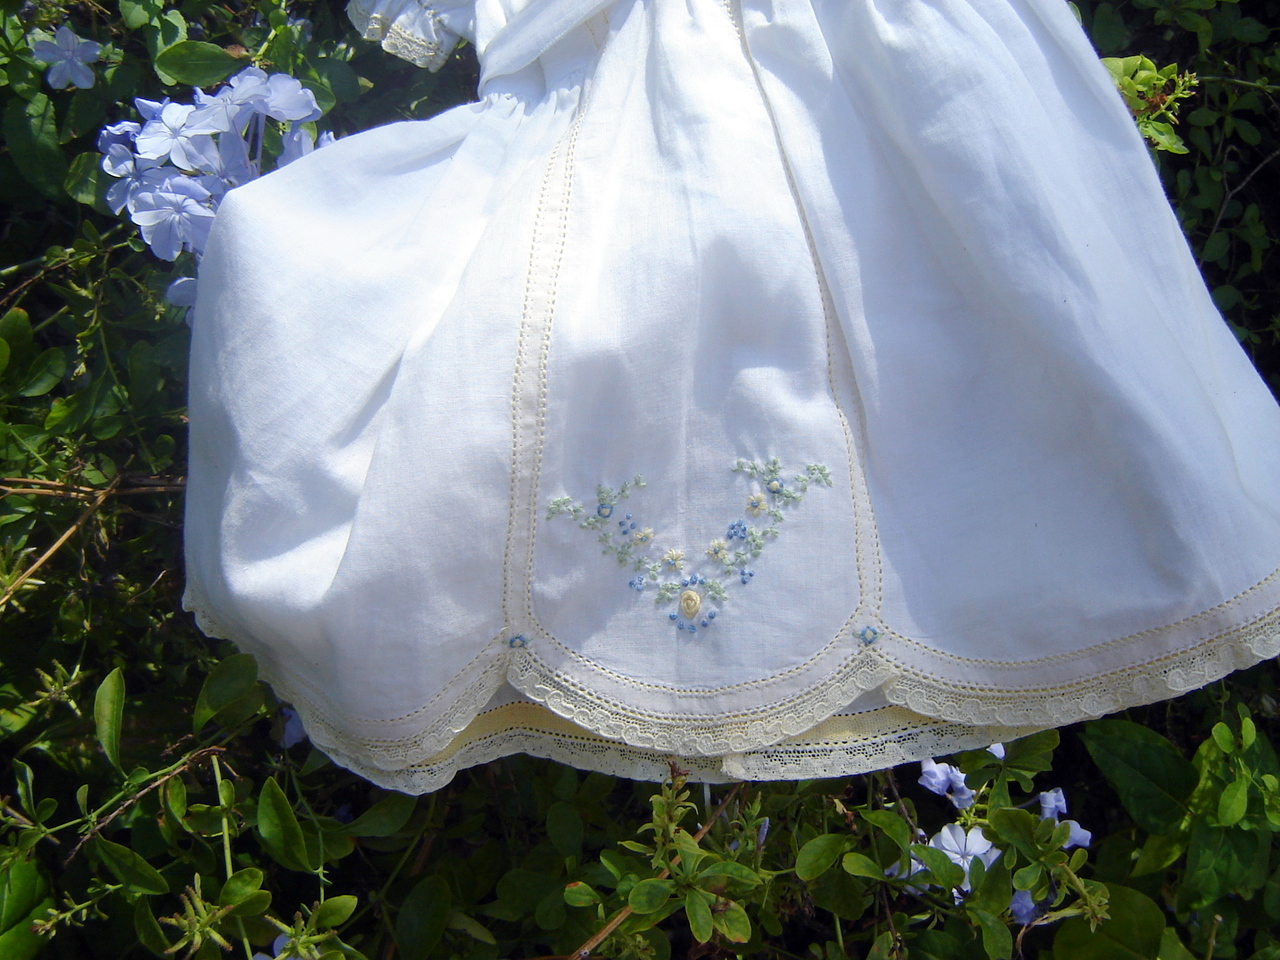
Parchment colored lace tape was applied behind batiste and pinstitched in place. Note the brighter color of the lace tape showing on the inside of the hem. More photos and details are posted here
4. for lace lining
A student in one of my classes came up with this creative use of lace tape on a ecru linen ring bearer’s button-on suit.She lined lace with old rose lace tape (almost a dark biscuit, but more like a pressed rose, brownish pink, no longer available) to better show the pattern of the lace and to introduce some contrasting color to the suit.
The slightly greater width of the Swiss lace tape might fit some laces better.
There are two techniques for this application. Both techniques require matching width of lace tape to width of lace. Lace tape can be a tad narrower than lace, but not much.
technique #1: Though this method requires two passes, it is hard to make a serious error.
preparation:Press and starch lace and lace tape. In #60 needle, use fine thread in color to match lace tape. In bobbin, use thread to match foundation fabric.
first pass:With lace tape on right side of fabric, straight stitch as closely as possible to lace tape edge. Press.
second pass:Thread needle with thread color to match lace. Place lace over the lace tape and stitch it in place with a straight stitch or a narrow zig zag.
technique #2: This is faster but requires more precision.
preparation: Layer the lace on top of the lace tape. Place them as one piece over the placement line. Pin or not, as needed.
first pass: Stitch the edge of the lace down with either a tiny zig zag or a straight stitch. The zig zag makes it more likely that the lace tape will be stitched in place rather than just floating free under the lace. Press.
NOTE: To be used in this manner the lace must be precisely the same width as the lace tape or the same width as two or more pieces of ace tape joined together. As with other straight insertions of lace tape, it is not necessary to cut away the fabric behind.
This is lace tape behind tatting. It was a rehearsal piece for a dress made years ago for my daughter. Dress whereabouts is unknown. (How did that happen?) No details.
That’s more than enough for one post. Check back to read about the two different kinds of lace tape, using it for colored entredeux, lace shaping with lace tape and grid work.
So what do you think about lace tape? Do you like it? Have you ever used it? Now it is available and reasonably priced from Farmhouse Fabrics.

5 responses to “All About Lace Tape~Part 1”