

This is one of my all-time favorite smocked dresses. I made it for Rebecca when she was just 4 years old and now, 30 years later, still enjoy seeing it hang in the nursery closet.
There are several interesting features to this peach Imperial batiste bishop dress. The extra deep smocking front and back, white sleeve overlay, and original smocking design made it a pleasure to design and stitch. The bottom rows of the smocking design were drafted to mimic the sleeve overlay fancyband.
EXTRA DEEP SMOCKING: The number of rows smocked front and back on this dress greatly exceeds the recommended amount for this size. You can see that the smocking goes far below the beginning of the armhole curve, normally the absolute last row of stitching. Smocking rarely goes beyond this point because 1) it would exceed the width of the child’s shoulder and 2) it is impossible to pleat through that curve.
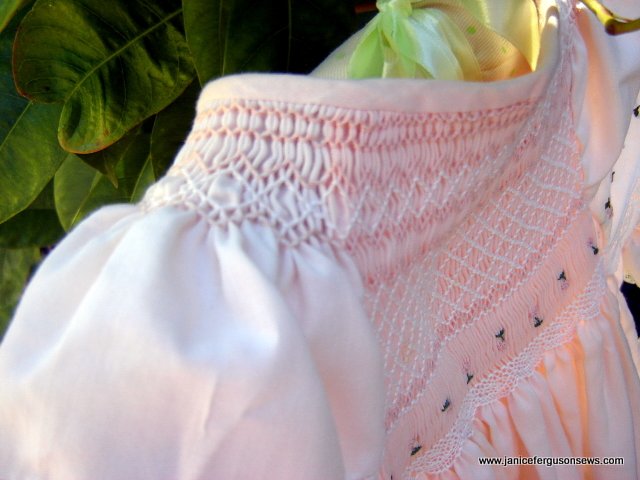
The first restriction is eliminated by smocking only a few rows at the neckline, well before the edge of the shoulder. Secondly, the pleating is done before construction, allowing pleats to go to any depth.

This is most easily done by working with a block of fabric, rather than a cut out front and back.  The armhole curve is traced with a washaway marker onto the fabric block before pleating front, back and sleeves from a straight edge to a straight edge. Later, the pleating threads are pulled out up to the seamline of the armhole and knotted off. Then the armhole curve is cut out and the front and back pieces are joined to the sleeves.
SLEEVE OVERLAY: The white sleeve cap overlay includes a Swiss embroidery from Capitol Imports, entredeux and French Val lace edging. This detail alone elevates the easy care bishop to a more elegant level.Â
It is easily done. First, the fancyband was created. The width of sleeve pattern was measured just above the beginning of the armhole curve and recorded. The Swiss embroidery was edged with entredeux with lace edging joined to the bottom edge.
Next, the depth of the sleeve was measured from the neckline to that same point above the armhole curve. This will be the finished length of the sleeve cap. The width of the fancy band was subtracted from the length and a 1/4″ seam allowance was added. The entredeux already has a seam allowance so only one SA need be added.
The two sleeve caps were constructed as one block. The fancyband was joined to the batiste, the piece was folded in half and then placed on the the sleeve pattern, with the raw edge of the batiste at the neckline.
After the sleeves were cut out, the white caps were simply basted to the peach fabric. Then each whole piece was treated as a single sleeve. Lace edging was rolled and whipped to the sleeve and 6 rows were pleated at the neck edge and again above the lace.
There should have been one more stitch joining the peach bodice to the white Swiss embroidery.
PRE-SMOCKING CONSTRUCTION:  After the front, back and sleeves were cut out and finished, they were seamed together. Care was taken to match up the pleating rows at the neckline on both the sleeves, front and back. The regular seam was overcast with fine thread, because French seams would have been very bulky with 6 layers of fabric.
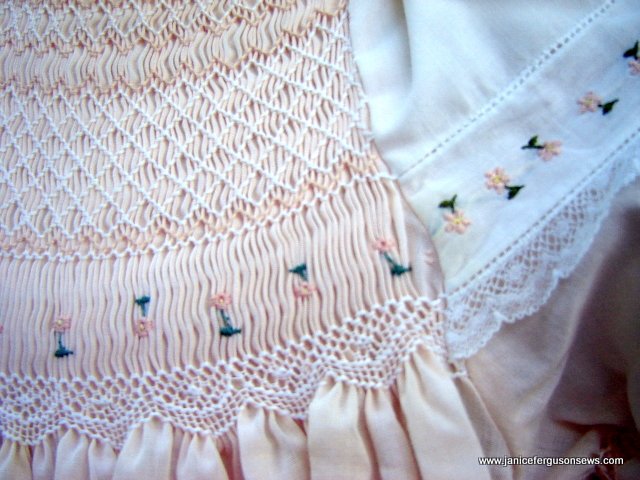
ORIGINAL SMOCKING DESIGN: While the top rows of smocking are nothing special, just simple diamonds and baby waves, the bottom of the design was my attempt to copy the sleeve fancyband. Of course, the flowerettes were no challenge. But it took some time for me to echo the lace pattern.
Ultimately, I realized that in order to replicate the look of lace, I needed to use the standard three strands of floss for the lace header, two strands for the scallop pattern and dot and a single strand of floss for the ground (background) pattern. I’m not sure that it is entirely convincing, but it was interesting and challenging to try to duplicate the pattern. This portion of the smocking is relatively stitch intensive, so it was necessary to stitch very loosely.
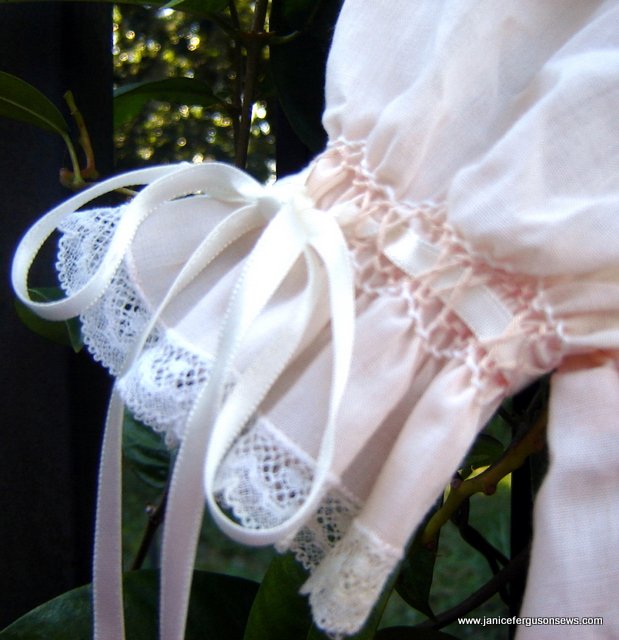
There is one other smocking detail I’d like to mention. Using the smocking stitches for ribbon carriers is a sweet look. The first time I tried this on an earlier dress, I used white floss to contrast with the pastel fabric. But after white ribbon was run through the one-step waves, the lack of contrast between the ribbon and the stitches caused the smocking to just disappear. Since then, I’ve always smocked in the color of the fabric to create contrast.
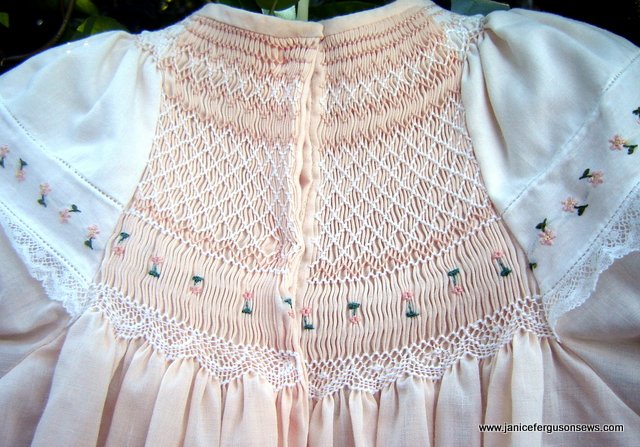
I always tried to stand behind Rebecca when she was wearing this dress because the back closure is so ugly.
UGLY BACK:Time and time again, I have tried to invert the buttons on a bishop so that the smocking design is not broken by this utilitarian necessity. Success has always eluded me. First, sewing the buttons on to just the placket allows the placket to open enough to look even worse than well placed buttons and button holes. Secondly, when I have sewn the buttons through to the smocking, there is a pucker. Thirdly, when I attach snaps, I get the same pucker that results when sewing buttons through the smocking. I find this back very distracting.
Does anyone have a suggestion?

17 responses to “Peach Bishop”