My head is still buzzing, and will be for quite a while, about Martha Pullen’s Orlando Market. I want to relive it and give you a play-by-play in hopes that you will treat yourself to this delight when the opportunity presents itself.
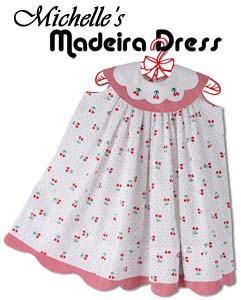
This is one of Connie's Madeira applique' patterns. I had to buy the companion pattern for AG dolls.
I arrived just before noon on Thursday, in time for my first class, Madeira Applique’ with Connie Palmer.  Though I am practiced in the basics of this technique, I knew Connie would have more to offer. And, of course, she did.  A few of the things I learned from Connie Palmer in her Madeira Applique’ class:
- Use water soluble thread in the bobbin. I’ve always put it in the needle but it breaks more easily there than in the bobbin.
- Use the water soluble/sew it together technique to make two identical pieces, such as Madeira frames.
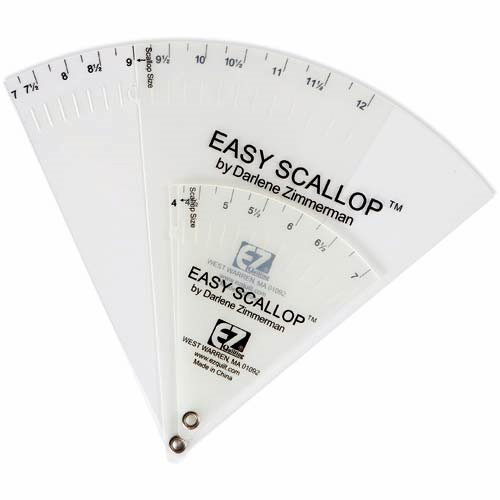
- There is a terrific new scallop template that Connie loves. You simply determine the size scallop you want by measuring the skirt width (or whatever) and deciding how many scallops you would like, i.e. for a 42″ skirt you might want 7 scallops. Then you would want them to measure 6″ each.  Just snap the two piece template together at the proper markings and you are ready to trace your scallops! As Connie said, now you can get all of the saucers, soup bowls, tea cups and whatever you have used to make scallops out of your sewing room and store this flat little notion.
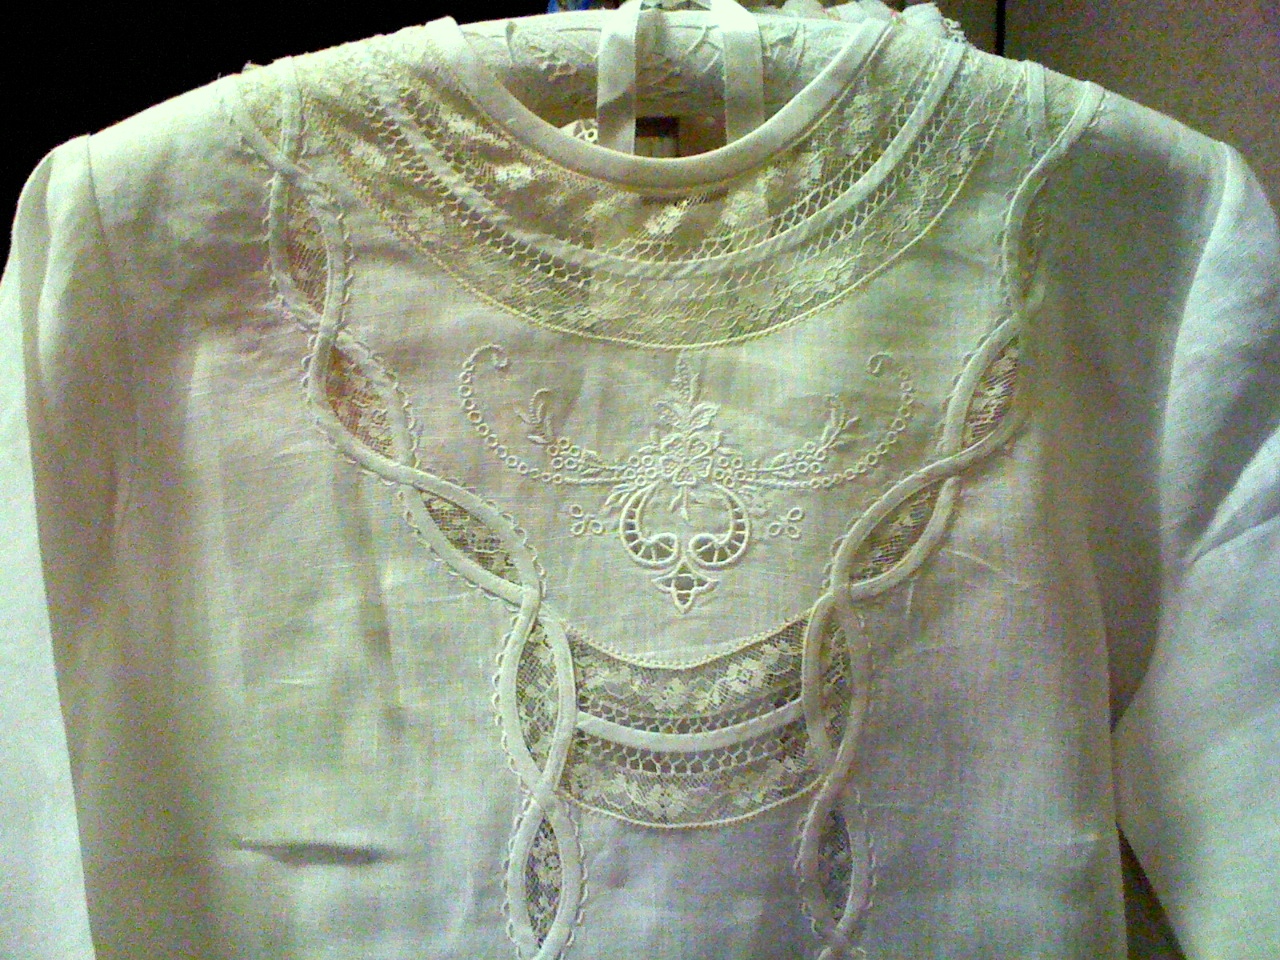
In response to a student’s question, she also went into her uses and techniques for spaghetti bias, especially as a cathedral window look. I might write more about that in a later post but for now, just look at this blouse she made! I had forgotten my camera that day, so this was taken with my phone. The photo quality is not good, but the blouse is spectacular.
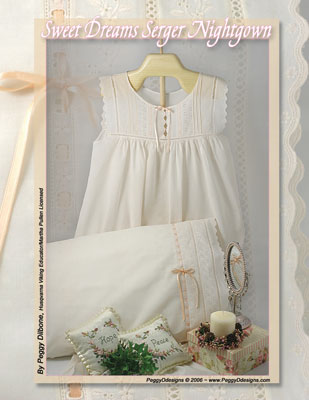
Next I went to Peggy Dilbone’s class, You Can Do That with your Serger?
Not only was it creatively inspiring, but it also convinced me that I can make friends with my serger. Almost nothing Peggy makes looks serged! It just looks beautifully sewn with the most delicate heirloom techniques. A few things I learned from Peggy:
- For a sweet and simple serged scallop edge, serge first with a 3-thread narrow finish, then go back with your sewing machine and use your blind hem stitch and matching foot to create the scallop! On the sewing machine, you do set up for the look you get with the bias fold scallop. Of course, you don’t want the serger thread to jump out at you, so a matching color and perhaps even a light weight thread would be used.
NOTE: I just received a note from a reader asking for a little more information about bias fold scallops on the sewing machine so she might better understand Peggy’s technique for serger scallops. Check out my Delicious Doll Bedding post for more details about that.
- Did you know you can use 60 wt. Mettler thread in your serger? Peggy does, especially for techniques such as the scalloped edge.
- For a pretty blanket edge, stitch a 3-thread wide with 12 wt. thread in upper and lower loopers, regular thread in needle.
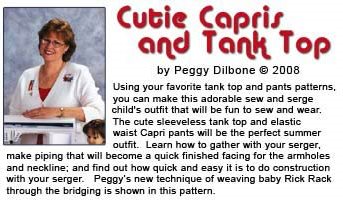
- On her Cutie Capris sample, baby rick rack was threaded through zig zag bridging (Swiss fagotting with VVVV center rather than IIIII). It was so sweet!
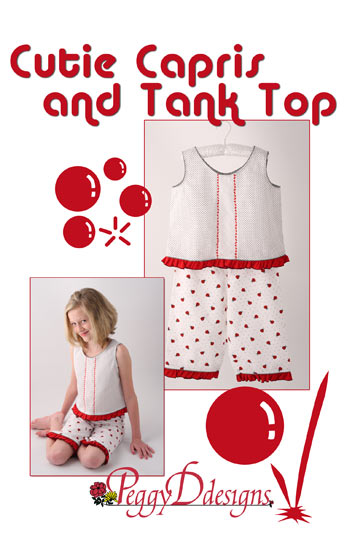
Baby rick rack is beaded through the Swiss bridging. Such a unique embellishment. I forgot to pick up this pattern! This will have to be mail ordered. I love it.
Then I went to Hope Yoder‘s class How to Start Your Own Monogram Button Business. I’m not looking to start a business, but her ideas were fabulous. Here are just a few ideas:
- For a baby shower gift, make a binky holder by using grosgrain ribbon to connect a pacifier to an embroidered monogrammed button with clip. Take extras with generic designs for moms who might want to make a purchase.
- Make a ribbon necklace (similar to the one below) with a monogrammed button. Hope had these ribbon necklaces (without the button) for sale but I forgot to pick some up. That’s another thing I’ll have to mail order.
Thursday evening was the vendor fashion show and it was both hilarious and inspiring. After that, I had dinner with my Louisiana girlfriend Linda McGeehee and her helper friend Cathy. It was just a fabulous day.
If you have never been to one of these events, you might wonder just how it works.
The premise is genius: it’s a perfect balance of learning, shopping and visiting with new and old friends. The flat daily fee of $17 covered entry to the market as well as up to five 45 minute lecture/demo classes with top notch teachers, a few hours of shopping with appealing vendors, and plenty of time to sit in the dining/snack area and chat with friends. Each day there was a celebrity event which included Martha emceeing a fashion show, Australia’s Gloria McKinnon’s presentation of her silk ribbon embellishing techniques applied to quilts, and Mary Fons’ (daughter of Marianne Fons of Fons and Porter) talk on the future of quilting.
For an extra fee, there are several sit-and-sew classes, both as pre-day or during the event.
This is a very long post, but it only skims the surface of my day. Maybe my enthusiasm will have waned by the next post and it will be shorter. But maybe not. Do you think this too long? (Of course, anyone who gave up reading several paragraphs ago won’t know I am soliciting opinions. That might skew the poll!)



4 responses to “Day #1 MP Orlando Market Report”