The second day of Martha Pullen’s Sewing Market was even better than the first, probably because it was a longer day, from 8 a.m. until 9:00 p.m.. So many new sewing techniques learned, so much creative inspiration, so much technical guidance!
My early day started at with Janice Stewart’s class: Drawn Thread by Machine -Love the look of drawn work? – Let Janice show you how fast and easy you can accomplish this technique all by machine. Copy this high end look for your home, wardrobe and even babies. Lecture includes tips, tricks and a trunk show of ideas to get you inspired.
I am not a morning person. Margaret Boyles was known to say that her heart did not begin beating officially until 10 a.m. Some days, mine starts even later. I like to say I work the night shift (in my sewing room).
Any earlier start of the day requires HUGE motivation, like homeschooling my grandchildren or sewing workshops. But I reeeeeeally wanted this 8:00 class from Janice Stewart. Thankfully, it was most definitely worth firing up my slow starting old heart.
Janice’s projects were just spectacular. Sadly, by the time I picked up my things and finished a quick chat with a few other students, Janice had already packed up her samples. She did not have them on display in her booth so I missed a one-time opportunity to share these incredible pieces with you.
One sample was a blue wool wrap around skirt. Drawn thread ran down the front, next to the fringed edge. It was so attractive, but especially interesting because of the fringe.
Janice felt it was not full enough. So she cut a narrow strip down the selvage edge, fringed it up to the selvage and then stitched it on the underside of the skirt flap next to the fringe. It was very striking.
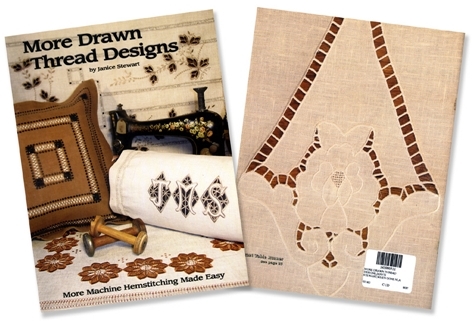
This is her second book on drawn thread. I want this one as well as her first which she showed in class, but I cannot find it on the internet.
Her technique is very simple and very intriguing. Of course, you must begin with natural fibers, linen (her favorite), cotton, rayon and wool. Several students were surprised to learn that rayon is a natural fiber. Janice makes use of rayon when it is combined with linen or another natural fiber. She pointed out that rayon is rather fragile in comparison to the other fibers.
She has a wonderful book with lots of color pictures and more detail. I meant to buy it but just forgot. That will be another mail order. So here is the technique she described. These are just the basics.
- 1. Starch fabric. This surprised me because I always wait to starch when I pull threads to straighten fabric. But she says they pull better starched.   Janice mixes her own by mixing 2 tablespoons liquid starch with 2 cups of water. Then she microwaves it for a minute or two or until it is no longer milky. (What?)  She says she can be on the road for as much as two weeks and when she returns the starch is never moldy. If it has become milky again, she simply nukes it again.
- 2. Draw threads. Janice always measures from the perimeter rather than the center. If she wants a 1″ hem, she pulls one thread 2″ from the outer edge of the piece. She does this on all sides and always measures from the outer edge and not the pulled thread or the center. After the starter threads are pulled, she pulls as many as necessary for the width she wants for the pulled thread channel.
- 3. Bundle threads with entredeux stitch or a pin stitch. She uses a 110 wing (never 120) with greatly reduced width. When using a pinstitch, she runs the back and forth in the edge of the channel and the reach goes into the undisturbed linen.
- NOTE: Janice teaches one class using only entredeux stitch.  On one sample, the wide (perhaps 1 1/2″) drawn thread channel was stitched down the middle with what I thought was a straight stitch. Turns out, it was a very, narrow entredeux stitch. It looked lovely.
Another sample showed wide drawn thread channels with ribbon woven through. So pretty!
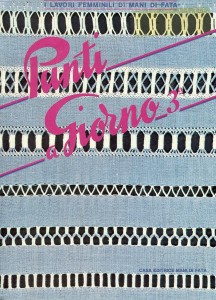
Looking on-line for photos of her projects and books, I found only the one above. This new interest caused me to pull out a Mani di Fata book that has been on my shelf for at least 25 years.
This sort of handwork always seemed to tedious for me, but with Janice’s technique in which the only handwork is drawing out the threads, it has new found appeal.
There is a nice .pdf tutorial by Janice with Sue Hausmann on making a drawn thread baby bonnet. You might enjoy trying a small project like this.
On Janice’s drawn thread christening gown sample, there was a sweet detail that caught my attention. The gown was white and ecru, with piping between the yoke and skirt. She had pin stitched over the white piping with ecru thread before it was inserted. These delicate bars of ecru on the white piping gave such a pretty effect. It was just a very light touch.~~~~~~~~~~~~~~~~
My 10:00 class with with Angela Jones:
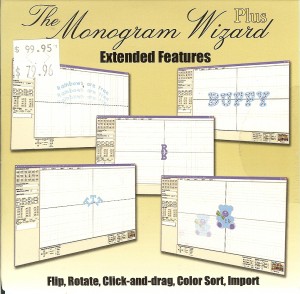
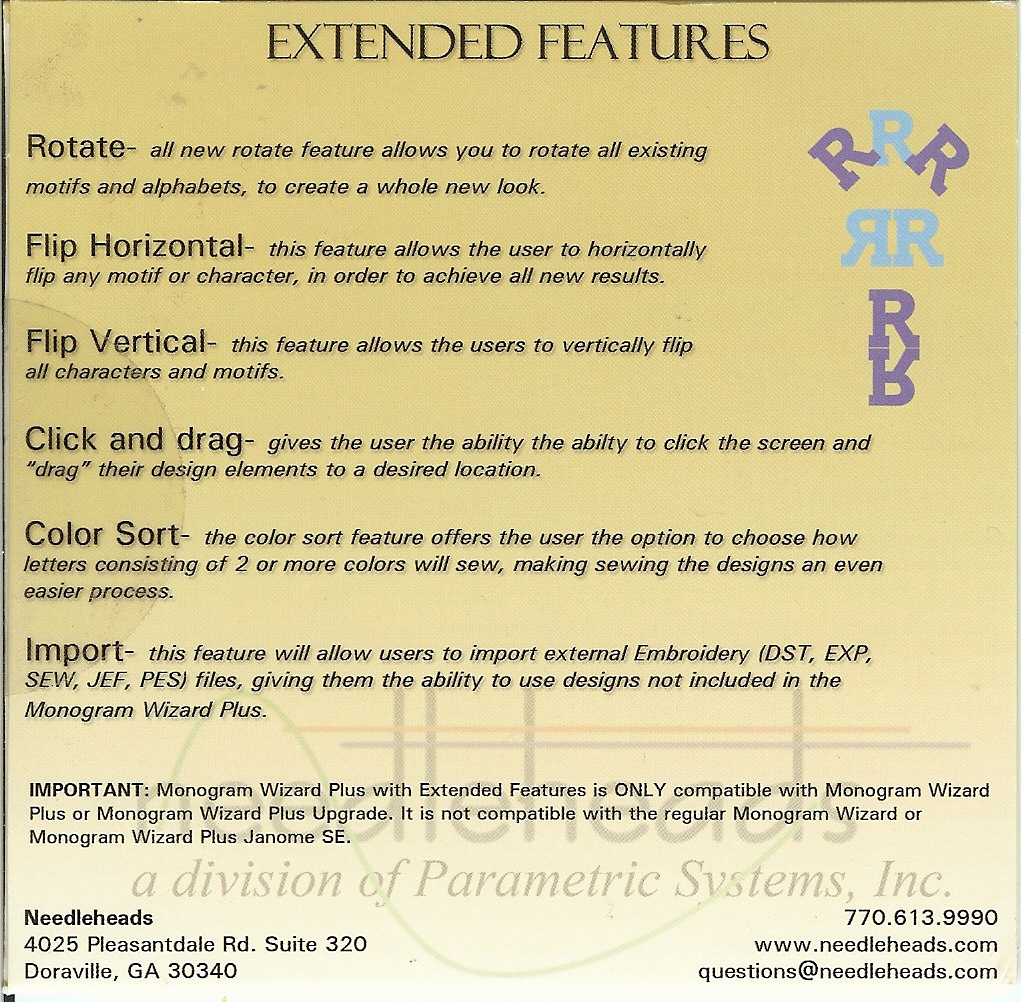
Monogram Wizard Plus – Everything You Need to Know and Now You Can Ask! –Angela promises to pack a wealth of information into these few minutes, so come ready to take notes. After a very brief overview of the features in this software, she will take any and all questions so that you leave having learned what you really need to know. Angela is a wizard with this program and you will enjoy listening to her spin embroidery magic.
I have had and used this program for several years and I really like it. But I knew I there was more to it, as I only use about 3 of the many features.
After doing monogram or text, the design is saved. But it did not allow you to import a design, such as a frame, which would allow you to size it specifically for that frame. So the design would be saved, then taken into PE-Design or BuzzEdit2 to see if it fit. If not, it required going back into Monogram Wizard Plus and resizing, as many times as necessary.
But now the Extended Features add-on offers that feature as well as several others that will make a great program even greater. I may not embroider 270 knit layettes like Angela, but I will be using it a lot more now.
Angela is a heavy user of this program with her monogramming business. She has embroidered more than 270 knit layettes and here is how she does it.
- Hoop Floriani’s Tacky Wet & Gone (which was sold out by the time I got to their booth—DRAT!)
- Press blanket or whatever into place. Do not baste as sometimes holes are left in the knit.
- Place another layer of Tacky Wet & Gone over the knit.
- Embroider.
- Soak to remove stabilizer.
There was not a single pucker or bubble on her samples. BTW, the knit Martha carries is soft as butter. I was all set to carry home a few yards in each color, but for whatever reason, the bolts of knit did not make the trip to Orlando. So that is yet another mail order.   ~~~~~~~~~~~~~~~~~~~
Gina Reddin class was as good as the others:  Redwork Designs are not Red Anymore – Love redwork designs but want a little more?? Dress up your redwork designs using paints, colored pencils, crystals, zippers, and other techniques and embellishments. See different layouts for your designs and look at how different threads really change your design. It’s okay to break the rules and have fun!
Gina talked about the history of redwork and how it branched out to become single color work. So you can find vintage redwork embroideries in blue, green and other colors.
She suggested doing single color designs in variegated threads and showed samples with two different kinds of thread. Many variegated threads have as much are as long as 8″ between color changes. Gina likes Superior thread with its 1″ variegations.
She showed a sample of a single color Victorian lady design stitched in Superior and another in a different thread. The second sample showed colors in clumps, like countries on a map. But the Superior sample had thread colors that flowed throughout the design without the distraction of single color sections.
As the mother of 5 children, she had a lot of kid friendly ideas. One I especially liked was single color embroidery on a piece of puffy foam. For Christmas cards, her children stitched an outline “JOY” with a sprig of holly. Then they painted in the letters with everyday craft paint. I know my grandchildren would love that.
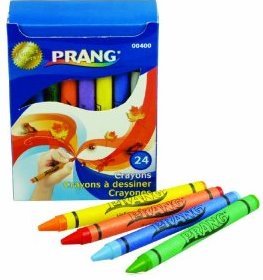
Other samples on fabric had been colored with crayons and then ironed to set the dye into the fabric. She recommends PRANG brand for more intense colors.
Her tip for embroidering on balsa wood was to use simple designs with little or no fill, like redwork. Longer stitches make it less likely that the design would cut through the wood and break it. It might be a good idea to enlarge a design to lengthen the stitches.
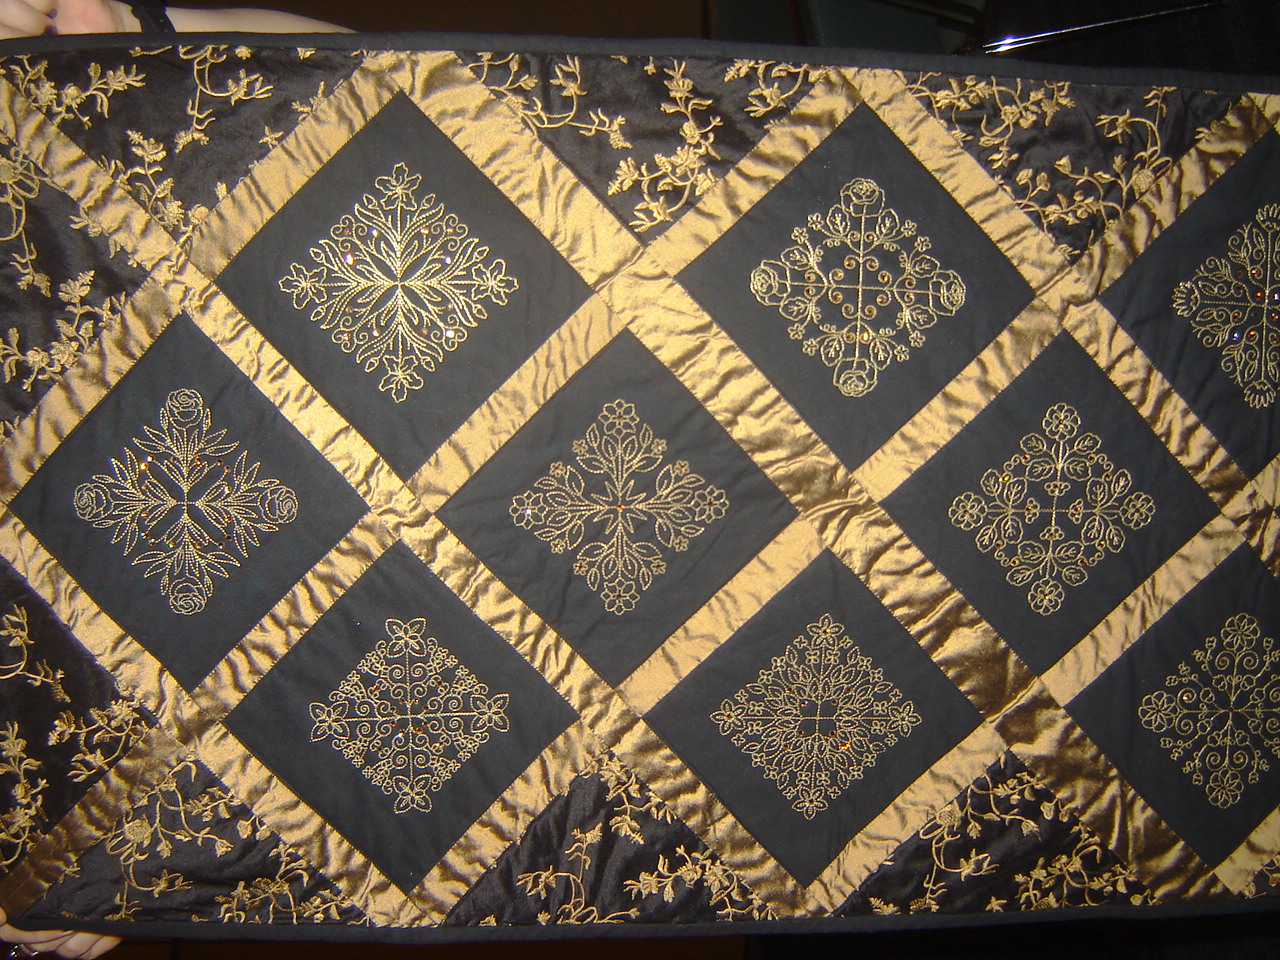
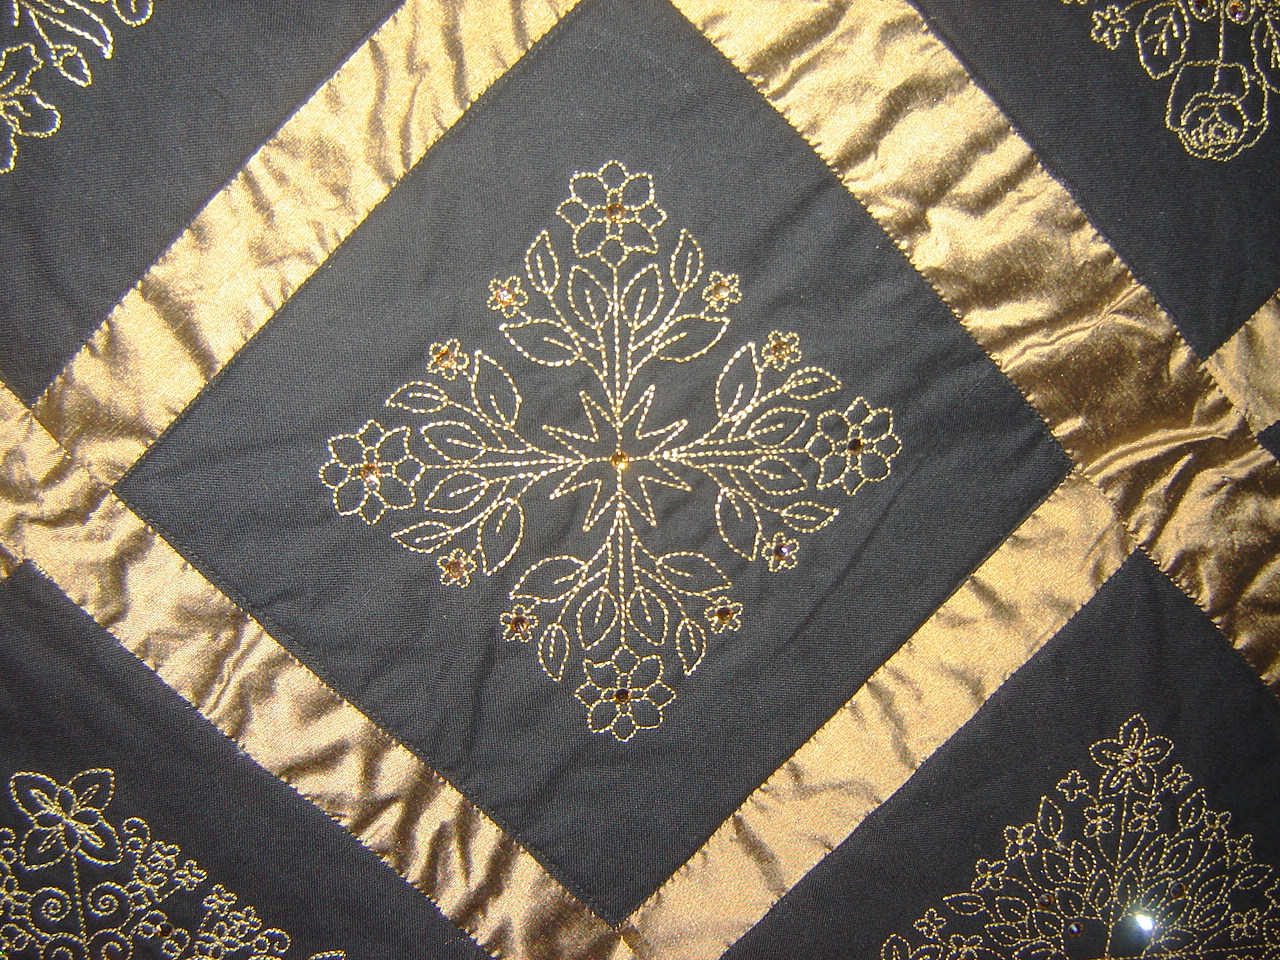
Her most spectacular sample, in my opinion, was the quilted table runner. It looks like metallic thread, but, in fact, is just gold poly or rayon embroidery thread. The sparkle comes from the hot fix gems and the gold satin fabric sashing.
There was so much more, but this post is way too long already. Just let me say it was a great class. NOTE: Gina is the owner of the popular SewItsForSale yahoo group.~~~~~~~~~~~~~~
Throughout the day I visited with several friends whom I had not seen for some time. Dinner with a dear friend was quality catch-up time.
More on Day #3 in my next post. I am still fondling my goodies and putting away some of them. So it’s back to the sewing room for me. I hope you are all busy sewing and will share your ideas and projects with us.



2 responses to “Day #2 Highlights~Martha’s Orlando Market”