
my new baby!
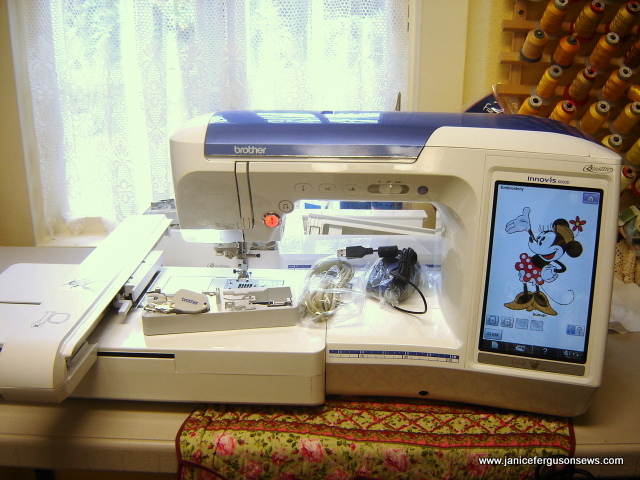
NEW MACHINE!!! If you have heard happy shouts and contented purrs coming from central Florida, it’s just me. I am beside myself with delight over my new Brother Quattro! After my disappointment over the misplaced design on a collar for my granddaughter, I knew that wouldn’t have happened if I had been sewing on the Brother Quattro. So now, this big Brother lives in my sewing room! Hurrah!
When I stitched that design on my Brother Duetta, I had hooped heavy water soluble stabilizer, applied spray adhesive and placed the “V” shaped collar in place. In fact, I had centered the design properly, with the needle penetrating the absolute center of the design. But the linen collar was not absolutely straight, north and south, east and west. This caused the “V” design to lean to the east.
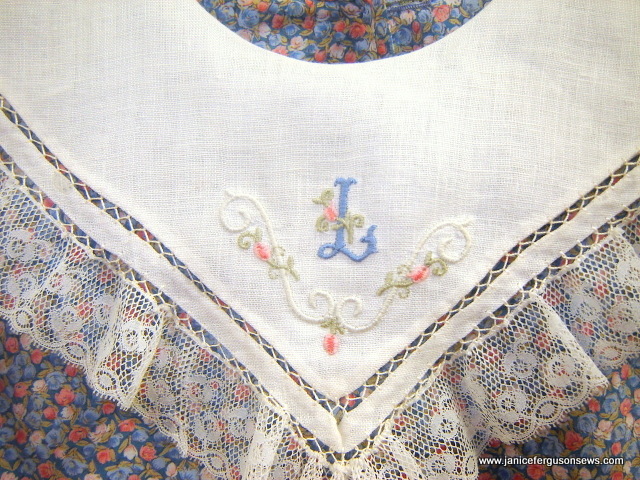
The Brother Duetta stitched it perfectly, but my operator error caused the misplacement.
This slight misalignment would not have been so noticeable had the collar been round or square or if it had been stitched on a yoke. But with the echoed “V” so near, it was very obvious.
The Quattro has a built in camera. With this incredible feature, the camera locates the cross hairs of the “snowman” sticker that is placed at the very center of my design area. The camera perceives even slight placement inaccuracies and makes the correction by rotating the design however many degrees are necessary. Is that not wonderful and amazing?
We are in the “getting to know you” mode right now and the more I read, the more awestruck I am. Edge sewing, print and stitch, huge embroideries…… The list goes on and on. I can’t wait for Quattro and me to become BFF’s!
NEW TECHNIQUE!!! My granddaughter’s Easter dress seemed to be an appropriate first project to help us get acquainted. Pictures of “shadow smocking,” posted on Pinterest caught my eye. Note: If you don’t know about Pinterest, check it out here.
The technique was introduced by Pat Garretson in a Sew Beautiful article in the spring, 1998 issue. At the time, my youngest was a freshman at University of Florida, so I overlooked the article. But now I am intrigued. This scan is one page in the article. Do you love these as much as I do? Have any of you ever done this? If so, please tell us about it!
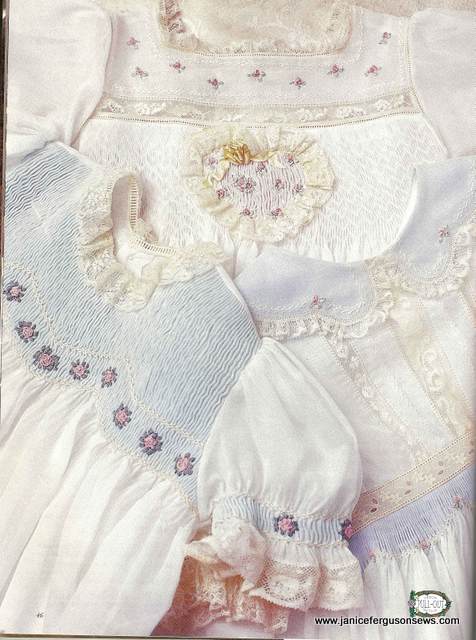
shadow smocking photo from Sew Beautiful
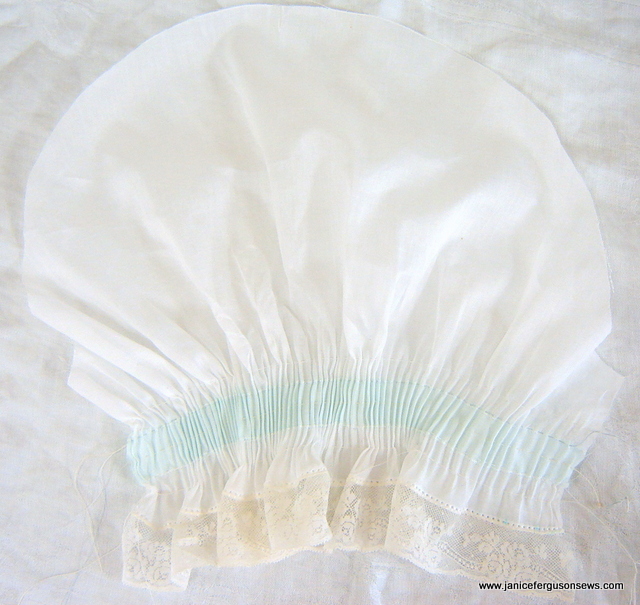
Laurel’s dress will be very much like the dress on the left, smocked 12 rows down from the shoulder. Basically, the curve template on the center fold is traced onto the shadow fabric, then stitched and cut away to the stitching line.
According to the directions, the shadow fabric is to be cut along the template lines then placed on the foundation fabric. The two are then zig zagged together along the curved bottom.
Much as I like to follow directions carefully when trying a new technique, I knew that I would have problems doing it that way.  So I traced, then placed the two pieces together, straight stitched on the template line and then trimmed away the excess fabric. Finally, I worked the zig zag with 80 wt. Madeira Cotona, L 1.0 W 1.5. The quiet Quattro stitched beautifully and just felt good.
But I had to abort the first pleating attempt. The two pieces shifted, perhaps in part because the shadow fabric is “fairy” batiste, very, very sheer.
Before my second pleating attempt, I applied spray adhesive to the foundation fabric and carefully smoothed the shadow fabric over it. This was not easy, as there always seemed to be bumps. The spray adhesive released enough that I could reposition the shadow fabric again and again.
A row of straight stitch was also worked along the top, straight edge. Then the pleating went well.
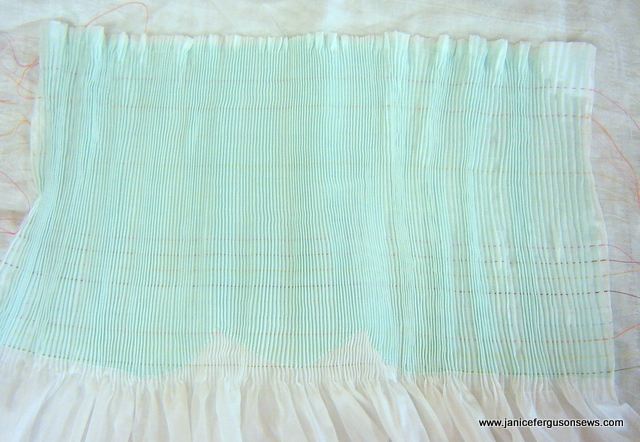
And that’s where I am now, waiting to start the back smocking.
As you can see from the Sew Beautiful photo, the sleeves also featured a row of shadow smocking.
I did get down to the nitty gritty of heirloom sewing by testing the Quattro’s pin stitch on the sleeve. Like all the Brother machine pin stitches, it is perfect.
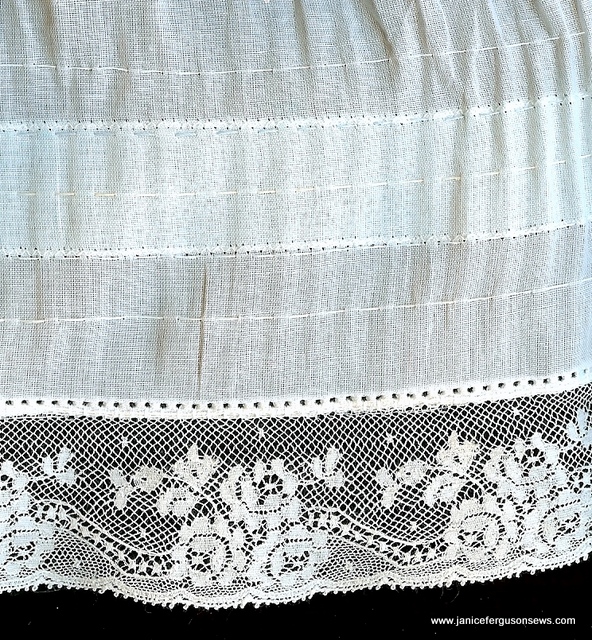
Pinstitch, #304 on ULT’s, Duetta and Quattro, worked with L. 2.5 & W. 2.5. I usually pinstitch at a width of 2.0, but this lace has a wide header, requiring a wider width to cover it.
Our grandchildren gave been here since Wed. , and we are exhausted from laughing and chasing after them. Every day we thank God for the blessing of having them in our lives.
Alastair has his 3rd birthday this week. Six year old Robert learned to open, microwave and serve himself his favorite personal pan pizza. Almost 8 year old Laurel confided to me that she prefers skirts and tops to dresses. Sigh….they are growing up and out of my favorite children’s clothing so fast. I hope Laurel will still be pleased with this last little girl Easter dress.

6 responses to “New Brother Quattro! New SmockingTechnique!”