Tag Archives: pinstitch

Opinions? Easter Dress in Progress

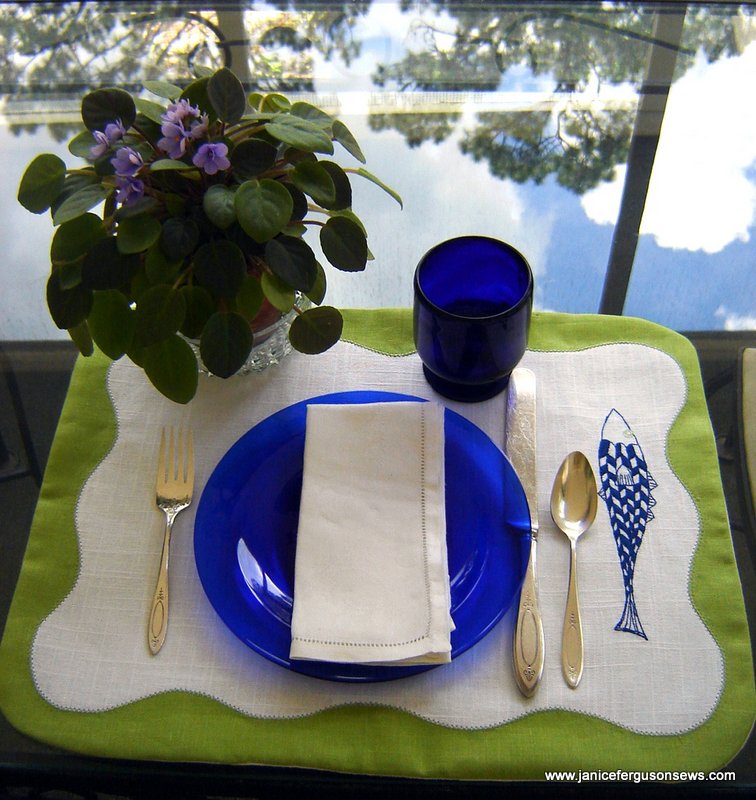
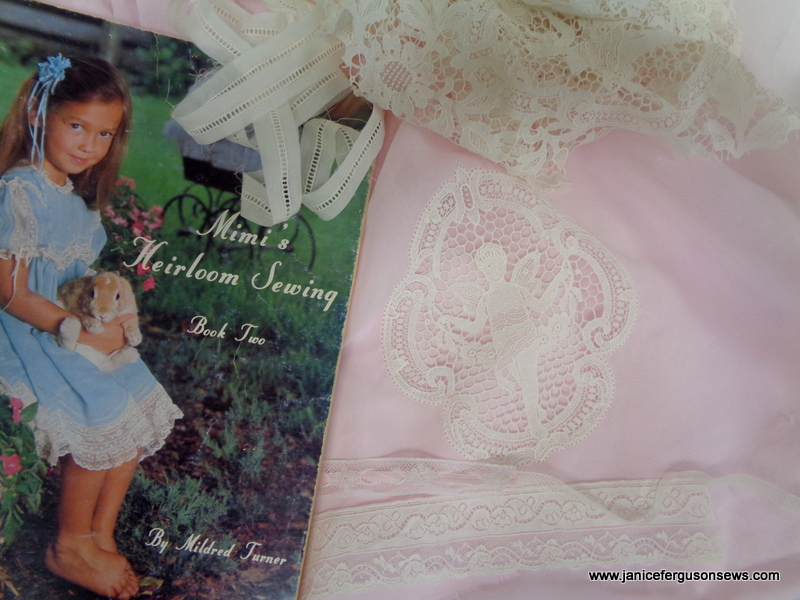
Pink Swiss voile, ivory entredeux, cherub medallion, heirloom laces and bishop pattern from Mimi’s Heirloom Sewing Book Two.


My life is absolutely wonderful but SO busy!  These new puppies chew up a lot of time… and a lot of everything else.!  They are adorable and we are crazy about them.  But they are one of the big reasons it’s been so long since I’ve posted.


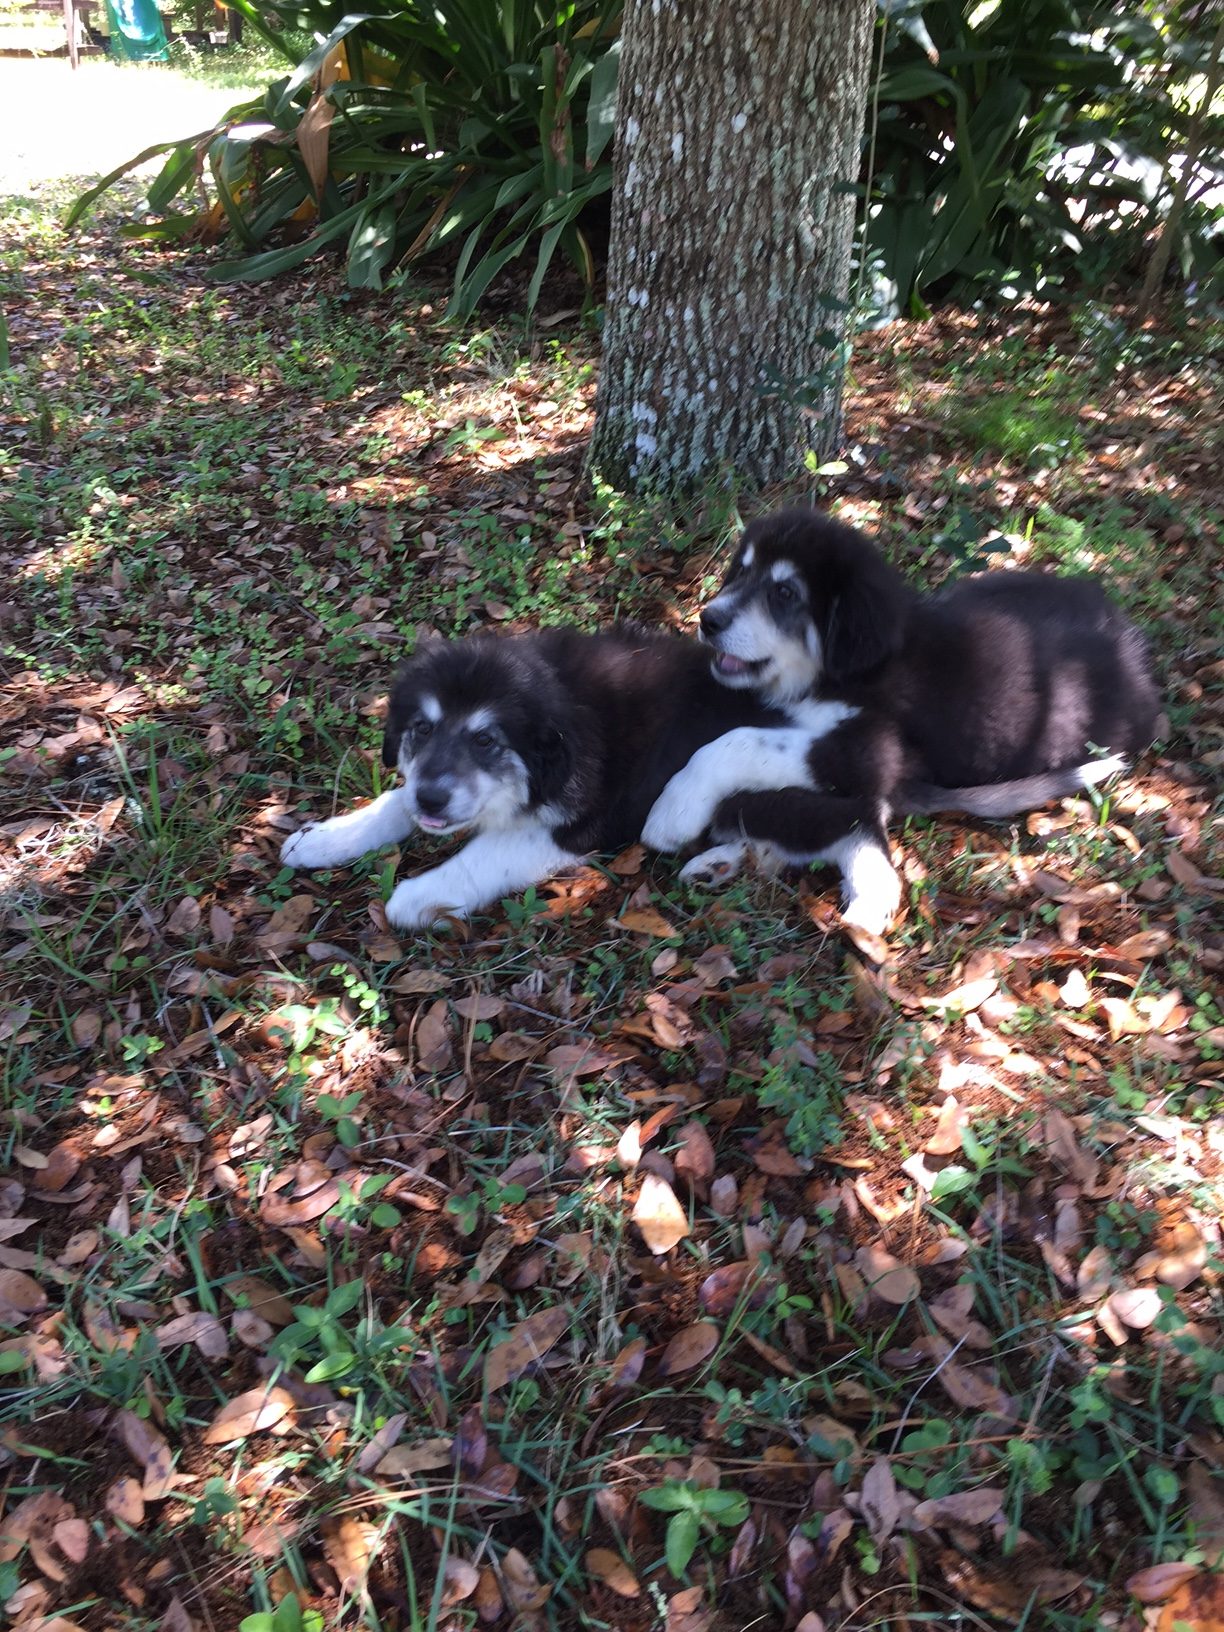
Samson and Delilah, each 21 lbs, 10 weeks old


At this late date I am starting on Easter dresses for 4 yo granddaughter Vivian Rose.  One, of course, is for Easter Sunday.  The other is for the church egg hunt on Sat.  But that is on the back burner until Sunday’s dress is finished.

For several years I have had a piece of what must have been an exquisite tablecloth featuring cherubs and roses.  You probably figured out that roses are a bonus for anything I make for Vivi.

I’m thankful that someone had the foresight to save the remnants.  From the first time I saw it, I imagined one of those cherub medallions in a granddaughter’s dress.   Finally, the time has come.


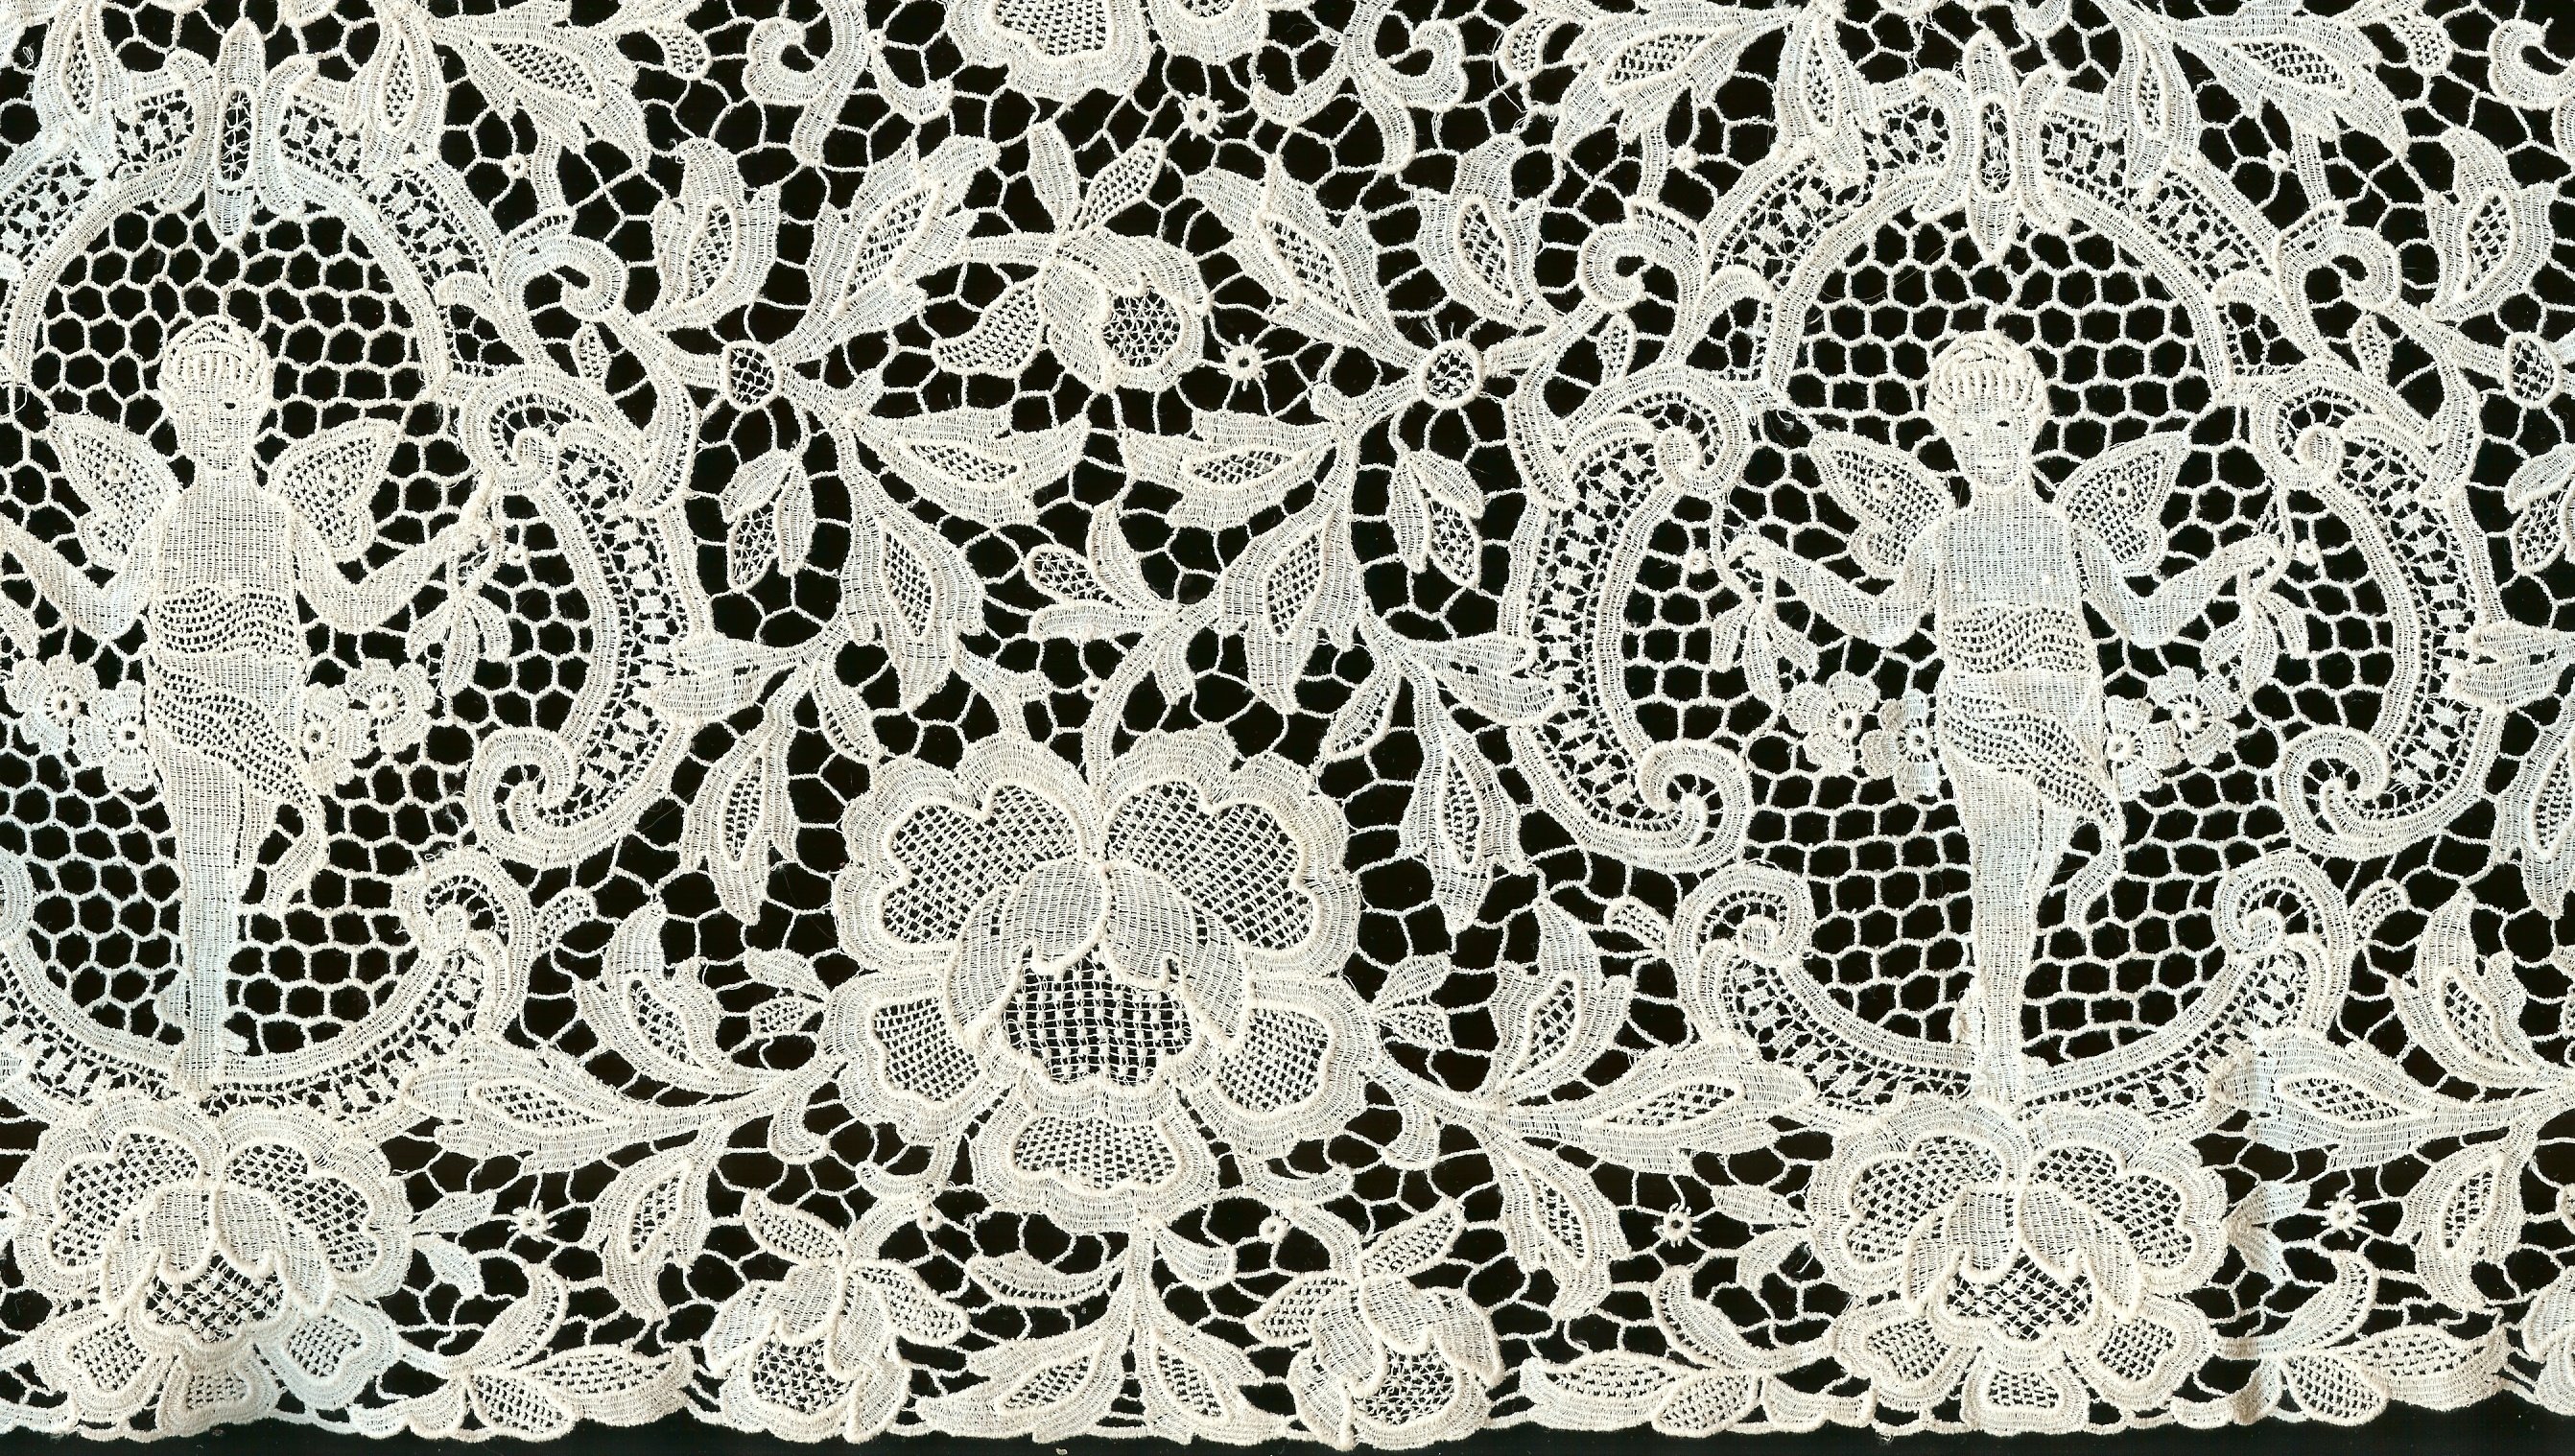
each cherub is 3″ tall


The plan is to modify a bishop with several inches removed from the front.  That would leave a flat area on the Swiss voile for the single cherub.  As you can see, it is already pinstitched to the voile.  I love love love pinstitch and use it whenever possible.  This time a #100 needle was used instead of a wing for fear that a wing would cut through the dense portions of the lace.


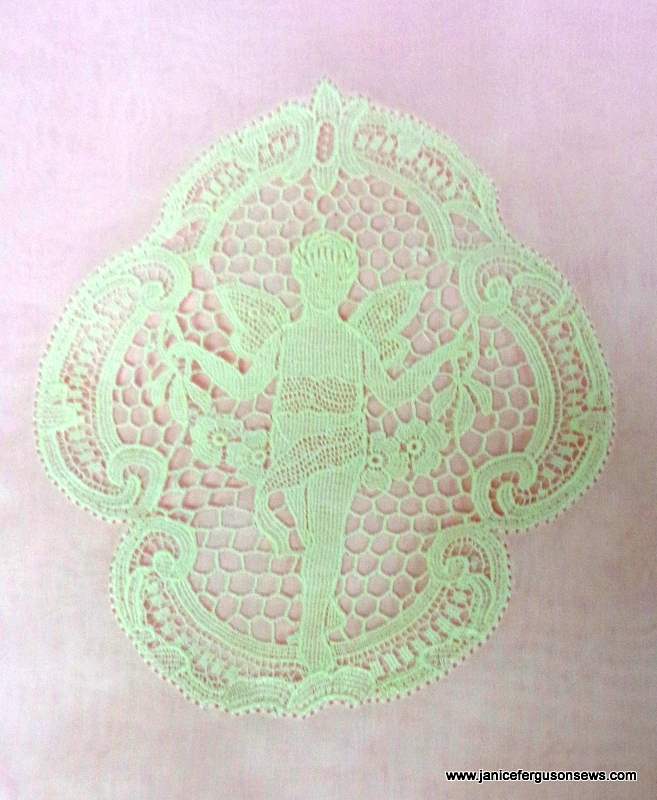
cherub medallion secured to Swiss voile with pinstitch W 2.5 L 2.5

Continue reading

Penny for Vivi

Penny by Petite Poche (Wendy Schoen), size 3, is ready to be shipped to granddaughter Vivian.

Penny by Petite Poche (Wendy Schoen), size 3, is ready to be shipped to granddaughter Vivian.

This little summer dress is finally finished. It’s progress was interrupted by a variety of issues, all outside the sewing room, but now Penny has been removed from my UFO list.

bodice back

I have always loved this pattern and finally got around to making it.

nNBst-CloKs-pdtFX-WSPenny
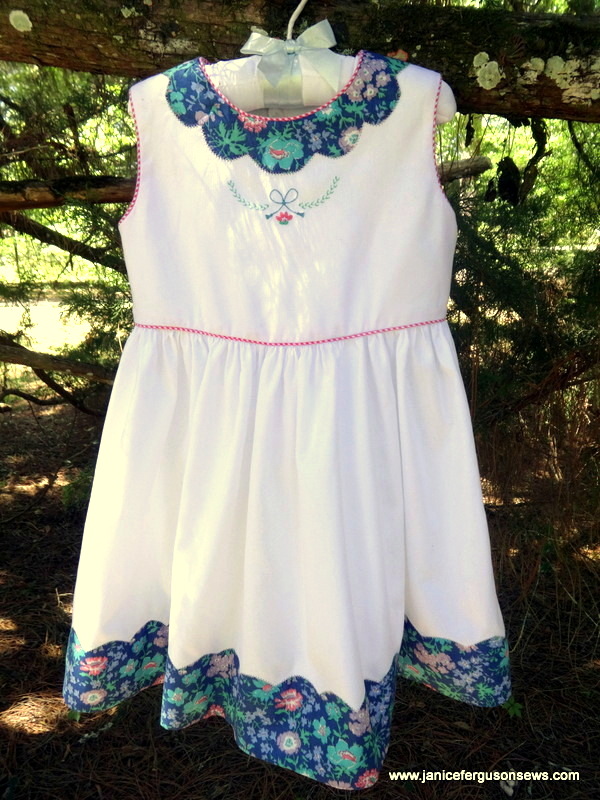
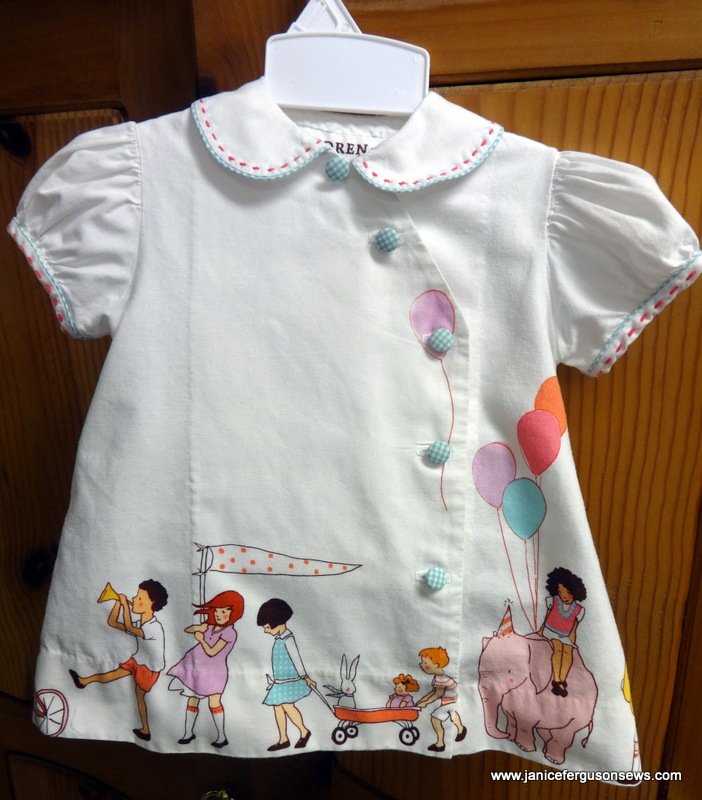
I always favor projects with Madeira applique’ and to my eye the best feature is the bodice back. But I doubt I could convince 3 yo granddaughter Vivian Rose to walk backwards to show it to best advantage. Then again, she is usually on the run, so I guess the front and back have equal opportunity to be viewed. Continue reading

Catching Up

My-Oh-My!  It has been so long since I have posted but life surely can get in the way.  Sewing has been going on, but with lots of interruptions and delays.


Children's Corner Jenni Leigh, worn hard and outgrown by Vivian Rose

Children’s Corner Jenni Leigh, worn hard and outgrown fast by Vivian Rose

Similar to this, the first Children on Parade dress I made for granddaughter Vivian Rose, another is is nearly finished.  It just needs the aqua gingham covered  buttons, which should arrive tomorrow.

This is such a delightful fabric, just perfect, I thought, for Vivian Rose’s 3rd birthday party this weekend.

The dress pictured was one of my daughter’s absolute favorites for Vivi, and true to my directive, she let the child wear it everywhere–playground, preschool, play dates, whatever.  When Rebecca handed it back to me I thought this rag should just be thrown out.  But I took it to a dry cleaner who worked a miracle, getting out most of the stains.  Vivian is a very active little whirlwind and her clothes reflect her love of dirt.  After being cleaned, the dress isn’t pristine but I think it’s decent enough to be passed on to another little girl for general play.

When cutting out that dress, I moved heaven and earth trying to match the border print at the front and side seams.  I was unsuccessful.  So an alternative pattern was chosen, Children’s Corner Carol.  Hopefully, pictures will be posted soon with Vivi modeling the dress at her party.

The other project I have worked on is Petite Poche’s Penny, by Wendy Schoen.

Penny patt

I have loved that pattern for so long and finally just decided to “git ‘er done.”  It’s not done yet, but will be soon.

The pattern includes an especially pretty hand embroidery design but I had no time for that.  The design shown is from Custom Keepsakes Christening 2 Collection, which, like all Kathy Harrison’s designs, is spectacular.


Penny yoke

The pinstitch around the bodice scallops are finished.  Those scallops are small and take almost non-stop pivoting.  I was so grateful for the knee life on my Brother Dream Machine.

White Swiss pique is combined with Liberty of London and hot pink gingham piping.  All that remains is to pinstitch the skirt scallops, attach the skirt and put in 3 buttons and buttonholes.  I can’t wait to get it finished.


DSC01660

We’ve spent most of the month at dr. appointments.  I’ve had cataract surgery—WOW!  That was a non-event, about as stressful as waiting in a short grocery line. No pain whatsoever and now I can see!  My second eye will be done next week.  My husband has had some cardiac problems so we’ve been back and forth to Mayo Clinic in Jacksonville.  I’ve got a broken bone in my foot necessitating podiatrist appointments, orthodic fittings, etc.  So I’ve been way behind with blogging.

Hopefully,  blog posts will appear more regularly.  Please don’t give up on me!  I need to know someone reads this stuff….or not.

So what are you sewing? Valentine projects?  I’d love to hear about them.

Seaside Madeira Table Linens

placemat

Making these table linens was a nice break from sewing for my granddaughters. Fine white linen is paired with lime green and embroidered with a fun blue fish. This color combination reminds me of the beach, just 30 miles away.

Sitting on the screened breakfast porch, looking out over our front yard with this table setting made me just as happy that I was not roasting on Daytona Beach and scanning the waterfront for sharks. It’s very peaceful on my porch. I enjoy pulling out dishes and napkins that coordinate with the setting.

Linen is one of my favorite fabrics and Madeira applique’ is one of my favorite sewing techniques. Add pinstitching and embroidery–well, just let me tell you I was having a big time! I never once missed lace or a girlie angle. If there is any interest, I would be happy to put up a Madeira applique tutorial. Let me know if you would find that helpful. Continue reading

New Brother Quattro! New SmockingTechnique!

my new baby!

my new baby!


NEW MACHINE!!!  If you have heard happy shouts and contented purrs coming from central Florida, it’s just me.  I am beside myself with delight over my new Brother Quattro!  After my disappointment over the misplaced design on a collar for my granddaughter, I knew that wouldn’t have happened if I had been sewing on the Brother Quattro.  So now, this big Brother lives in my sewing room!  Hurrah!

When I stitched that design on my Brother Duetta, I had hooped heavy water soluble stabilizer, applied spray adhesive and placed the “V” shaped collar in place.  In fact, I had centered the design properly, with the needle penetrating the absolute center of the design.  But the linen collar was not absolutely straight,  north and south, east and west.  This caused the “V” design to lean to the east.


collar-close


The Brother Duetta stitched it perfectly, but my operator error caused the misplacement.

This slight misalignment would not have been so noticeable had the collar been round or square or if it had been stitched on a yoke.  But with the echoed “V” so near, it was very obvious.

The Quattro has a built in camera.  With this incredible feature, the  camera locates the cross hairs of the “snowman” sticker that is placed at the very center of my design area.  The camera perceives even slight placement inaccuracies and makes the correction by rotating the design however many degrees are necessary.  Is that not wonderful and amazing?

We are in the “getting to know you” mode right now and the more I read, the more awestruck I am.  Edge sewing, print and stitch, huge embroideries…… The list goes on and on.  I can’t wait for Quattro and me to become BFF’s!

NEW TECHNIQUE!!! My granddaughter’s Easter dress seemed to be an appropriate first project to help us get acquainted.  Pictures of “shadow smocking,”  posted on Pinterest caught my eye.  Note: If you don’t know about Pinterest, check it out here. Continue reading

Heart Swag Baby Shawl & Free MCS Zig Zag Feather

Wing needle fil tire' hearts and floral swag are from Fil Tire' and Fancywork Combinations machine embroidery collection.

Wing needle fil tire’ hearts and floral swag are from Fil Tire’ and Fancywork Combinations machine embroidery collection.


I make a lot of Swiss flannel baby blankets. They are easy, they always fit and they make me so happy when I see our grandbabies wrapped up all snug and pretty.  Many were made for baby gifts and young mothers are always very pleased.  Another reason that I’ve made so many is that I’ve taught many classes making Swiss flannel blankets and each class project must be a little different from the others.   Here is another of those sweet, cozy wraps.


Wing needle fil tire’ hearts and floral swag are from Fil Tire’ and Fancywork Combinations.

I think it’s important to edge a baby blanket with a trim sturdy enough to hold up to the heavy laundering that these items require. My three favorites are the English lace shown here and another English lace show in the second photo. It is almost like a very delicate faux crochet. Not only can both of these laces endure countless, rigorous cycles in the washer and dryer, but also they are not too delicate for the wing needle used for pinstitching.

The machine embroidery design is a pair of fil tire’ hearts joined with a floral swag. The Swiss flannel is wonderful for wing needle work and the hearts stitch out beautifully with 80 wt. Maderia Cotona thread. The design is from Fil Tire’ and Fancywork Combinations by Suzanne Sawko and me.

The swag is a perfect setting for a name or monogram, which all mothers seem to like.  Depending on  the timing of the baby shower, I have sometimes given blankets like the first photo and then embroidered the name when it is chosen.

In the previous post, as well as a few others, I have mentioned Brother’s My Custom Stitch  (MCS) program.  As you might guess from its name, it allows you to design or copy a stitch.  It goes into the machine memory and can be called up at any time and even altered for length.


note zig zag feather stitch

note zig zag feather stitch

The zig zag feather stitch that I designed has been so useful to me.  It looks especially nice done in 30 wt. cotton thread.  It is shown on the Blossom Basket Blouse and T-Bonnet post. If any readers have a Brother machine with this option and would like to have this stitch, I would be happy to e-mail it to you.  Just post your request as a comment. The baby shawl does have some color, but it is basically white, suitable, I hope, for my White Wednesday post at Faded Charm.  Check out all the lovely white eye candy there.

Machine Shadow Embroidery~ Baby Pillow

shadmadpilo


This sweet little baby pillow was a joy to stitch and makes such a pretty and practical baby gift.  With its shadow embroidery,  featherstitching and Madeira applique hem,  it looks delicate and delightful.

Made of good quality domestic cotton batiste, it needs no lace or trim to complete its tender look.

In my humble opinion, shadow embroidery is one of the prettiest embellishments that can be added to a project.  For babies, children, ladies or linens, its delicacy is stunning.  Much as I have always enjoyed doing it by hand, I was absolutely enthralled when my friend Suzanne Hinshaw developed her techniques for achieving the identical look with machine embroidery.


machineshadmadhem

The technique is so simple that it’s hard to go wrong.  You simply hoop up a very sturdy water soluble stabilizer with no fabric and then stitch the portion of the design that, when done by hand, would have been on the back of the fabric.  Think of it as the fill pattern.

Then, after placing strips of double sided tape around the embroidered design, you press sheer to semi-sheer fabric to the stabilizer such as batiste or even light weight linen.  Of course, you would have marked where you want the design to be so you can position the design perfectly.   And Suzanne’s instructions make it clear just when the fabric is placed on the stabilizer.  In fact, all of her directions are very clear.

The next step is to stitch on the fabric.  The design is sized such that the underlay portion of the design which is stitched only on the stabilizer is just ever so slightly larger than the outlining stitches that are worked on the fabric itself.  The top stitches catch the underlay stitches which create the shadow effect.

Finally, you remove the piece from the hoop and gently peel the stabilizer away from the linen where the double sided tape has held it in place.  Cut away as much of the remaining water soluble stabilizer away as possible.  Then immerse the piece in water and let the stabilizer dissolve away.  When all signs of stabilizer are gone, let it dry and then press.

When it is finished, you will have shadow embroidery so credible that no one would even think to examine the back side.  And if they did, they would be hard pressed to recognize the slight difference in the look.

In subsequent posts, I will have more shadow embroidery, some by hand and more by machine using Suzanne’s gorgeous designs.  I might even persuade her to make her designs available again.