
With the new school year about to begin, it seems appropriate to run this post again. These quick and easy pencil toppers will give your favorite students happy encouragement. ~~~~~~~~~~~~~~~~~
One of the things I love most about sewing is that it can be a useful tool when applied to almost any situation. It can solve so many problems–and I’m not just talking about a ripped out hem, or torn seam. This past week, the problem was my Sunday School lesson and the solution was these pencil toppers and an embroidery design.
The teacher instructions were to print out the memory verse on an index card for each child to use in class and take home. Even on colored cards this would be BO—RRRINNNNG. Instead, I pulled up the .pdf file from one of my favorite collections, Designs by JuJu’s Heavenly Inspirations 2 , which includes this scripture. Won’t that get more attention than a hand written index card?
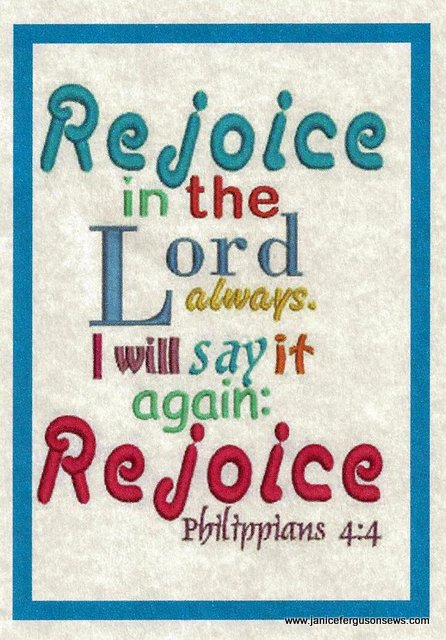
With my wonderful, free, photo editing program Picasa, a frame was added and the verse was printed on card stock. On the back, other information was printed–the “bottom line,” and “basic truth” they could take from the story. The children went away with a shortened version of Cliff Notes for their lesson that day.
Thank you, JuJu, thank you Sewing!
Next the teacher’s guide suggested draping the room in Christmas lights as an indication of rejoicing. What?!? Hauling extension cords and lights and stringing them across the room certainly didn’t make me rejoice. My students had been surrounded by Christmas lights like these

FYI this is not my house.
for weeks now, so I doubted the suggested display would inspire them to rejoice.
Then I thought about pencil toppers. Frankly, before this week, I had never given them much thought. But 9 yo granddaughter Laurel Cade was bubbling with excitement when she told me about her discovery of these “cool” school kid accessories. Mind you, as a homeschool student, she doesn’t sit in a classroom with kids other than her brother, so her exposure to such trendy items is limited. To her, pencil toppers were a new wonder.
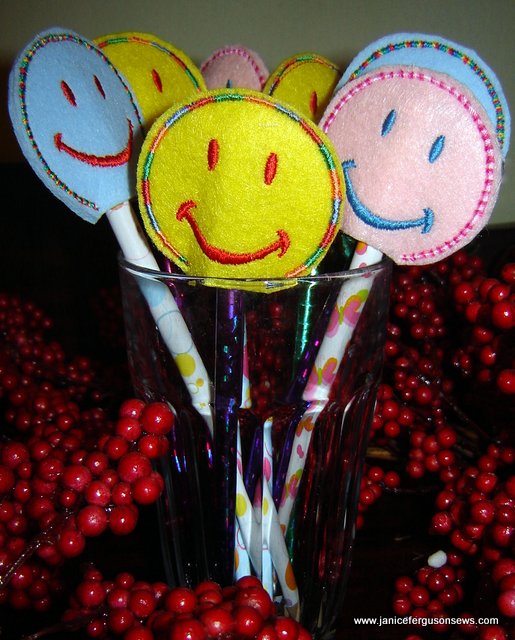
Hmmmm…a smiley face pencil topper could be taken home and be a longer lasting reminder to rejoice. I found none for sale so I quickly made this one up. Each child was given a new pencil and topper then directed to list things God has done for them which make them rejoice in Him. The smiley faces stitched out quickly and the children absolutely loved them. In fact, they asked for all the extras. I like to think they were rejoicing.
Thank you, again, Sewing, and Brother sewing machines.
It is interesting to note that 8 year old Peter, one of my fidgety boys, was the only one who asked how they were made. He’s somewhat of a budding engineer, always interested in how things are made. As I explained the process and described the embroidery machine, his already-bright eyes lighted up and he asked, “Could I come to your house and make some?” I guaranteed him that that would happen.
If anyone would like the FREE design, just leave your request as a comment below. I will happily share two files, one a single face for the 4 x 4 hoop and the other 6 faces for the 5 x 7 hoop. They are quick and easy but I’ve made up a quick tutorial for you. I think it is easier to follow pictures than words.
Here is the how-to tutorial.
Materials: for a sheet of 6 pencil toppers in a 5 x 7 hoop: 1 sheet stiff craft felt 9″ x 12″, tearaway or cutaway stabilizer, embroidery thread
Directions: Hoop up medium weight tearaway stabilizer. Stitch Color 1, basting outline that shows the area which must be covered with felt.
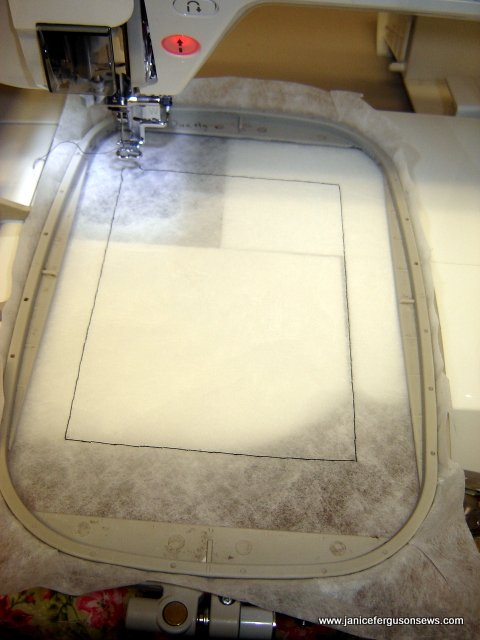
Step #1–stitch outline on stabilizer
Print template of design. Cut felt 1″ wider than template. I just left the extra length, but you may trim that away.
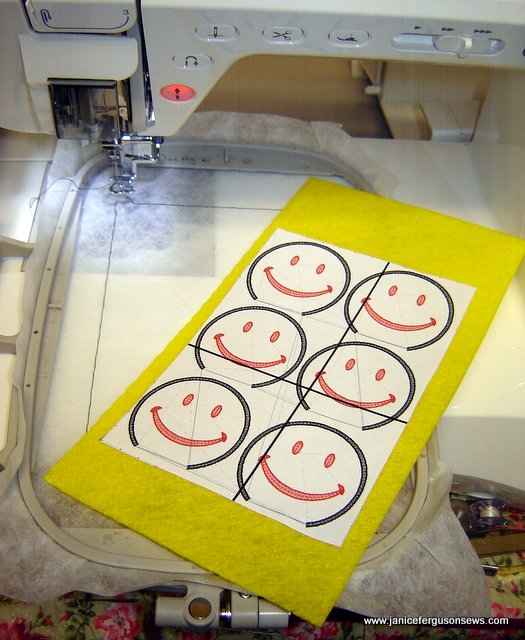
Step #2–Print template and cut felt larger than template.
Place felt over the stitched rectangle and repeat color 1. This bastes the felt to the stabilizer. Thread machine with thread for head outline and face and embroider.
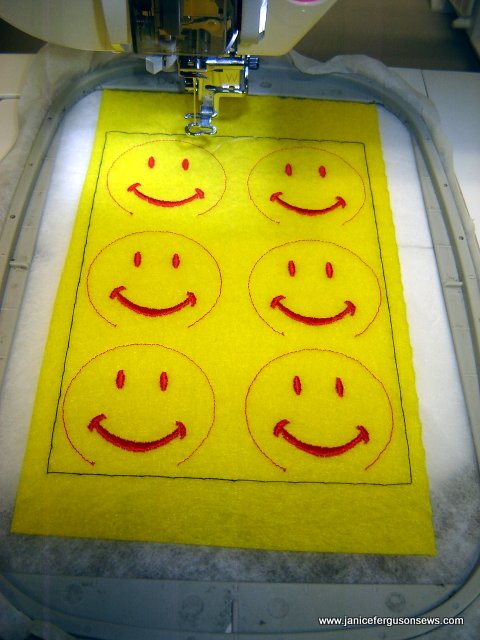
Step #3–Baste felt to stabilizer then embroider pencil topper shapes outline and faces with color #2.
Wind a bobbin with color 3, the same thread you will be using to work the satin stitch around the head. This stitching will show on the pencil topper back, so it looks nicer if the bobbin thread is decorative like the front. Children always like variegated so I used that.
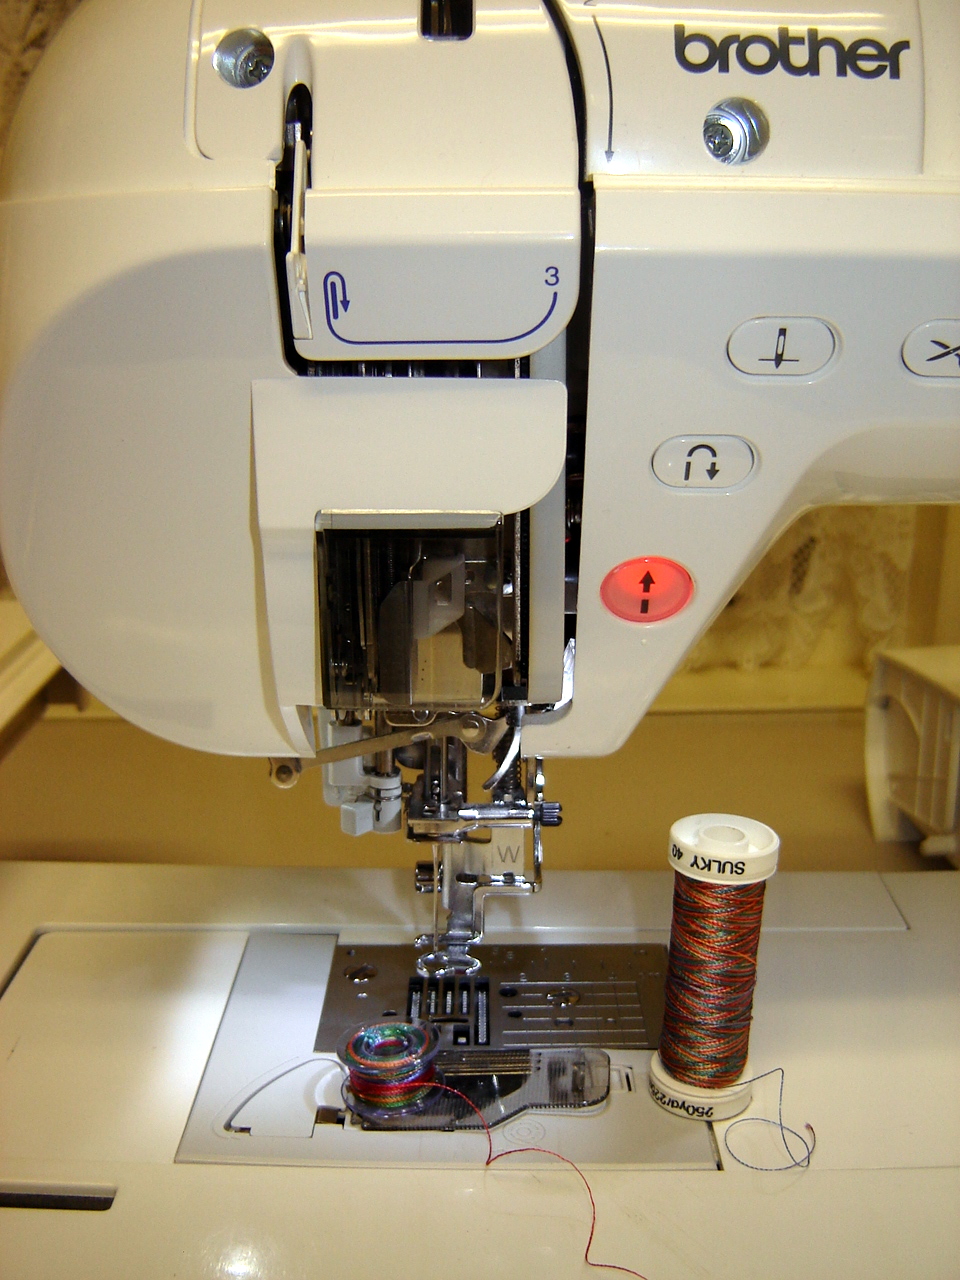
Step #4–Wind bobbin with color #3 thread and thread needle with same.
Slip the remaining piece of felt under the hoop.
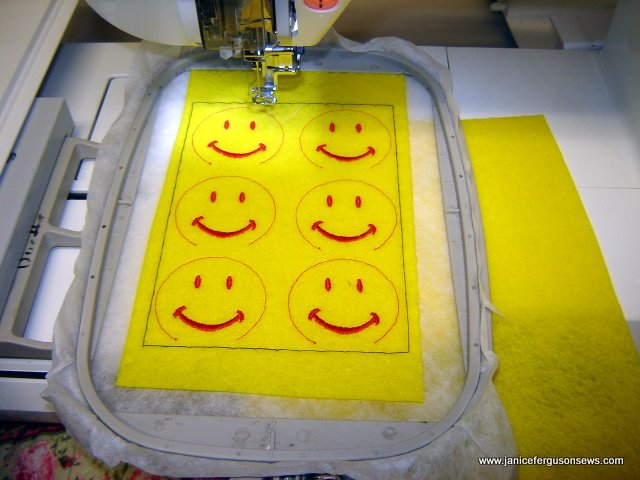
Step #5–Slide remaining piece of felt under hoop, beneath top piece.
Stitch color #3 through three layers, felt, hooped stabilizer and “floating” felt under hoop.

Step #6–Embroider smiley face outline.
Cut out smiley faces, trimming felt close to satin stitch outline.
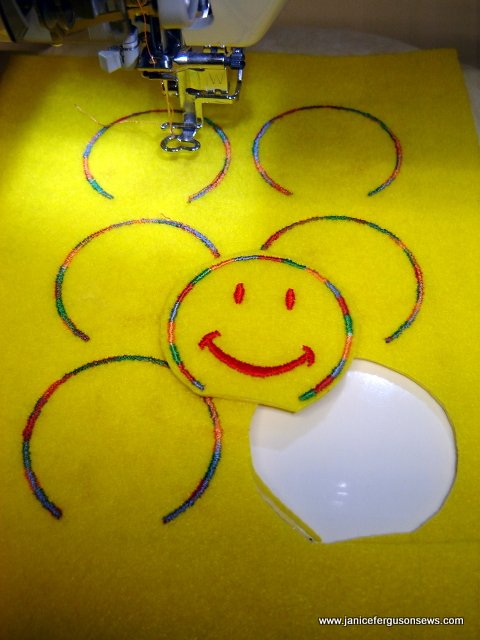
Step #7–Remove piece from hoop and cut close to satin stitching.
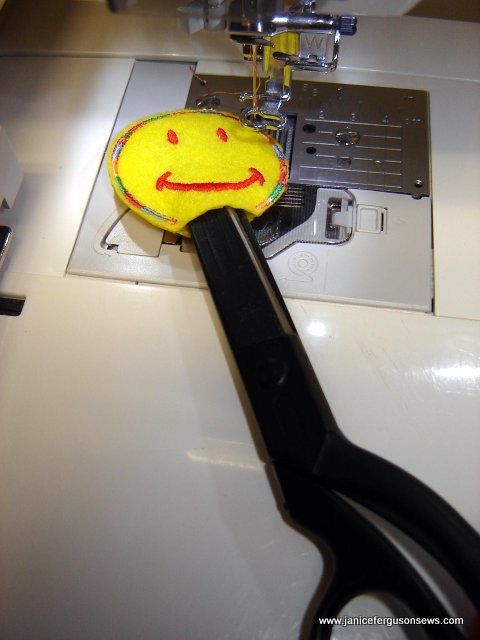
Use scissor point to loosen opening for easy pencil insertion.
These could also be made without an embroidery machine and would be a fun project for children.
- First, on a piece of felt, trace around a small jar lid or other circular piece with a fine line sharpie.
- With felt markers or sharpies, draw the face.
- Either by hand or machine, stitch the outline.
- Trim away excess felt.
However you choose to make these, they will be a hit with children.
Isn’t sewing great?

312 responses to “Free Happy Face Pencil Toppers Design and Tutorial”