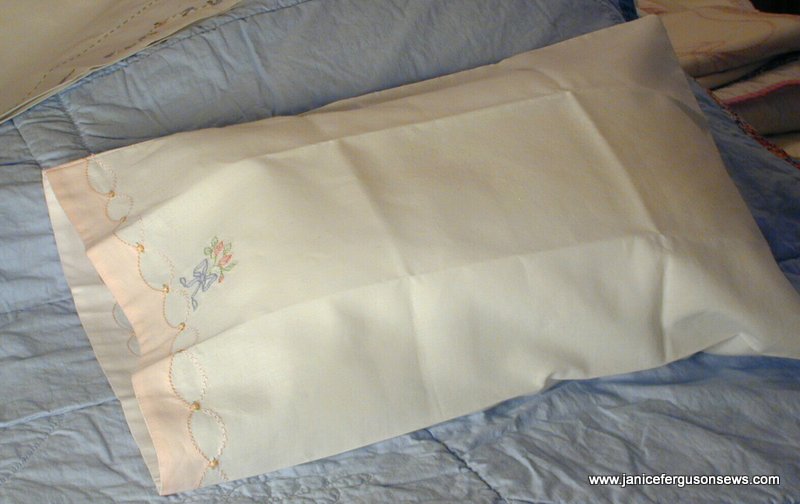
This sweet little baby pillow was a joy to stitch and makes such a pretty and practical baby gift. With its shadow embroidery, featherstitching and Madeira applique hem, it looks delicate and delightful.
Made of good quality domestic cotton batiste, it needs no lace or trim to complete its tender look.
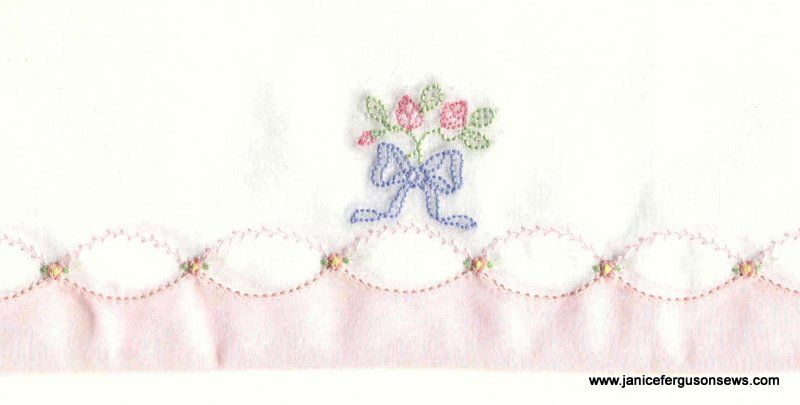
In my humble opinion, shadow embroidery is one of the prettiest embellishments that can be added to a project. For babies, children, ladies or linens, its delicacy is stunning. Much as I have always enjoyed doing it by hand, I was absolutely enthralled when my friend Suzanne Hinshaw developed her techniques for achieving the identical look with machine embroidery.
The technique is so simple that it’s hard to go wrong. You simply hoop up a very sturdy water soluble stabilizer with no fabric and then stitch the portion of the design that, when done by hand, would have been on the back of the fabric. Think of it as the fill pattern.
Then, after placing strips of double sided tape around the embroidered design, you press sheer to semi-sheer fabric to the stabilizer such as batiste or even light weight linen. Of course, you would have marked where you want the design to be so you can position the design perfectly.  And Suzanne’s instructions make it clear just when the fabric is placed on the stabilizer. In fact, all of her directions are very clear.
The next step is to stitch on the fabric. The design is sized such that the underlay portion of the design which is stitched only on the stabilizer is just ever so slightly larger than the outlining stitches that are worked on the fabric itself. The top stitches catch the underlay stitches which create the shadow effect.
Finally, you remove the piece from the hoop and gently peel the stabilizer away from the linen where the double sided tape has held it in place. Cut away as much of the remaining water soluble stabilizer away as possible. Then immerse the piece in water and let the stabilizer dissolve away. When all signs of stabilizer are gone, let it dry and then press.
When it is finished, you will have shadow embroidery so credible that no one would even think to examine the back side. And if they did, they would be hard pressed to recognize the slight difference in the look.
In subsequent posts, I will have more shadow embroidery, some by hand and more by machine using Suzanne’s gorgeous designs. I might even persuade her to make her designs available again.