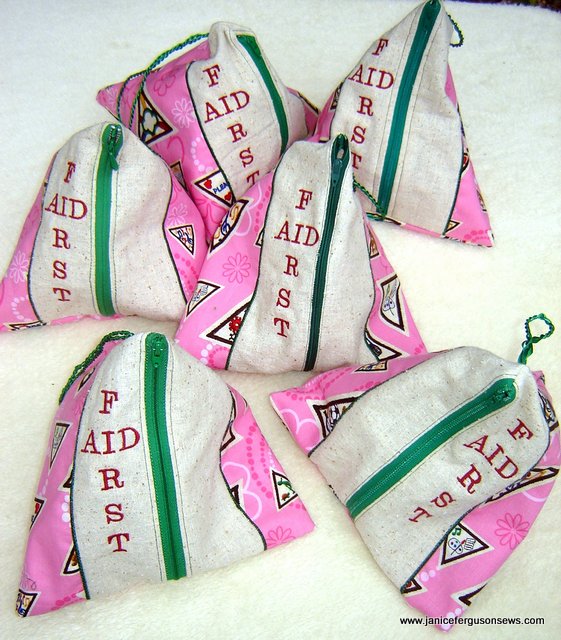
You can’t tell from the photo, but the fabric shows a variety of Girl Scout badges. I was tickled pink (ha!) to find this fabric on-line.
These FIRST AID bags were made for my 8 yo granddaughter Laurel. Next week, she will do a presentation to her Girl Scout troop as part of the first aid badge the girls are working on. At that time, she will hand out the bags and the girls will stock them with supplies.
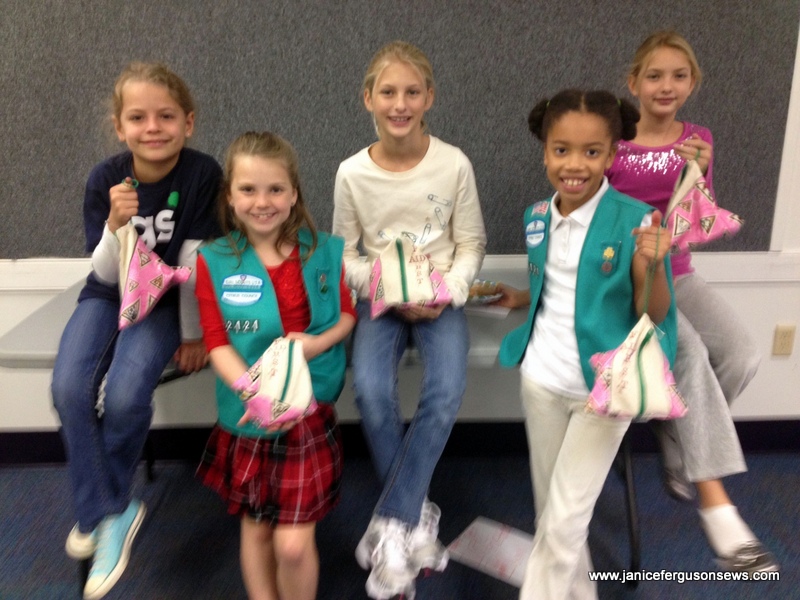
UPDATE: Girl Scouts with bags:
You can’t tell from the photo, but the pink fabric is printed with images of Girl Scout badges. I had only 1/2 yd. which should have been enough. But there was a wide, brown border with text and numbers to be sewn on for troop identification. That didn’t leave enough badge print to make 6 suitably sized totes. So the pink fabric was serged on the short sides and then centered and zig zagged onto a piece of a homespun sort of muslin.
After I got that done, I realized that the muslin created a plain strip on either side of the zipper, suitable for text.The border hoop for my Brother Quattro made this quick and easy, by hooping just stabilizer, basting the fabric to the stabilizer with the baste feature, embroidering the text, then moving the stabilizer in the hoop for the next bag.
The design is too large for the 4 x 4 hoop, yet by using the 5 x 7 there would have been so much waste of stabilizer–not to mention the time involved in hooping 6 times.The border hoop was a wonderful time saver.
The point of this post really is not about these bags in particular, but to encourage anyone who has never made one up to do so. Mary Lou Nall, a Bernina Legend in Her Own Time, taught this little project in a class titled something like “Tips, Tricks and Techniques.” It was in the early ’80’s at one of the first Martha Pullen Schools where I, too, was teaching. But I had a day off to take classes. Ever since, I’ve been so glad that this class was one I chose.
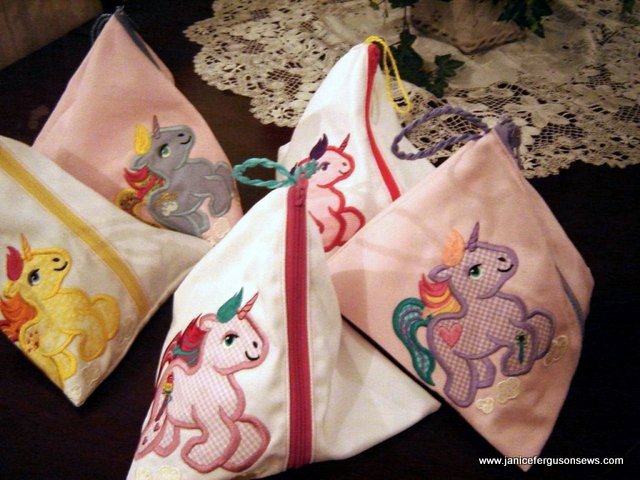
I can’t think of any project that has been more useful. I can guarantee that I have made hundreds of these bags, for about 50 different reasons, like the My Little Pony party favor bags I made for Laurel’s 5th birthday.
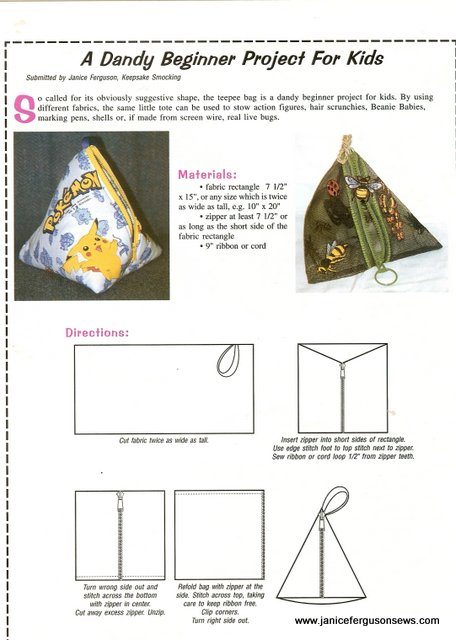
The simple pattern was printed in an industry publication and is posted here.
Just since I began writing this blog, I have used it for Alastair’s 2nd birthday party favors, bug bags for the boys (link takes you to specific directions for the bug bag), pyramid bag for junior archaeologist grandson Robert, gear/souvenir bags for little wedding guests, pencil bags, and more. For sewing workshops and quilt retreats, I have made teepee bags of novelty print sewing fabric for the feet and notions needed for each class.
The bag can be made any size, just so long as the piece of fabric is twice as wide as it is deep. You need fabric, a zipper slightly longer than the short side of the rectangular piece of fabric, and ribbon or cord for a handle. I keep on hand a sizable supply of zippers that I buy in lots on eBay.
My basic, go-to size uses fabric 8″ x 16″ long. The FIRST AID bags are 9 x 18″ but I have made them as small as 2″ x 4″ to hang on the Christmas tree as an ornament with a peppermint surprise inside or much larger.These had no zipper but were instead lined and hung slightly open.
When my daughter was about 12, a friend invited her to go to the beach for the day. Her mother would pick Rebecca up in 30 minutes. Becca wanted a bag to collect shells, so she sat down at the sewing machine with a piece of baby cord 15″ x 30″. In 14 minutes, she was finished with the bag, slipped into her bathing suit, grabbed a towel and was ready to go to Daytona Beach.That’s how fast and easy this can be.
Last year, 7 year-old granddaughter Laurel made one to match her Best in Class jumper entry at the county fair. 6 year-old grandson Robert made a small one to hold his football mouthpiece.
Enough cheerleading for the teepee bag. Just make one and see for yourself.


11 responses to “Free Pattern for Must-Try Teepee Bags”