
In the previous post, Pin Stitch…What’s it all about? basic information was given about fabric, needle, thread, foot and fabric preparation. There was more, because pin stitch is one of my favorite techniques. And my writing style can be summarized as why-say-in-a-sentence-what-could-be-said-in-a-paragraph? But I bet you already knew that.
This is part II with how-to details and applications for this classic stitch. I hope it is more useful than boring.
NITTY GRITTY HOW TO–After reading all this background and materials preparation info, you are probably wondering HOW DO YOU DO IT???? Finally, we get down to it.
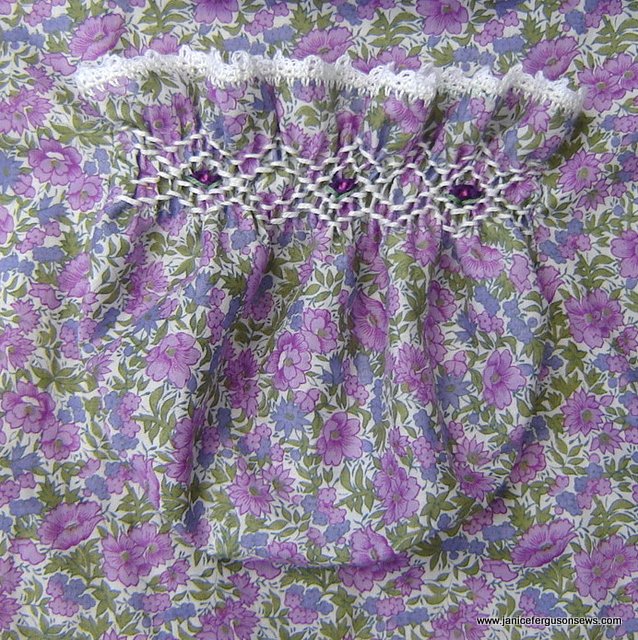
Lace edging is pin stitched to the sleeve of a shadow smocked dress, as detailed a few posts ago.
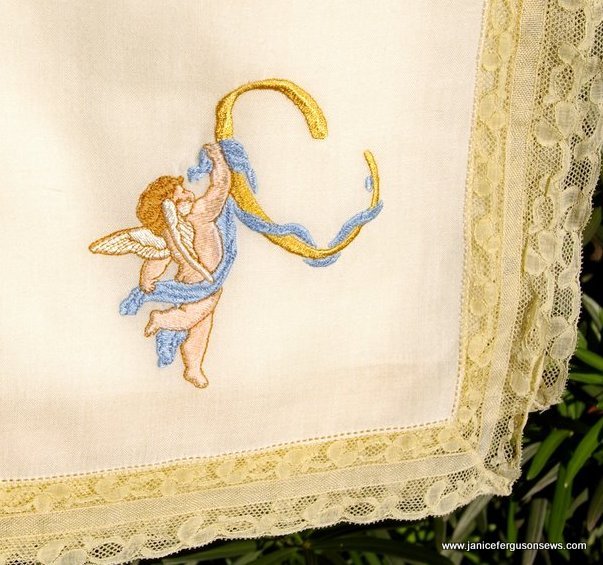
Pin stitch is almost always connecting one thing to another, like lace to fabric on the sleeve to this shadow smocked dress or the angel blanket above.
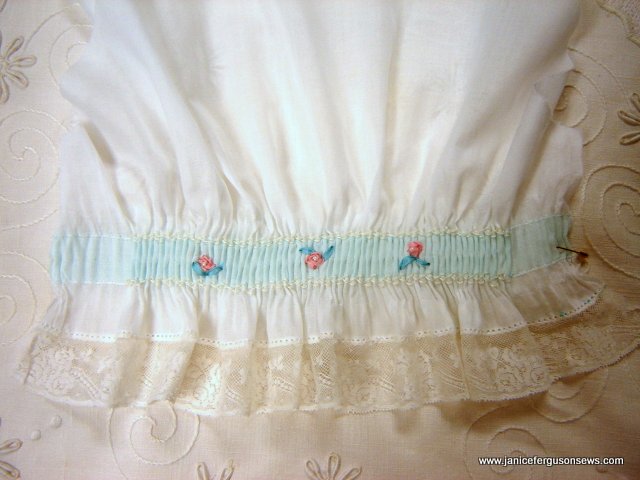
Often it joins fabric to fabric as you see on the hem of American Girl doll Molly’s lace tape nightgown above.

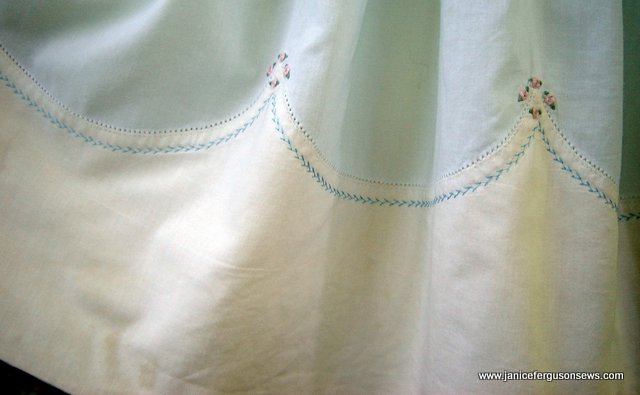
Or in the case of Madeira applique’, shaped fabric to fabric. I like to have my lace or applique’ fabric in place before I begin pin stitching, which is what was done in preparation for securing the hem of this linen Madeira applique’ baby pillow with pin stitch. In the same manner, the hem on the Brother bishop dress below was prepared.
For Madeira applique’, I machine baste the crisply starched applique’ fabric in place 1/4-3/8″ away from the folded edge, with fine thread and a #60 needle, so as not to leave noticeable holes in the applique’ piece.
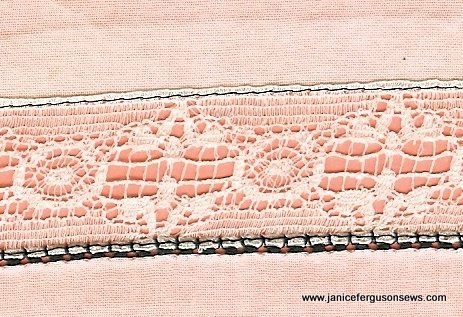
Step #1…Of course, you would not use black thread. Use thread to match the lace.
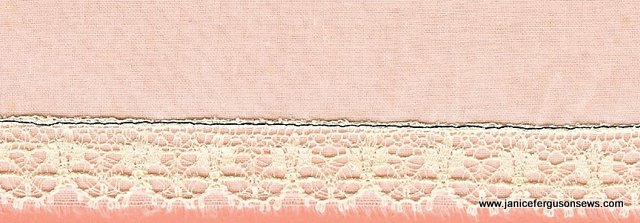
For lace edging, step #1…I prefer to place the lace on top of the fabric with decorative edge even with the raw edge.With #80 wt. thread in the color of the lace, straight stitch in the header of the lace, securing it to the fabric.
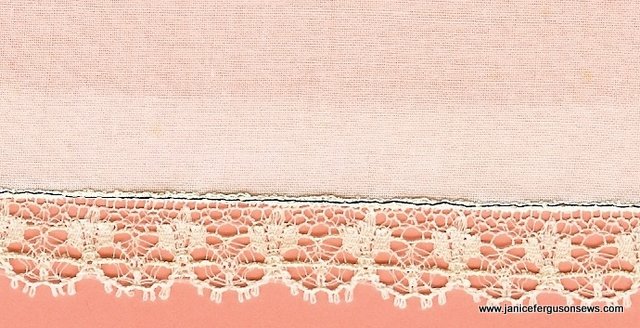
Step #2 Fabric under lace has been pressed up away from lace edge.
Step #2~ the fabric that lies under the lace is pressed away from the edge. This renders a lace edge straight stitched to a folded edge. The pin stitch is worked with the forward/backward stitches in the fabric. Stitching over the fold makes the lace attachment more secure.
Then, with a wing or sharp needle and fine thread that matches the lace color, the stitch settings are rehearsed on a scrap. The goal is for the “reach” stitch, the horizontal one on the diagram, to reach over the lace header. The forward/backward stitches should be close to the header. As it stitches, the needle penetrates two layers of fabric and then one layer of lace. As mentioned before, a good starting point is W. 2.5 and L. 2.5.
If there are any puckers, reduce needle tension a little. If the appearance is still not satisfactory, place a length of Stitch & Ditch under the piece.
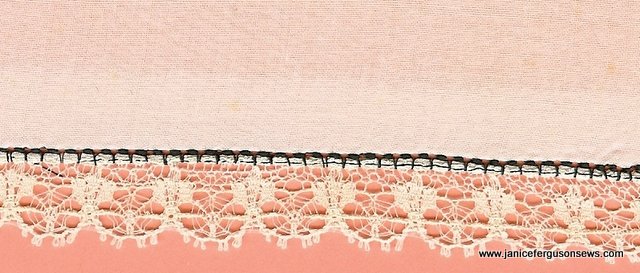
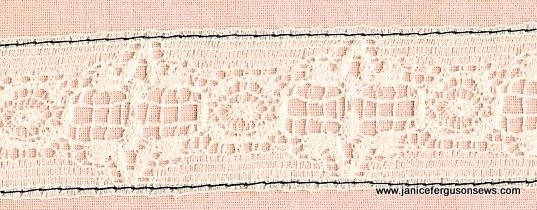
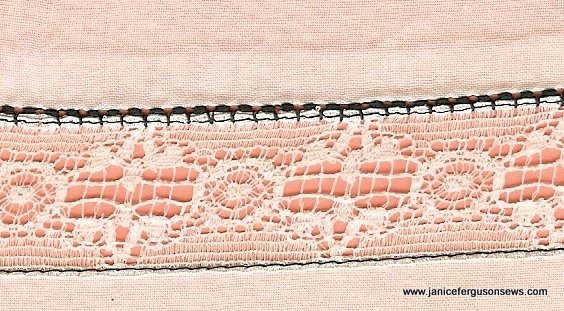
Step #3…pin stitch is worked over the folded fabric edge
Step #3~the pin stitch is worked over the fold. Notice that the straight stitch is covered by the reach of the pin stitch. Worked in thread to match the lace, this line of straight stitch disappears into the header.
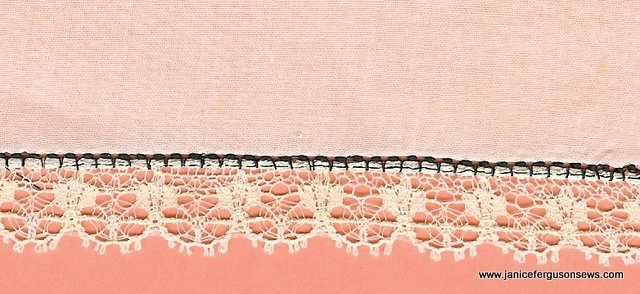
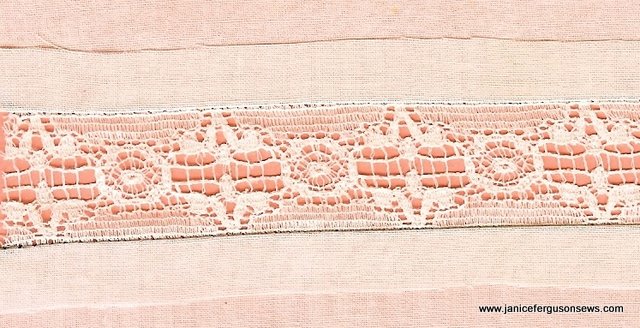
Step #4..folded excess fabric is trimmed away. Of course, this would be much prettier with ecru thread.
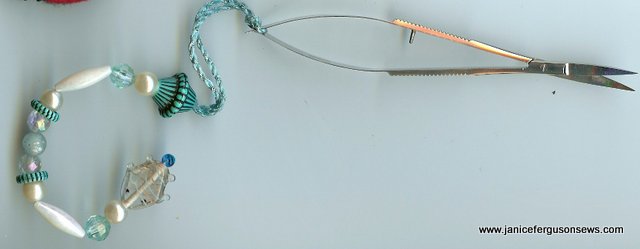
Step #4…finally, the fabric that has been pressed up from under the lace, toward the foundation fabric, must be trimmed away. I have greatest success with the curved snips for machine embroidery.
After that, I usually run my fingernail along the trimmed edge to bring up any stray threads, which I snip away.
 lace insertion
Step #1…straight stitch in each header. Of course, you would not use black thread. Use thread to match the lace.
For lace insertion, step #1 is to place it flat against the fabric and straight stitch in each of the headers.
Step #2…expose lace by pressing fabric away from lace.
Step #2… slit the fabric under the lace, down the center, parallel to the straight stitching. Then the fabric is pressed away from the center, exposing the lace.
Step #3 ..work pin stitch through fold.
Step #3…the pin stitch is worked over the fold, with the reach into the lace.
Step #4…pin stitch is worked on second side, just as on the first (photo showing both sides pin stitched has been corrupted. I hope you can picture it anyway).
Step #5…finally, just as with lace edging, the folded back fabric is trimmed close to the pin stitching. (Another missing photo. Yikes!)
NOTE:Â Remember to do a sample first. Then, if there are any puckers, reduce needle tension a little. If the appearance is still not satisfactory, place a length of Stitch & Ditch under the piece.
Please leave a comment if you have any questions.
APPLICATIONS:
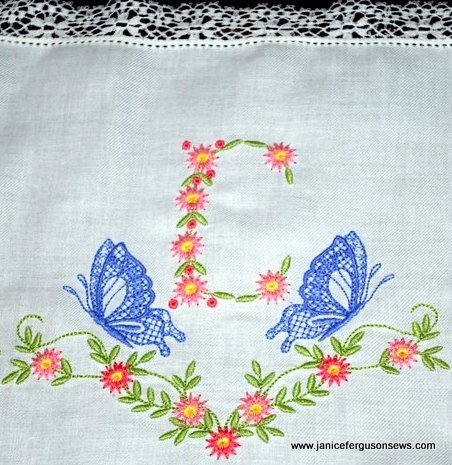
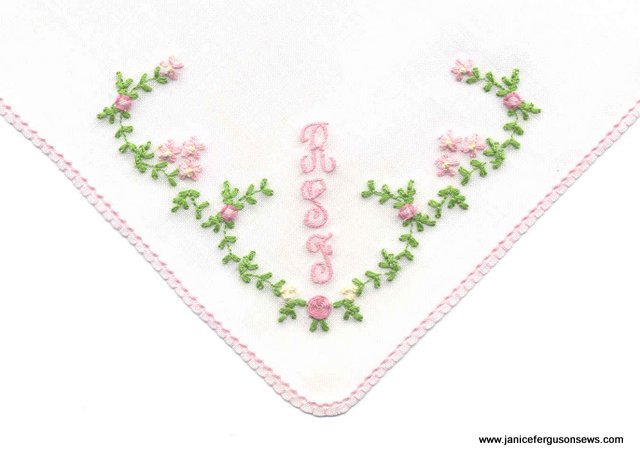
1. As already shown, most often, pin stitch is used to join lace to fabric, either an edging on collars, handkerchiefs or blankets, as shown on Alastair’s butterfly blanket.
or insertion, as used on Laurel’s ’10 Easter dress.
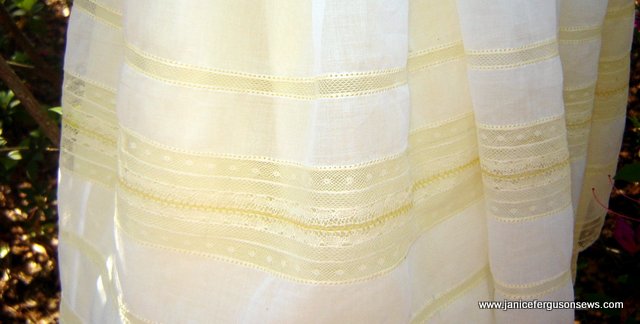
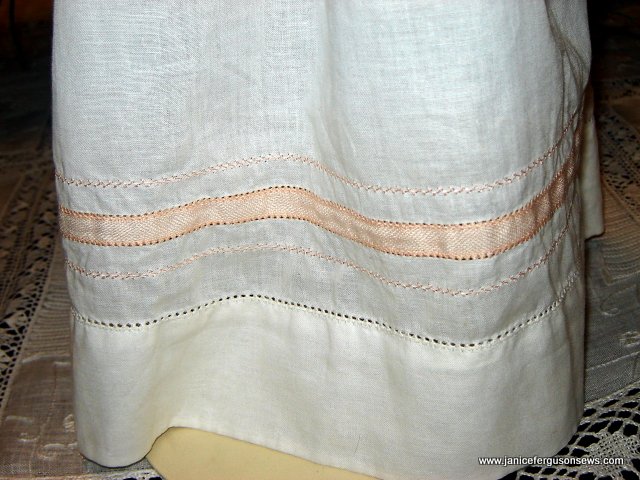
2. It can be used to hold tucks in place. This technique was used on my Laurel’s first birthday dress.
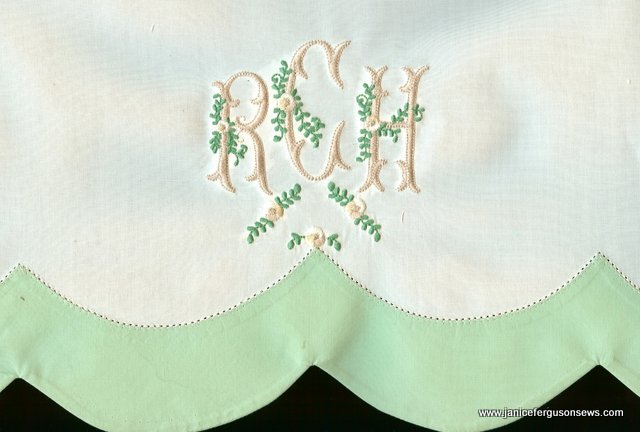
3. Securing Madeira applique’ pieces is another common use for the pin stitch. I frequently use it on pillowcases, such as this monogrammed pair, made for my daughter’s birthday.
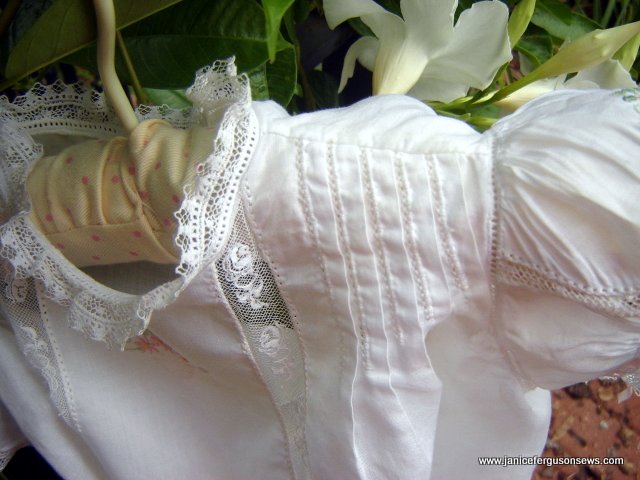
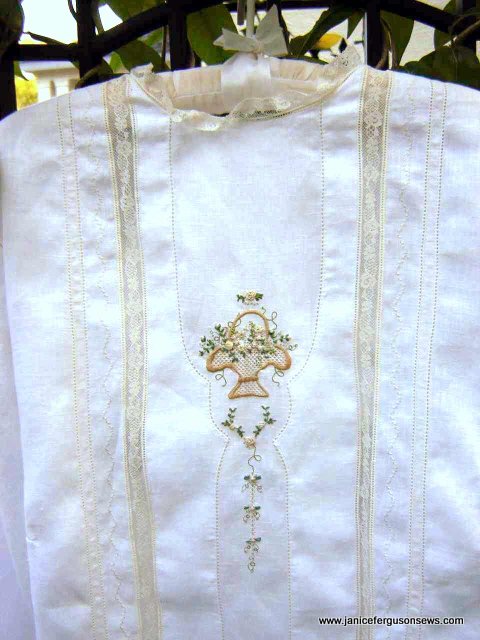
Or on the center panel of this lady’s blouse, where the Madeira panel as well as lace tape and lace insertion are all pin stitched in place.
4. Pin stitch is a good choice for making holes for small crochet hooks. On this pocket, a pin stitch was worked over the fold of the pocket top. Then the folded fabric was trimmed away. A crocheted edge was stitched through those neat, perfectly spaced holes.
5. For a no-fuss edge on receiving blankets, napkins or tablecloths, pin stitch can create a unique look. On this child’s linen tea set, the napkin and tablecloth are edged with a pin stitch worked over the fold with the reach stitch “in the air.”
On another child’s tea set, made for my granddaughter, pin stitch is used for both the finished edge and the Madeira applique’ piece.

Do you know of any other applications for the pin stitch? Please share with us if you do.
Soon, there will be a similar post on entredeux. For ease in comparison, clear photos will show both machine made entredeux and pin stitch on the same garment. NOTE: entredeux tutorial is now posted here.
I hope you will check back. Please send any suggestions for how this could have been clearer before I write the entredeux post. Also, please let me know if these two pin stitch posts are helpful.

12 responses to “Pin Stitch~~ Part II”