Category Archives: machine embroidery

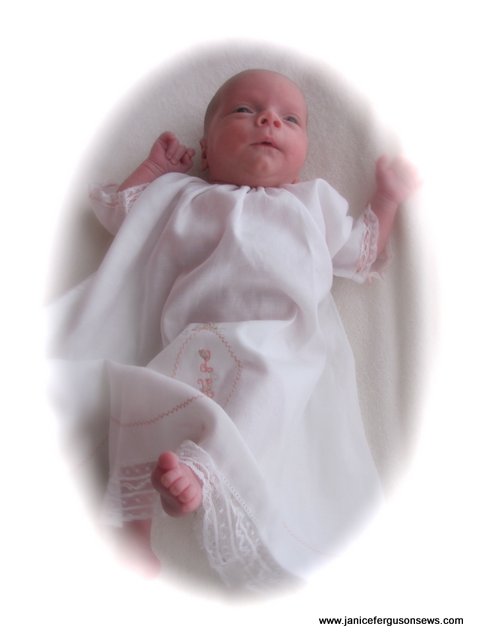
Remember that tiny baby girl?

She is thriving and growing! This beautiful cherub and her equally beautiful mama are snug at home with baby’s undoubtedly proud and doting daddy. They are all easing their way into a new family routine.

LilyKate2

Just look at those sweet pink toes!

The daygown, made from Lezette Thomason’s Angel Gown pattern (all proceeds go to charity) for tiny, tiny babies, was shown and detailed in a previous post.

Continue reading

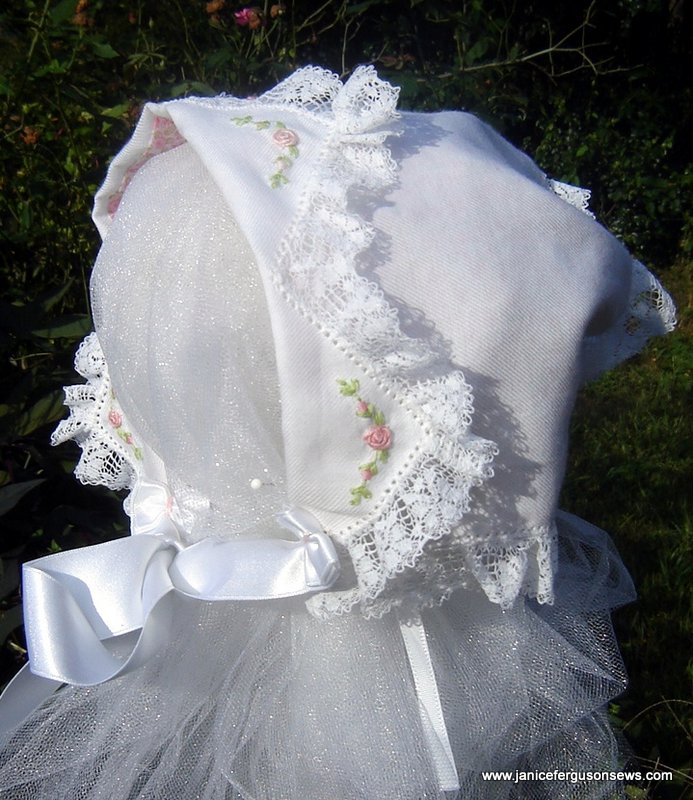
Zig Zag Bonnet

zbonnetzigzag4


In November, 1995, when this bonnet was featured in Creative Needle magazine, I was absolutely enchanted. Chery Williams’ reproduction of this 1920’s simple, unique and charming chapeau screamed “MAKE ME!! MAKE ME!” so loudly that it went to the top of my grandmother’s hope chest project list. But life got in the way and it was only recently that I was able to get to it.

Basically, the pattern consists of a single piece of batiste 15″ X 9″ with deep zig zags along the front and back. This measurement allows a little excess around the edges for hemstitching.

My Brother Duetta 4500D does beautiful hemstitching, even through the two layers of Swiss flannel and lawn.   This  bonnet shows off the pretty entredeux stitch, worked with a reduced width setting.

Embroidery, by hand or machine, is worked into the front points and then the entire perimeter is hemstitched, either commercially or with a machine made entredeux stitch. Lace edging is joined all around.


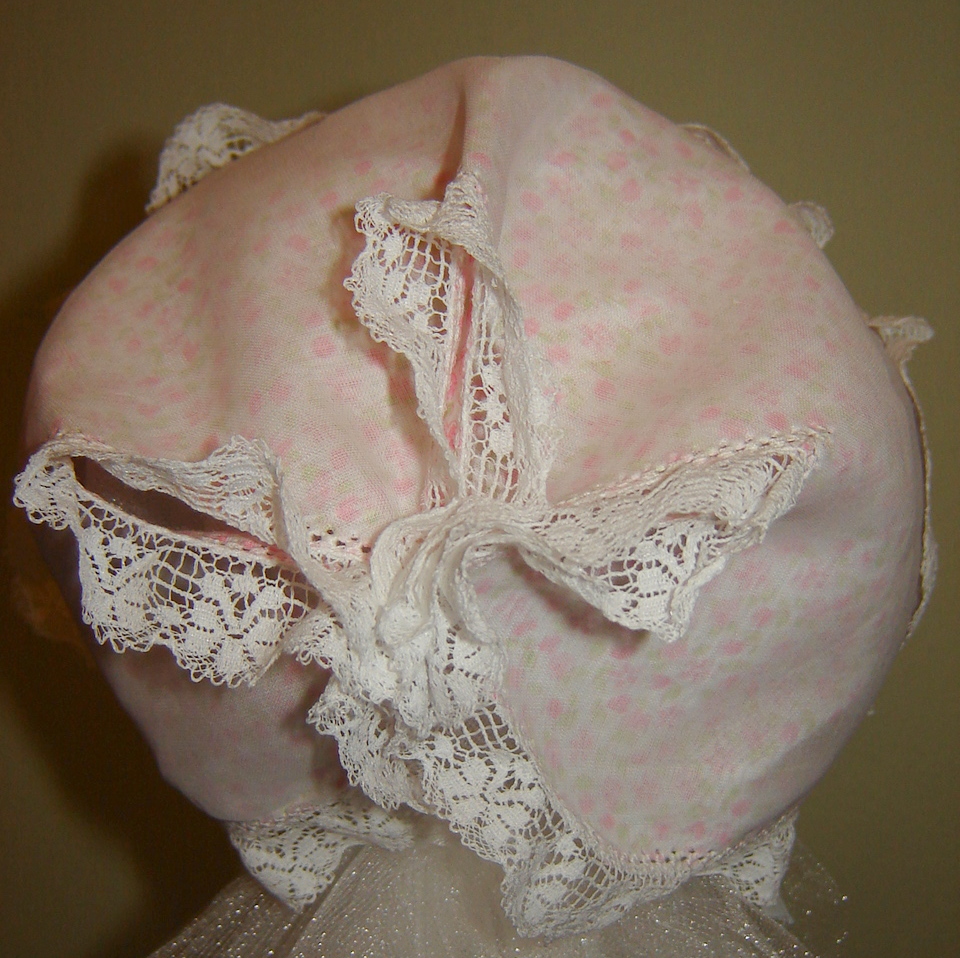
The embroidered points are folded back to serve as a brim and the back zig zags are hand stitched together. Ribbons are attached at the sides and, bam! You’ve got a dynamite baby bonnet. Continue reading

Baby Bunny Bubble

It’s time to get started on Easter outfits for the grandchildren. In fact, I woulda/shoulda started before now but I am busy working up a design and embroidering tee shirts for Robert and Laurel’s Odyssey of the Mind competition next week.

I’m especially grateful for the 1000 stitches per minute that my Brother Duetta puts out.  The shirts are pretty ugly, but beautifully embroidered (film at 11, or after the competition).  There are other must-do’s but very soon I MUST at least have a plan.

For sewing mothers and grandmothers, there is no greater thrill than to see their little darlings decked out in their most elaborate and special garments, created with love in every stitch.

Those of us who have labored long and hard on these very special holiday garments often find that specific recollections of each Resurrection Sunday are tied more closely to the Easter outfits made that year than to the calendar year. Continue reading

Tiny Daygown for A Tiny Girl

tiny dress all 2

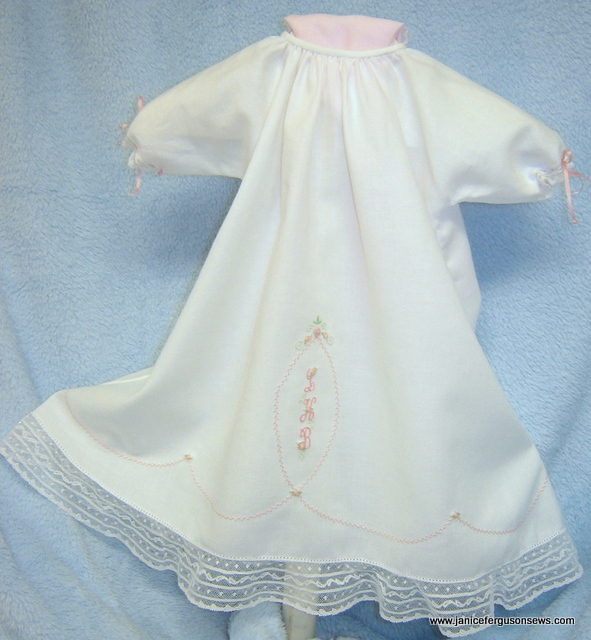
This preemie daygown was made for a tiny baby girl who was born last week weighing 3 lbs. 9 ounces. Almost 8 weeks before her due date, she is doing quite well in the neonatal intensive care unit at an excellent hospital. But she is sooooo little!

Her mother was a classmate of my daughter’s as well as one of my favorite students in my children’s sewing classes. Now she is a wife and new mother to a precious baby daughter who will probably be in the hospital for some time.

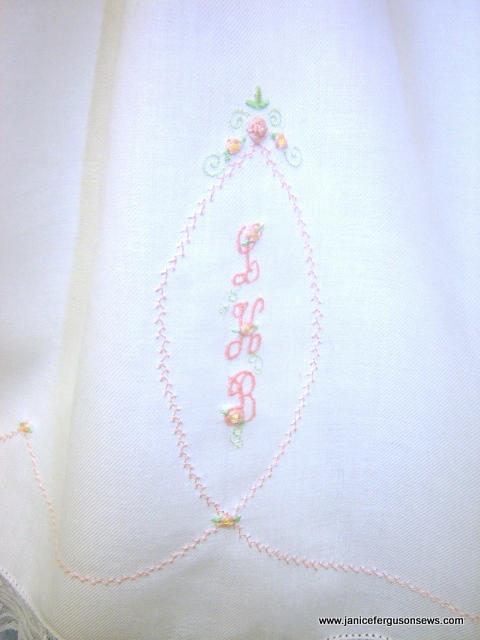
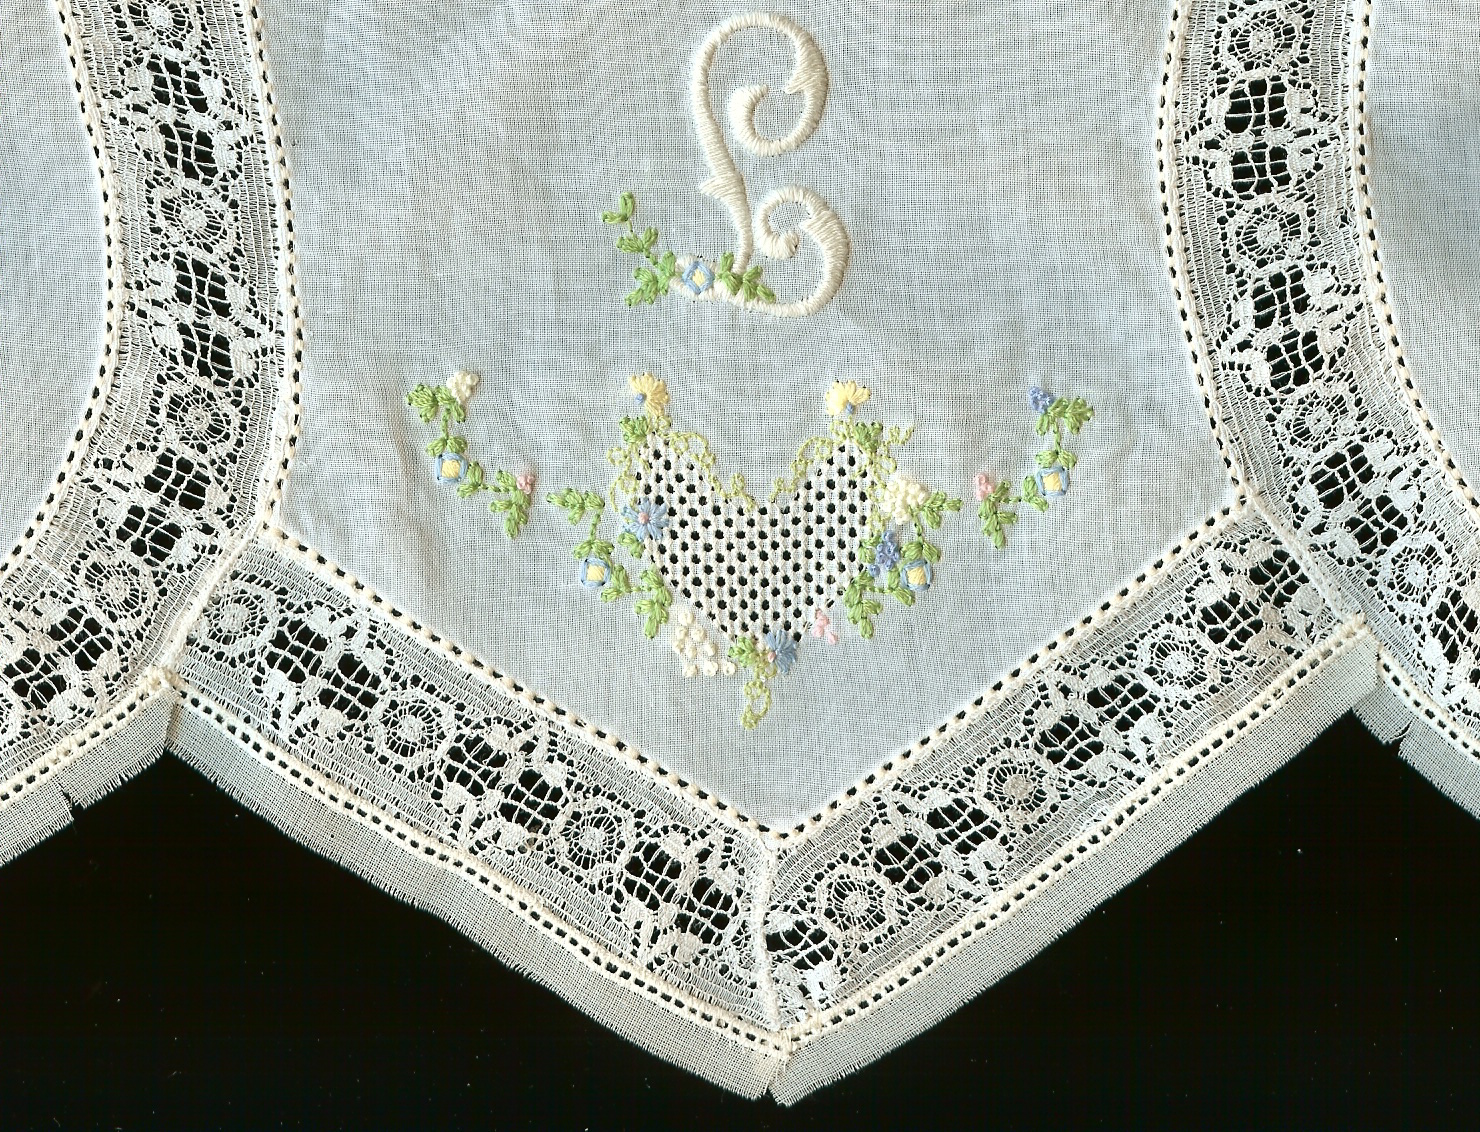
monogram

I had planned to smock a daygown for this little darling, but she arrived before I even began. So I whipped up this simple A-line so she would have something girlie to wear over her itty bitty institutional nappies. If I can find a little more time, I’d like to make a bonnet and blanket. Continue reading

Cutest Little Boy does DisneyWorld

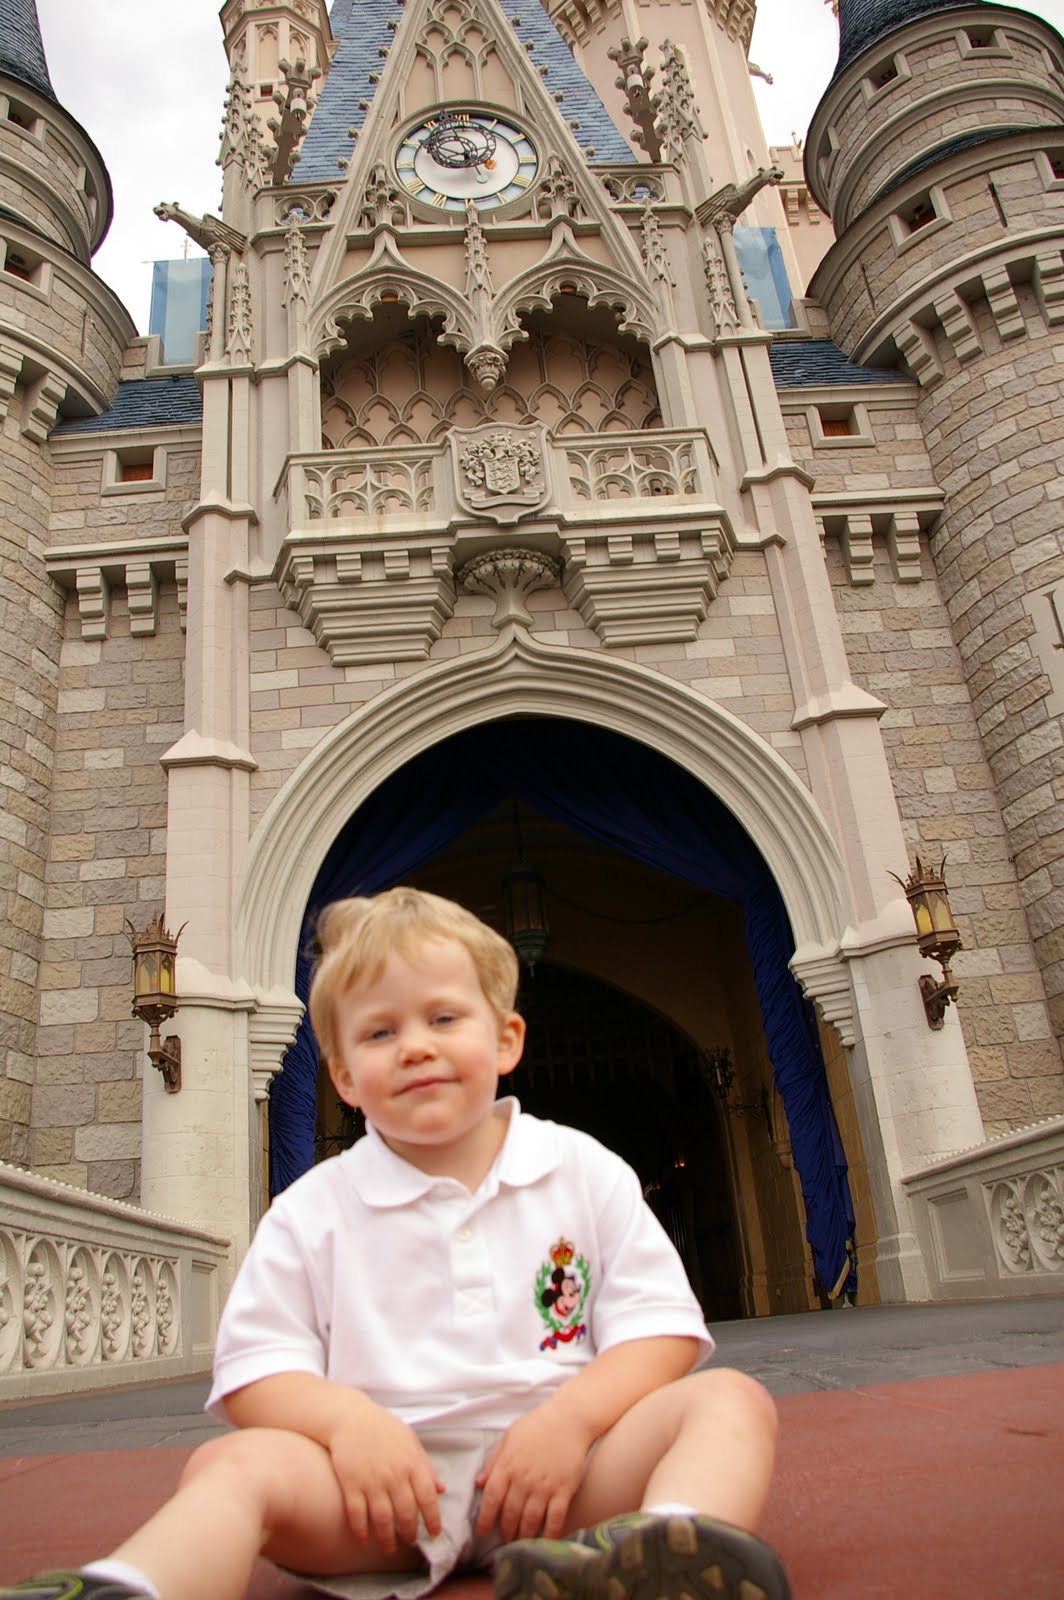
This week, my adorable grandson Alastair visited DisneyWorld for the first time.   He will be 3 next month and his parents decided that he was old enough to enjoy and appreciate this major milestone in the life of a Florida child.

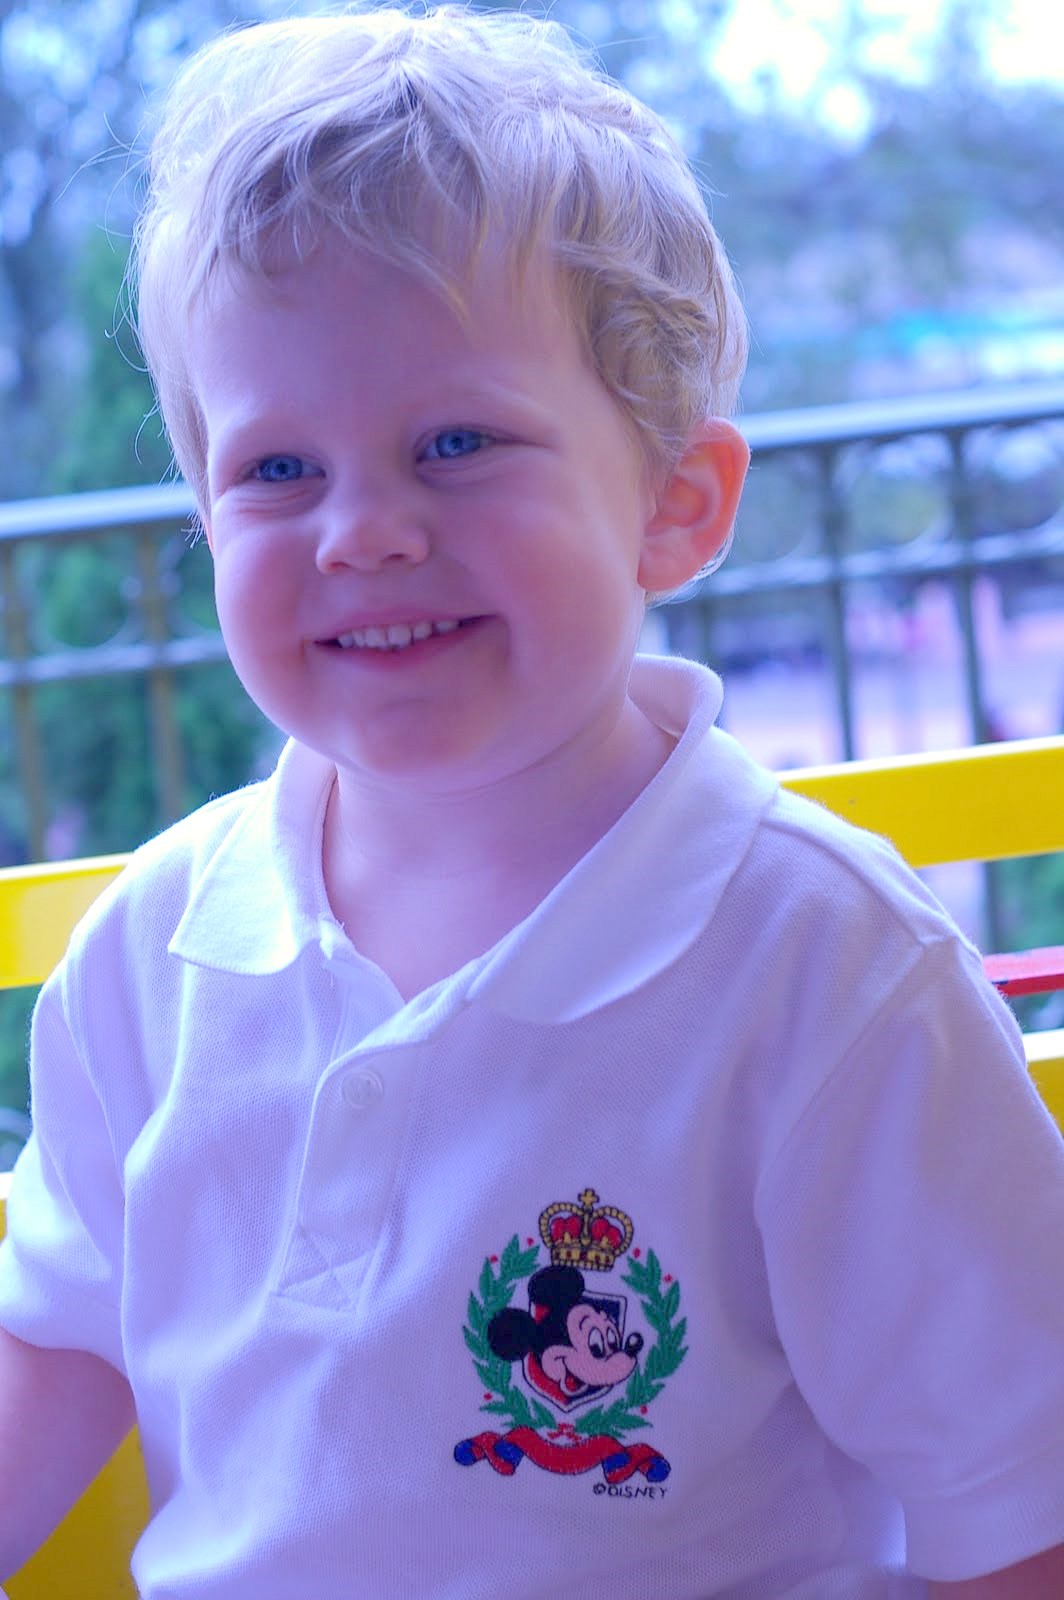
Of course, as soon as the trip was scheduled, I rushed to my Brother Duetta 4500D with all its Disney embroidery to stitch a shirt for him. He loved it and I loved being able to make this little guy smile, not that it is hard.

He waited patiently for the documentation of his arrival at the castle, but was eager to move on.

At this tender age, he has not yet focused on one Disney character or another, so his shirt is a simple crest with Mickey.  I can’t wait to stitch out Pooh and Donald and the whole gang at Toon Town.  I’ve done Minnie princesses and Tinkerbell for Laurel and her doll, but Alastair is more likely to want Tigger.

Continue reading

New Look for an Old Dress

Heirloom sewn children’s clothing is nearly timeless. Bishops, basic yokes and button-ons have been around for so long that you can hardly tell the old from the new.

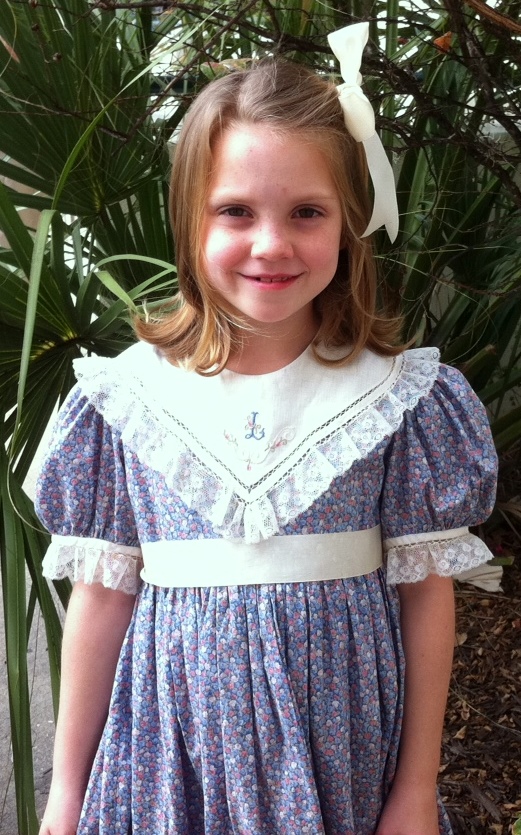
Laurel, my 7 year old granddaughter, wore this 28 year old dress to church last Sunday.   Perhaps you can tell that it is not new because it is not black and hot pink or lime green.  But still, I think the color and style do not scream “HAND ME DOWN!!!” (Please advise me if I am wrong.)

The dress was made for my daughter Rebecca in 1984.  The fabric is a Rose and Hubble lawn.   How I wish that company were still in business, making almost Liberty quality lawns!

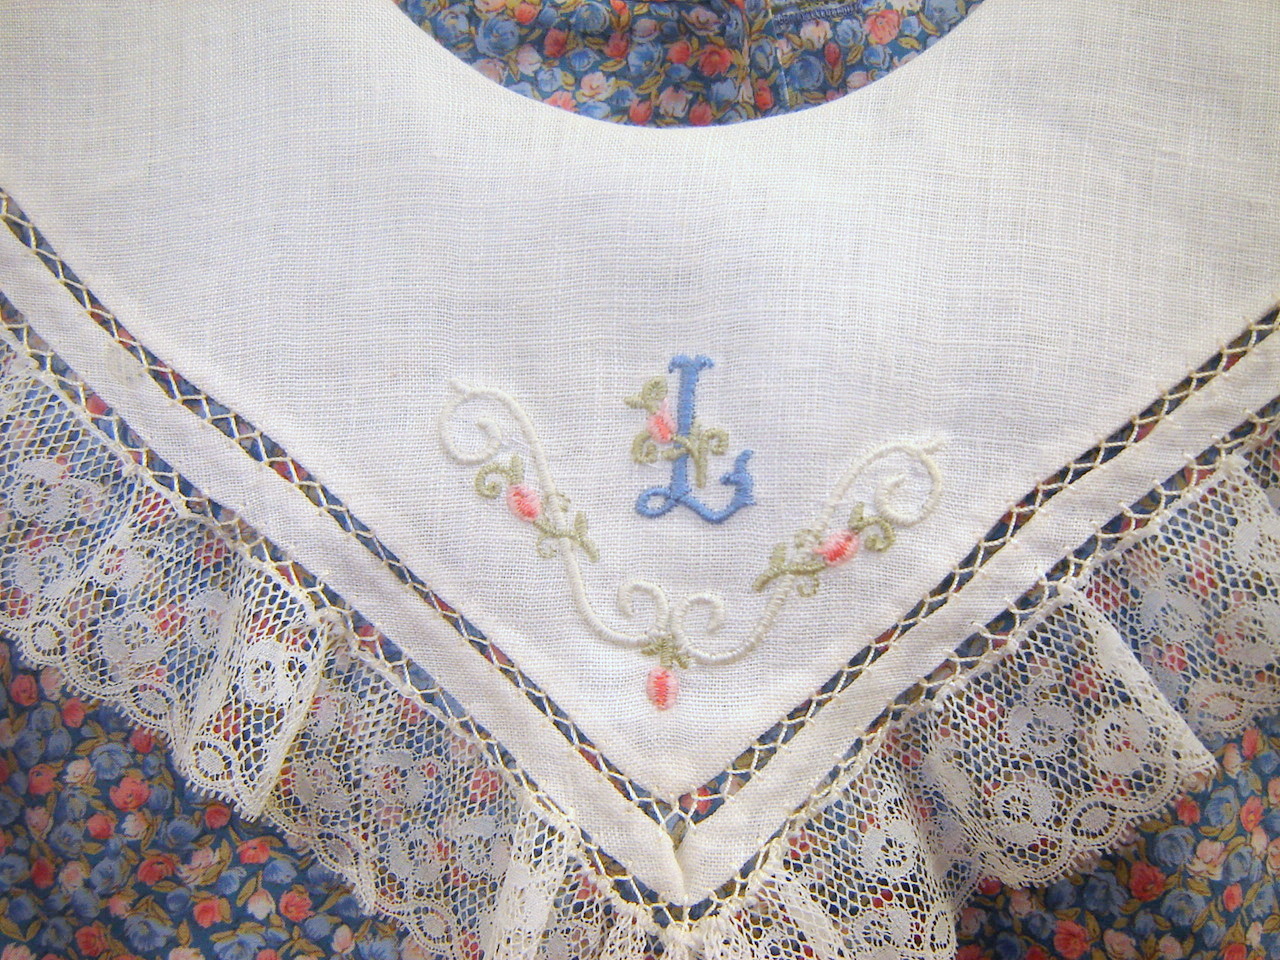
The collar is ivory linen with hand fagoting stitches joining the bias strip and lace edging.  The same edging is fagoted to the linen sleeve binding.

NOTE:  On SewForum, I posted a picture and description of a daygown with fagoted lace.   The word “fagoted” was “beeped.”   I wonder what their censorship program would do with “roll and whip?”

I need to mend the mitre on the bias.

Continue reading

Fil Tire’ and Fancywork Combinations + Free Design

FTOvnrz

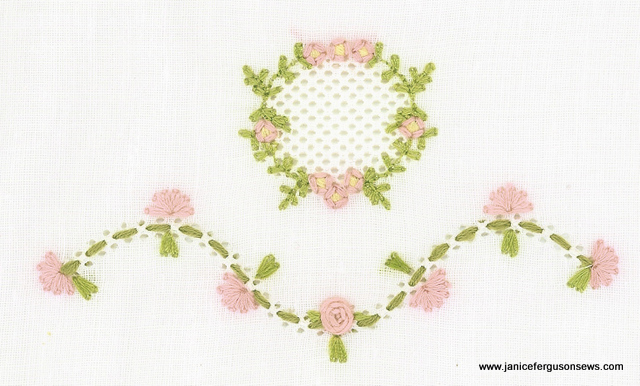
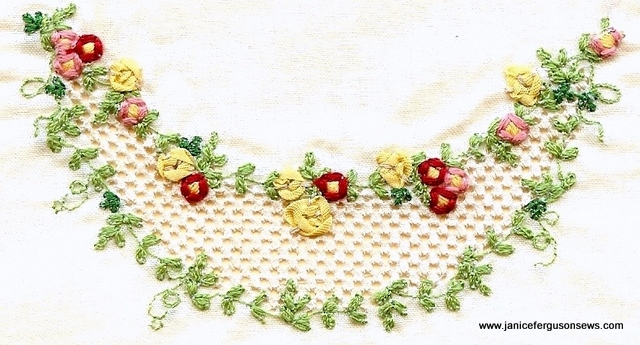
fil tire’ oval surrounded by pinwheel roses and greenery ~~situated above serpentine entredeux woven with threads used for leaves…5.12″ x 7.9″

The Fil Tire’ and Fancywork machine embroidery collections created by Suzanne Sawko and me have been mentioned in several posts.

There are three sets, Elements, Combinations and Frames and Phrases. The stitched samples make the post very image intensive, so each collection will be posted separately. They will appear in succession,as quickly as I can scan sew outs and write the descriptions.

A few of the free designs offered here have been from one of the three sets.I am sorry this is more tedious than the one click purchase option on other upscale sites. This is more like yard sale bargain prices, changing inventory, and limited quantities. You might be surprised at some of the unique items I have in my stash/hoard/collection!

These designs are from the Fil Tire’ and Fancywork Combinations Collection.The cost is $25 if delivered electronically or $30 + postage if delivered on a cd.

3.85" x 2.07"

3.85″ x 2.07″

For sale:  Fil Tire’ and Fancywork Combinations machine embroidery collection. $25 downloaded or $30 + postage on CD. Designs require hoop sizes from 4 x 4 to 6 x 10″. This is the second of three Fil Tire’ and Fancywork collections.

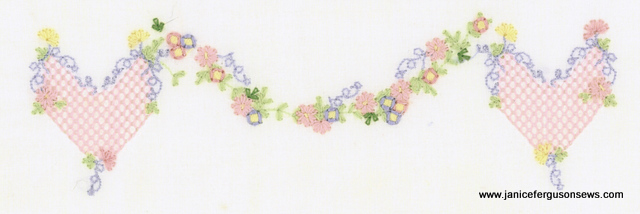
FThrtswagflr

6.63″ x 2.02″ ~~very sweet on a baby blanket with a monogram or name above the swag.

See a Swiss flannel blanket with this design.

NOTE: These sew-outs were stitched to card stock and kept in a notebook. This caused  the puckers in the fabric.The designs stitch out perfectly flat.

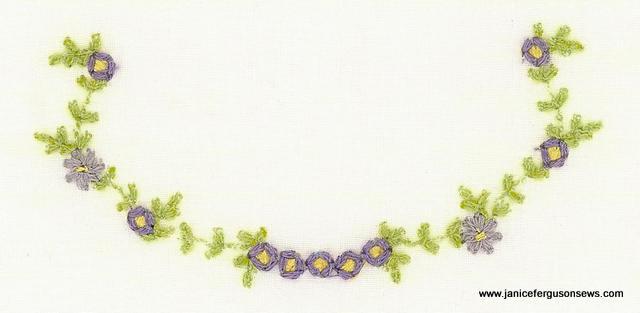
frongarchflr

3.94″ x 3.94″~~nice under monograms or names

This collection was designed and digitized by my close friend Suzanne Sawko and edited by me.

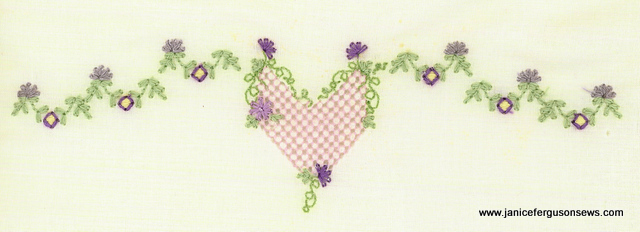
6.75" x 1.92" Baby pillowcases are so pretty with this design.

6.75″ x 1.92″ Baby pillowcases are so pretty with this design.

Suzanne is an innovative digitizer with a great sense of design.

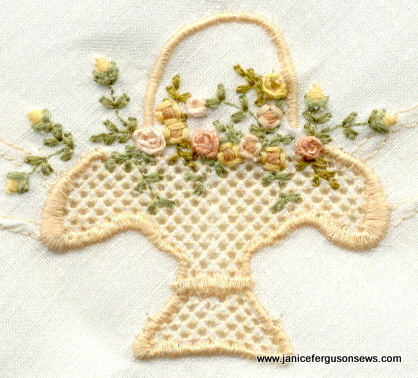
FTbasketrz

2.68″ x 2.69″~~~fil tire’ basket

See this design on a tabletopper.

She was the first to digitize fil tire’ and, in my opinion, no one has ever duplicated the crisp, light, hand stitched look of her machine embroidered version of this classic hand stitching technique. Continue reading

Delicious Doll Bedding

In light of the interest in the free fil tire’ heart design for machine embroidery, I thought a rerun of this earlier post might be of interest. ~~~

“Nothing’s as mean as giving a little child something useful for Christmas.” ~Kin Hubbard

dollbedpicsm

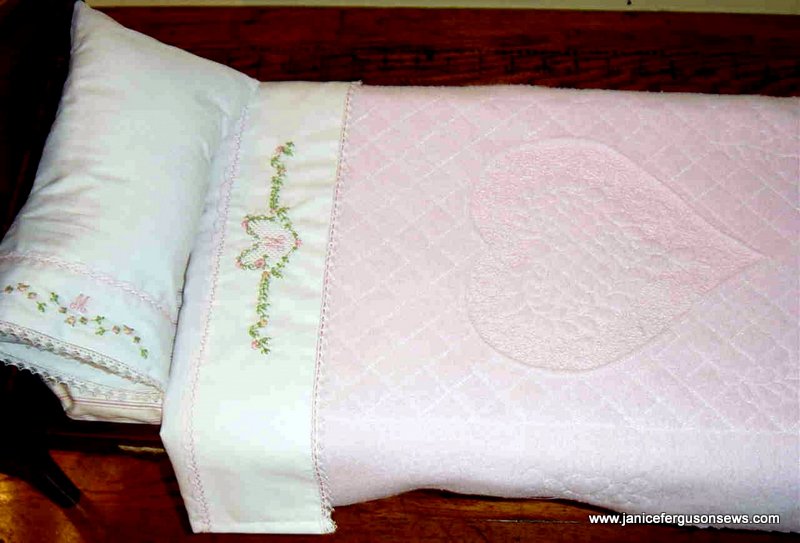
No one can accuse a doll bed of being useful. This was a Christmas gift for my granddaughter, Laurel.

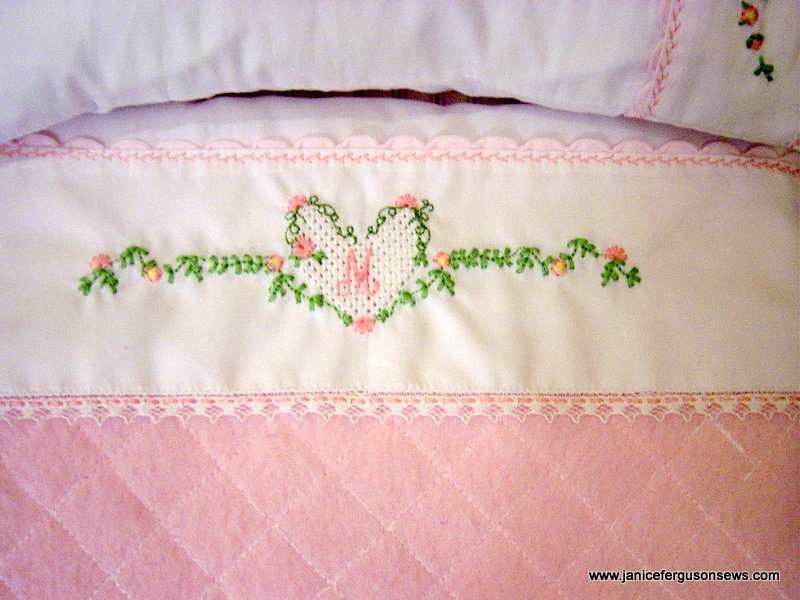
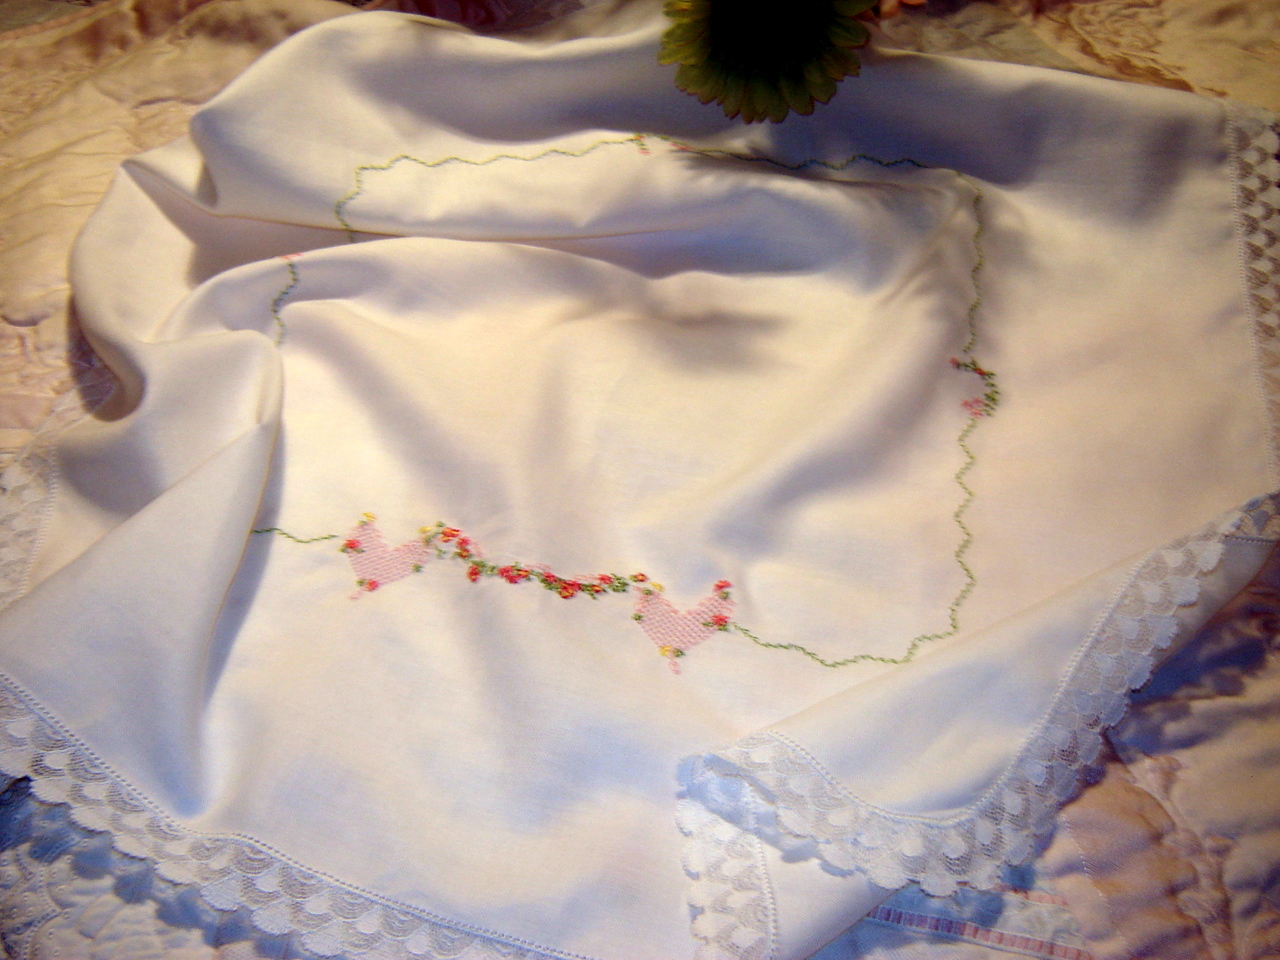
The top sheet and pillow case are made from combed cotton batiste and trimmed with bias scalloped pink batiste, English lace edging, feather stitching and machine embroidery. If embellishments were made of sugar, these bed linens would qualify as a dessert. I think the bed looks delicious.

deliciousdollsheetpilo

Laurel will receive the American Girls doll of my era, Molly. Thus, the “M” monogram, from my favorite alphabet in Brother’s PE-Design. The fil tire’ heart and floral spray  which brackets the monogram are from two of the Fil Tire’ and Fancywork machine embroidery collections by Suzanne Sawko and me.

deliciousdollpilscalop1-1024x440

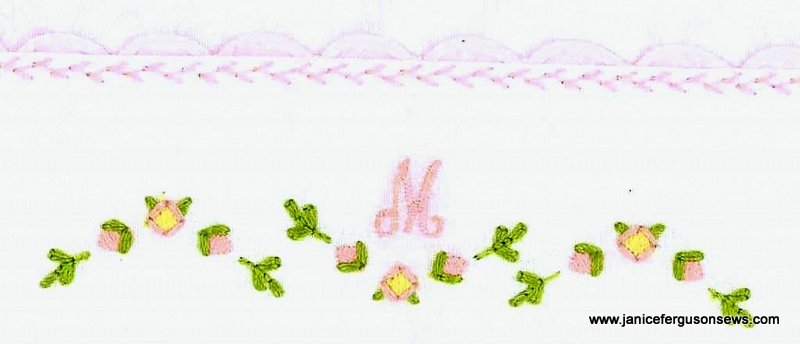
pillowcase embroidery and bias scallop trim

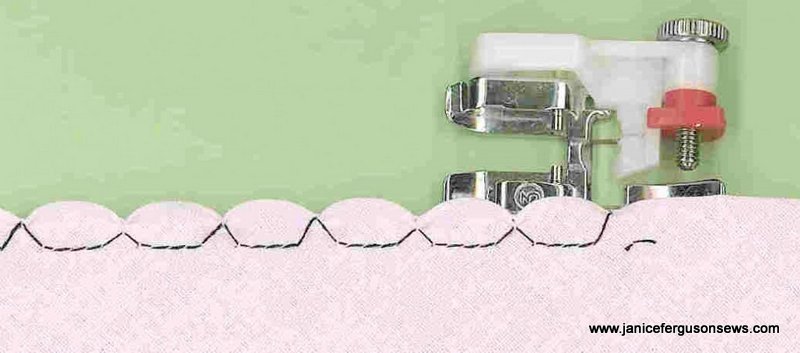
The bias scallop trim is one of my favorite techniques. It is worked with a blind hem stitch and thread matching the color of the fabric.

deliciousdollscallopmake-1024x452

This photo shows the stitches in black so you can see how the stitch works. In order to get best results, you must use a bias strip of fine (thin, not necessarily expensive) fabric and practice a bit before getting the effect you desire.

The tiny 1/4″ English lace is another of my favorites. It has holes in the header that look so much like entredeux that the effect of that expensive and time consuming feature was achieved by simply tiny zig zagging this lace to a finished edge. For added detail, I have woven pink embroidery floss through the holes.

Polar fleece is a fabulous, sturdy, versatile textile. I wanted the effect of a whole cloth quilt and sought to achieve that look with the fleece. The biggest challenge was transferring the quilting design to the fleece. After much experimentation, I had success by tracing the design onto tissue paper. The fleece was very lightly sprayed with adhesive and the tissue quilting pattern patted in place on the fleece.

Using the walking foot for straight lines in the cross hatching and free motion for the curved, feathered hearts, my beloved Brother ULT was threaded with pink 80 wt. Madeira Cotton thread in both the needle and the bobbin. After quilting, the tissue is pulled away. The spray adhesive makes it difficult to remove all tissue, but gentle laundering removes the remaining bits.

The edges of the fleece were finished with the same blind hem stitch that created the bias scallop trim. The unusual fleece weave allowed the raw edges to scallop satisfactorily, but not as nicely as the bias cut cotton.

When using tissue in this and similar projects, I first wad up the paper tightly and then iron it flat again. This breaks down the stiffness and makes it easier to tear away after stitching. When the 8″ Stitch N Ditch is wide enough, I use that.

One of the neatest features of this set is a technique I developed out of necessity when my daughter went off to college and was assigned to the top bunk. Like Rebecca’s bedding, Laurel’s doll bed linen has at the foot of the sheet, buttonholes which are partnered with small buttons sewn to the underside of the fleece “quilt.” With these two elements of the bedding joined in this manner, a little housekeeper or chambermaid can make the bed with ease and some degree of respectability.

The rope bed came with no mattress, so I covered a piece of 1″ foam with pink candy stripe polished cotton, to suggest ticking. Laurel and I have talked about how beds used to be made and then looked at a few old feather pillows I have that are made of standard blue ticking.

I doubt the educational use of the bed makes it “useful.” Instead, I think it looks delicious, just the kind of bed on which I would like to rest my weary head.

O bed! O bed! delicious bed!
That heaven upon earth to the weary head.
~
Thomas Hood, Miss Kilmansegg – Her Dream

AG Doll Bishop with Centered Embroidery

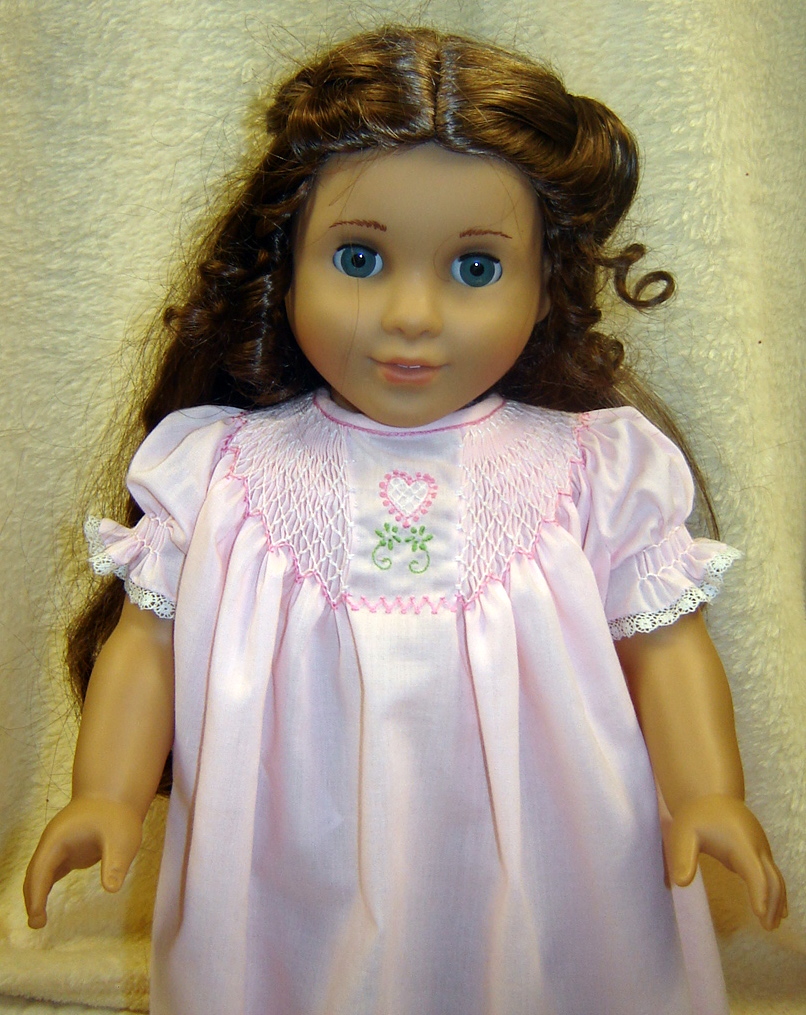
American Girl doll Marie Grace in her Valentine nightie

For Valentine’s Day, I am making my 7 year-old granddaughter a smocked bishop nightgown and this matching one for her American Girl doll.  If these hadn’t been cut out and pleated up before I got Custom Keepsakes  Sweet Dreams collection, I would be making nighties from that set.  But these have to be finished.

I wanted something a little more interesting than a standard bishop and decided centered embroidery would be a fresh look.  More than once, I have flattened the pleats at center front for embroidery or a tab and never found it to neither difficult nor problematic.

Doing this on a doll sized bishop gave me some unexpected disappointments.  I’d like to share with you what I learned on this little project.
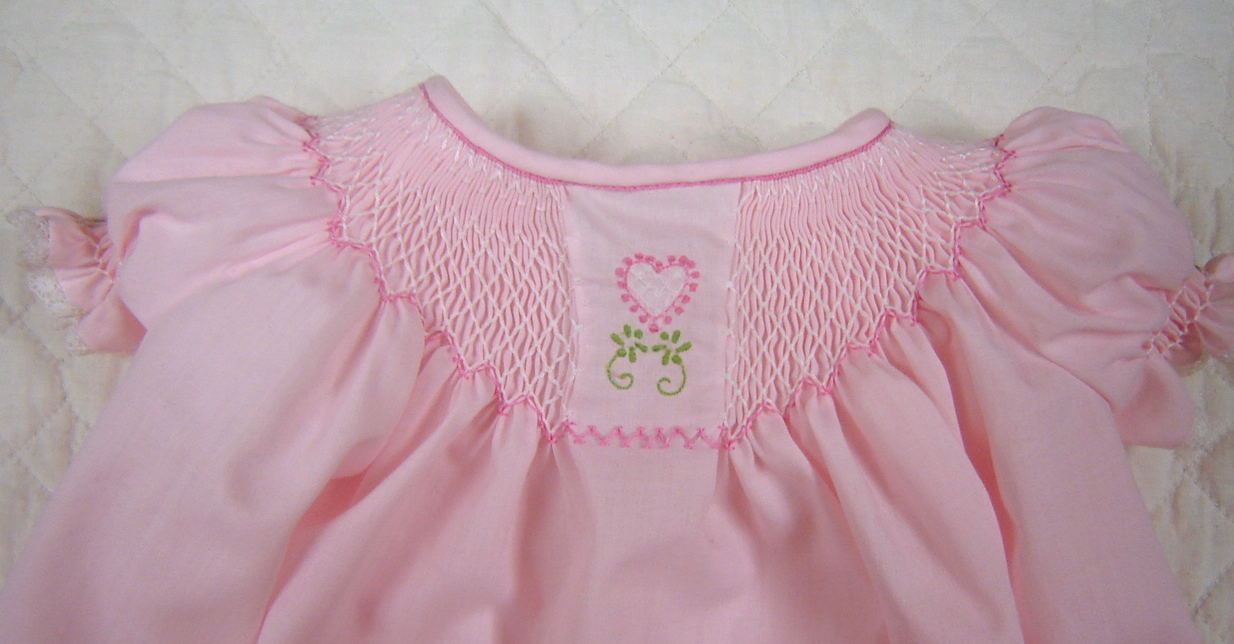
But here are the particulars of the nightie.  The smocking is a design I just made up as I went along,  the fabric is Imperial batiste and the pattern is one I drafted. The embroidery is from Martha Pullen’s Little Pleasures  collection, though it is slightly rearranged.  Laurel’s gown will have the fil tire’ heart for embroidery.

The smocked sleeves were trimmed with French lace and embellished with French knot flowers, a cluster of three in the center and a single knot on either side.
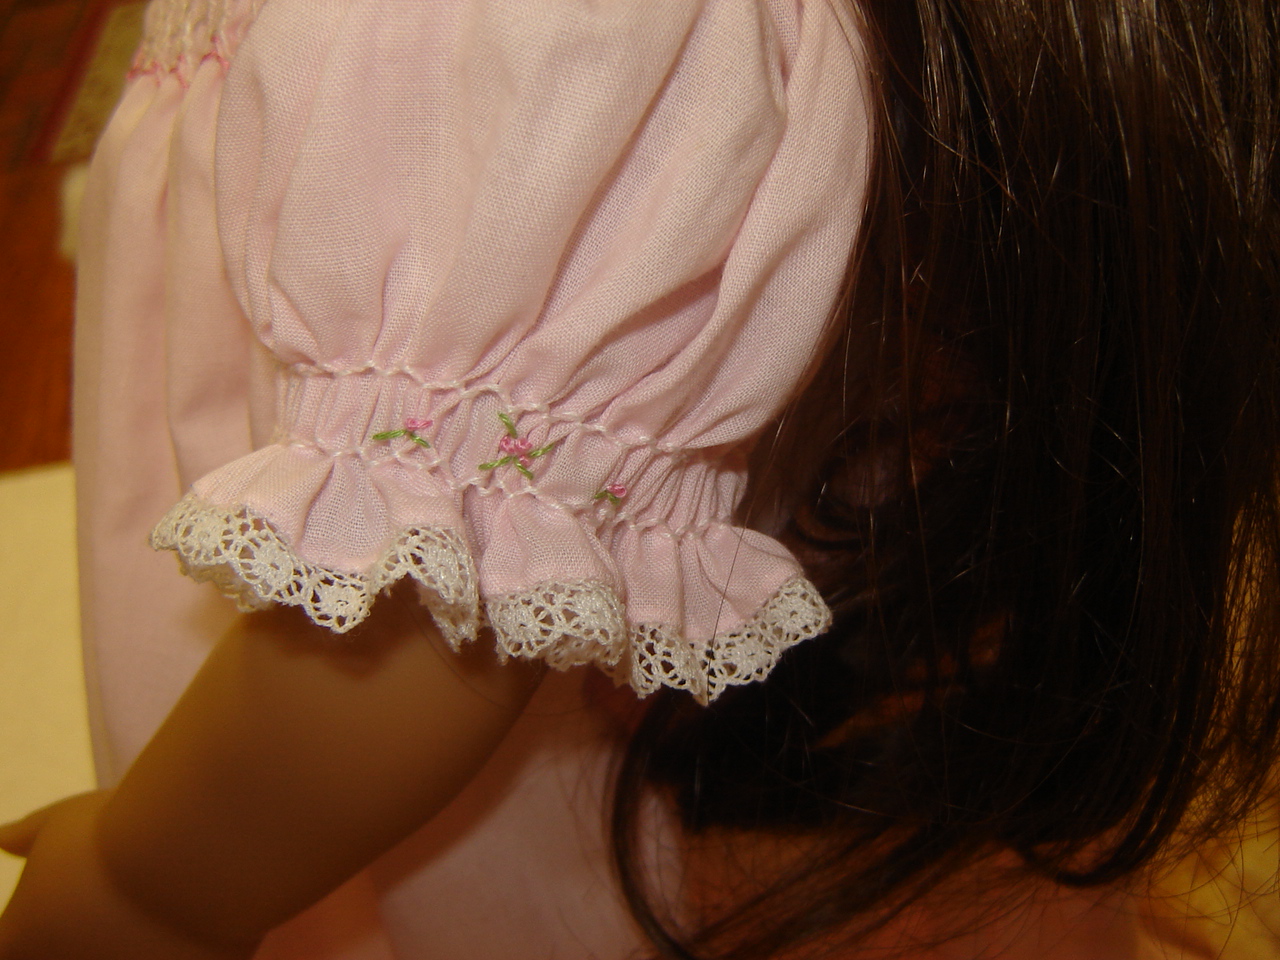
Frankly, this is all nit-picky stuff and probably isn’t worth worrying about on a doll nightgown.  But I wanted to figure out just what went wrong.  If you don’t care, take a quick look at the pictures and move on!  The internet is full of fabulous blogs with interesting, fun posts.

First, in response to Jo’s question, just how do you prepare a bishop with center front embroidery?

  • Pleat the bishop as usual, but with extra long threads and with the center front marked.
  • Pull up each pleating thread at that center mark and cut.  Be sure to pull up enough thread that you can easily tie a hefty knot.
  • Remove the threads from enough pleats to accommodate the embroidery design.
  • Knot each of these cut ends.
  • See a flat center with a vertical row of knots on either side.

The problem I ran into was the neckline and binding.  First, in order to correct the inevitable dip in the hemline at center front, I always draft (or use patterns) with a straight neckline. Here is how I do it and then you will see what I should have considered for a doll pattern. FYI, I always use 1/2″ seam allowance at the neckline which I adjust on patterns that have a smaller seam allowance.

  •  After cutting out the pieces, I fold the front in half, with the fold running down the center front from neckline to hem.
  • Then I mark a dot 1/2″ below the top edge on the fold.
  • With a rotary ruler and cutter, I cut from the dot on the fold to the seam line of the front shoulder.  This removes a folded wedge from the neckline, making it 1/2″ shorter at center front.  The gentle taper causes no difficulty with pleating.
  • After sewing the pieces together, I run a machine sewn 3.0 length gathering stitch 1/4-3/8″ from the raw edge.
  • The bishop is pleated with the first pleating thread 1/2″ below the neck edge, which puts it right on the seam line.

So far, so good.  Then for center embroidery, I remove the pleating threads from that area as detailed above.

So what is the problem?  The neckline.

1.  The flat, embroidered section, 1-1/4″ wide has very little curve to it.  If there had been pleats there, the slight taper of neckline would have been greater at the center front.

As I thought about it, I recalled that approximately 3″ of flat fabric pleats up to 1″.  So the center 1-1/4″ of binding would have used up  3-3/4″  of fabric that had been tapered.  That leaves the center front much straighter.

I’ll have to check with my husband, the engineer, to figure out just how that could be corrected.  But I know it should have been a deeper curve.

2.  The flat, embroidered section has no bulk to fill the bias binding.  I don’t recall this being a problem with earlier flat center bishops, but maybe I wasn’t as picky  then.

As I was applying the binding and came to the flat section, I discovered that I had two choices, neither of which I liked.  The first was to fold the bias over just as I had on the smocked section.  That left the bias much wider, because it had nothing to wrap around.

The same amount of bias could wrap around thick pleats and measure 3/16″ in width while the flat section had nothing to fill it and measured 1/4″.  Does that make sense to anyone who has plowed through this minutiae?

The other option, was to wrap the bias over the same distance, and then stitch the excess width further down on.  But it shadowed through.  I chose this option as the lesser of two evils.  In retrospect, I probably could have just twisted a narrow strip of batiste to use as filling.
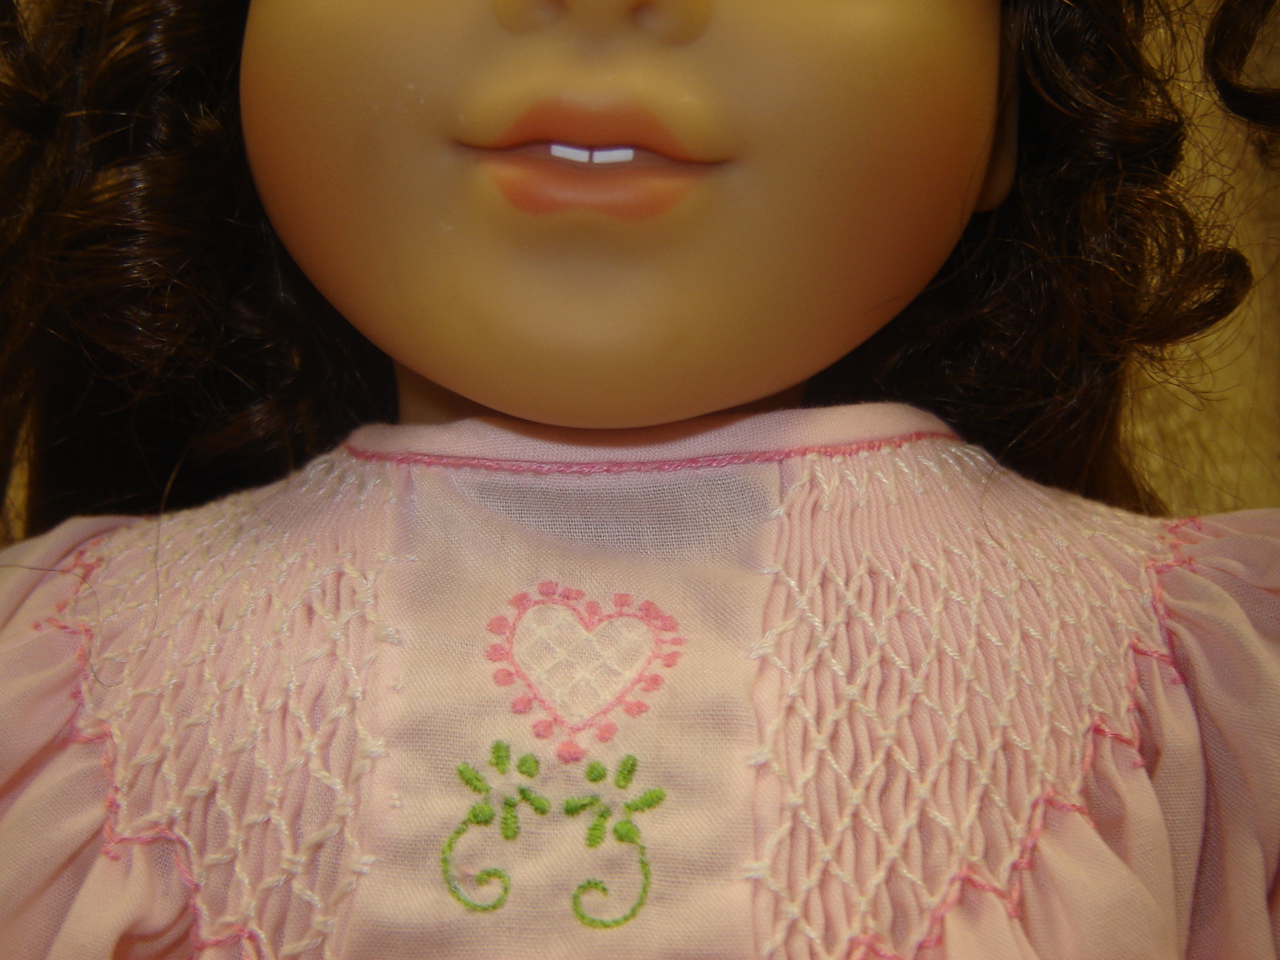
You can see the excess bias shadowing through the batiste above the embroidery.

Well, I could go on about how I wish I had lowered the embroidery and/or smocked fewer rows in the front, but this is more than anyone wants to read.  And it’s more than I want to write about.  I still have Laurel’s nightie to smock so I will move on to that.

Are you sewing/smocking/embroidering any Valentine’s gifts?  Tell us about it.


This is my post for Freckled Laundry and Pink Saturday.

Free ME Fil Tire’ Heart Design

To receive the free machine embroidered heart design, state your request as a comment at the end of this post. The .pes design will be e-mailed to you.

fil tire’ hearts on Swiss flannel baby shawl

The previous post which showed Judy Day’s Valentine outfits for her granddaughters reminds me that this celebration of affection is just around the corner.

For Laurel, my 7 year-old granddaughter, I am smocking a pink bishop nightgown with a matching one for her AG doll.  But I have left a small section at the center front with no pleats.  Machine embroidered in this area is the fil tire’ heart.


I’ve used this design several times for Laurel, most recently on last year’s Easter dress.

My overly ambitious plan was to have these nighties finished by now, feature them in this post and offer the design free to readers.  I thought this might give you enough time to use it on some Valentine project.

This is just a very small token of my gratitude for those of you who read this blog, those who have made purchases to help me in my de-stashing efforts, and those who have offered your friendship.  I do so appreciate each one of you.

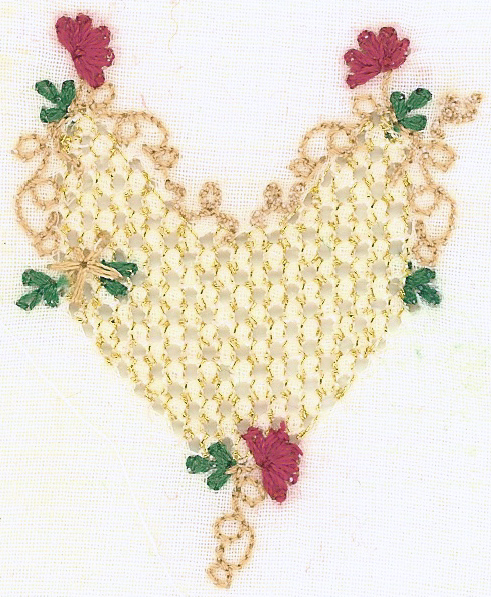
Well, neither gown is done but ….tick*tock*tick*tock…time passes by.  So I am re-running this  Pink Diamond Baby Pillow post and a photo above from the Heart Swag Baby Shawl post to show you what the heart looks like.  It also includes detailed instructions for stitching it out.

fil tire’ heart in winter colors, 1.56″ x 1.92″

So, Dear Readers, happy Valentine sewing to you.  Just leave a comment requesting the design and I will e-mail it to you in .pes format. Continue reading