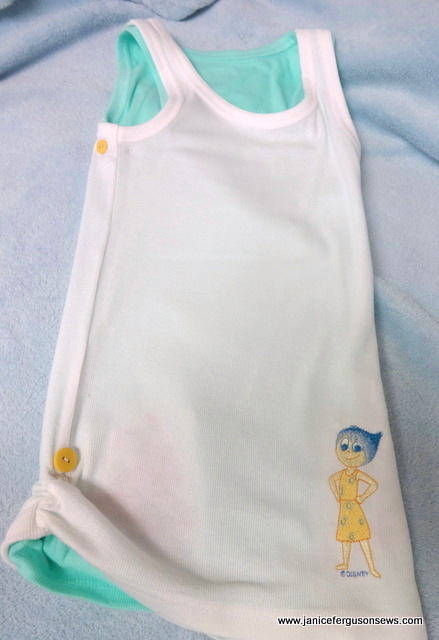
From ho-hum plain to sweet with the help of machine embroidery and spaghetti bias.
Lately, I’ve been in need of a variety of really fast projects, for a baby, a bride, a guy, a little girl and a young lady. I know of nothing faster than starting with ready-made blank items.
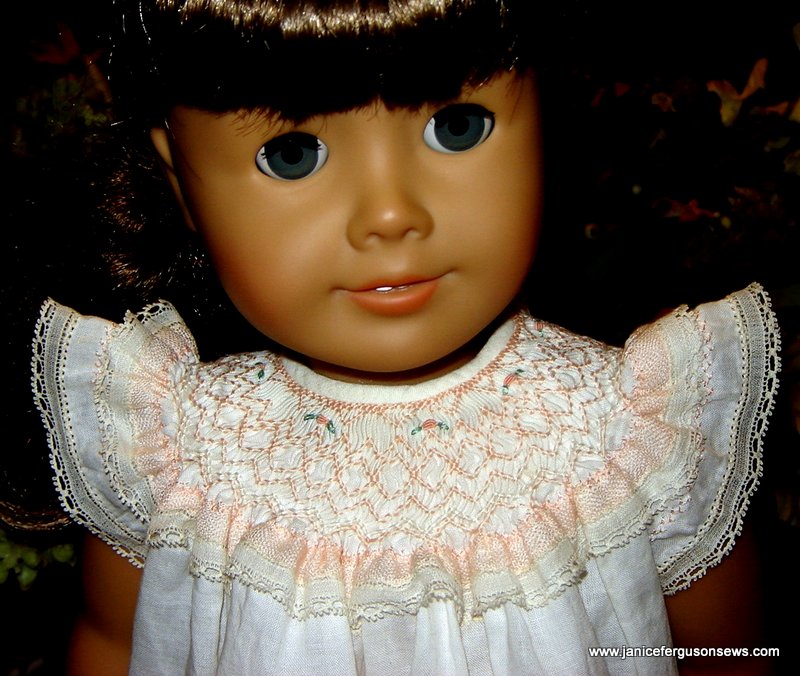
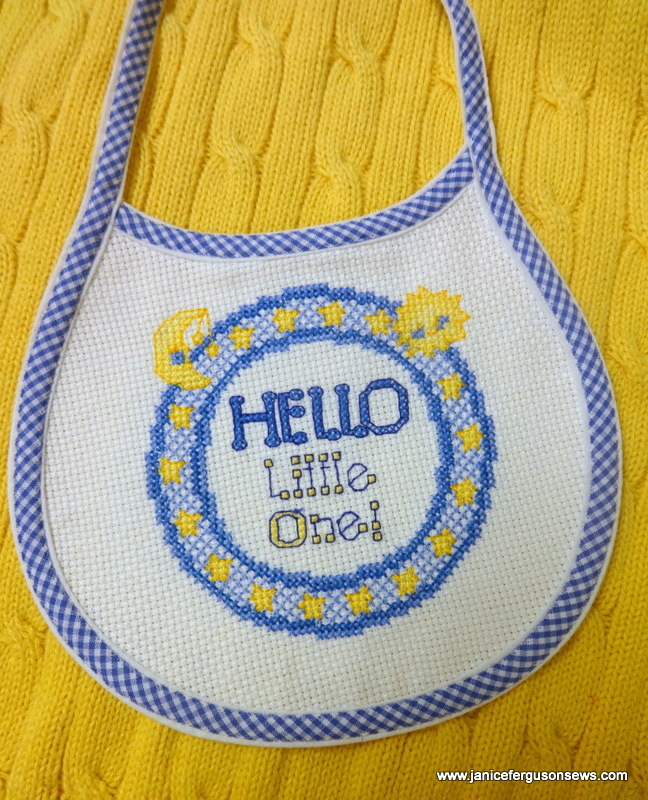
I started with the baby gift. Years ago I bought several of these blank bibs, bonnets and caps made of Aida cloth or with Aida cloth inserts.  You know how a technique strikes you suddenly. Machine embroidered cross stitch–yup!
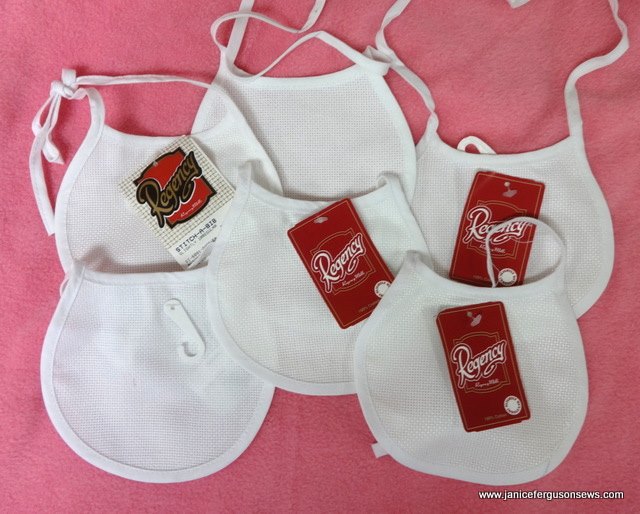
The plan was to embroider all of these bibs, bonnets and baby baseball caps.  But that didn’t happen. Oh, I did embroider several for the pregnancy center our church supports. But I sold most of them for a pittance.
When the needs rolled in for these in-a-New York-minute projects, only one plain white one bib was left, though I’d rather have had one with blue gingham binding. Why does it always happen that you have things lying around for years, then once they are gone you need them ASAP? Who knows?
Even with the cross stitch embroidery, the white bib was boring. So I pulled out some spaghetti bias from my stash and stitched it right on top of the white bias binding. I was generally pleased with this little gift.
It seems to me that cotton thread makes machine cross stitch look more like hand stitching. So the bib was stitched with 50 wt. DMC machine embroidery thread. I really like that thread.
Then I moved on to something for the bride. A new but vintage handkerchief from my collection was just what I needed for a second project.  The linen, hand crocheted edging and hemstitching fit the bill for “something old, something new, something borrowed (well, it COULD be loaned), and something blue.” This was reeeeeally fast. Continue reading